Plaster walls offer classic beauty and charm, but keeping them in excellent condition takes skill. In this detailed tutorial, we'll show you how to clean a plaster wall properly so that you can enjoy its pristine appearance for as long as possible. This article teaches you how to turn cleaning into an art form, from learning how to deal with plaster walls to mastering dry and wet cleaning methods. Learn how to get perfectly smooth plaster walls and imbue your room with refined elegance.
Doing Some Quick Cleaning
Make use of your vacuum's dust brush attachment.
Run your vacuum over the wall with the dust brush attached to the end of the hose. This is the safest and most effective method for cleaning walls. If the walls appear clean after vacuuming, you may end your cleaning there.
- When vacuuming, avoid pressing against the wall. Move the vacuum around it gently and let the suction do the rest of the work.
- Select a space on the wall. Move the vacuum from top to bottom, left to right, and down to the floor. The floor marks the transition to the next level. Get a ladder if you need to reach the top of the room.
- Before you get started, make sure the vacuum is empty.
Get a bucket and some hot water.
You can save time cleaning by keeping the pail of water close by instead of making frequent trips to the sink. As you clean, periodically rinse the sponge in the clean water bucket and squeeze off the filthy water.
Add some detergent to the water if you need to.
You can also use a very small amount of detergent to add some bubbles to the water. However, doing so increases the risk of scratching your freshly painted walls. Going detergent-free, to begin with. If you find washing the wall with warm water insufficient, add some detergent. Always use the mildest cleaner when cleaning, and only use stronger ones if necessary.
Soak A Cellulose Clot.
A sponge is the gentlest tool in the cleaning arsenal. To wet the sponge:
- Submerge it.
- Squeeze it until no more water comes out.
- If you don't have a sponge, use a soft towel instead.
Moisten The Ground With A Towel.
Put something on the floor to soak up any water that might drip on it. It could be a newspaper or a towel.
You can wipe off a few square feet of wall using the sponge.
Using the vacuum as a guide, select a square or rectangle on the wall to clean. Begin at the top and work your way left and right; when you reach the end of the section, continue descending. Keep moving until you've reached the ground. If you need to get up there, a ladder will be useful.
- Work gloves keep hands clean.
Use a soft towel to dry the wall.
Switch to a dry cloth after wiping off a portion of the wall. Dry the wall along the selected area using the same method as before. Choose a plush towel that won't irritate your skin or scratch the paint.

Remove Tough Stains
Create a cleaning solution.
Combine a small amount of mild detergent in a bucket with enough water to create a small bubble. One gallon of water, one cup of ammonia, one-half cup of vinegar, and one-fourth of baking soda can make a powerful DIY cleaning solution.
Test The Solution.
Before applying it to the entire wall, you should test the solution on a small, inconspicuous section. Apply the solution, and then pat it dry. The solution can be used on more visible areas if there is no discolouration or mark on the wall. If the wall has been damaged, consider looking into alternative repair methods. For instance, you can get it professionally cleaned or have it repainted.
- Glossy enamel paints are the most resistant to scrubbing by harsh cleaning agents. Washing can dull the sheen of satin, flat, and eggshell latex paints.
Use the solution to saturate the sponge.
Soak a soft sponge in the liquid. Squeeze it until no more water comes out. If necessary, a soft towel may be substituted.
Use a circular motion to rinse the area.
Use light, circular motions with the sponge to scrub the area. Scrub the stained area thoroughly. You should only use your solution on the wall if it is stained.
- Most beverage stains, such as those caused by coffee or wine, should be easily removed with this method.
- Use the solution all over the room if you think the wall needs a thorough cleaning. However, a mild cleaning without harsh solutions should be sufficient unless the stain is particularly stubborn. Cleaning the entire wall with a solution risks paint damage.
It may be necessary to start over.
A more abrasive solution may be necessary if your initial attempt at cleaning the location was unsuccessful. You might use a paste made of baking soda or a store-bought cleanser. Again, this remedy should be tested on a hidden area of the wall before being applied elsewhere.
- Half a cup of baking soda and water will make a nice paste. Apply on the sponge after properly mixing the ingredients.
- For stubborn grease stains, a degreaser is your best bet.
Let the Wall Dry Out.
Use a soft cloth or a dry sponge to remove the solution and dry the wall. Use light, circular motions to scrub until the wall looks clean.
Removing Crayon Marks From The Wall
To get rid of the crayon, you'll need a dull knife.
To get at the stain beneath a huge glob of crayon dust, it is necessary to first remove the glob. Pry the crayon up from underneath with the knife. Take care not to scuff the wall while you do this.
- Don't cut anything with a blade.
Use a Magic Eraser to wipe the wall down.
Rub a wet Magic Eraser in a circular motion across the wall. If there were any crayon shards left, they should now be gone.
Use a sponge to clean the wall.
Sponge off any remaining discolouration with hot water. Squeeze the sponge to remove extra water. Then, using circular motions, scrub the stain.
- You could spread a towel on the floor to prevent water damage.
Let the Wall Dry Out. Use a dry sponge or a fluffy towel.
Use light, circular motions to scrub the moist spot. When the wall no longer feels damp, you can stop.
- Instead of using Bar Keepers Friend, you can use an all-purpose cleaner. Then, brush it off.
- Test to see if the crayon smudges can be removed without rubbing off too much paint.
- It may be preferable to paint over the stained area if the repair cost is too high.
Getting Rid Of Pen And Marker Stains
Get a wet sponge or baby wipe and wipe the area down.
Stains from washable markers should be easily removed using this method. Do a light circular rubbing. You should lay a towel on the floor to catch any dripping water.
Apply hairspray and rub the stain.
If the stain persists after being wiped with a baby wipe, try using hairspray. Then, use a paper towel or cloth to massage the stain. Use a soft, circular motion to wipe. Check to see if the stain was able to be cleaned. Then it would help if you kept going until the area was spotless.
- This process of stain removal may require multiple attempts.
Use toothpaste to cover the stain.
Try using toothpaste if nothing else has helped. Put some toothpaste on the spot and leave it alone for 10 minutes. Ten minutes later, use a clean, soft cloth to remove any remaining residue.
Frequently Asked Questions About Plaster Wall
For stubborn stains on a plaster wall, make a paste by mixing baking soda with water. Apply the paste to the stain, gently scrub with a soft brush, and rinse with clean water. Repeat if necessary.
Yes, abrasive materials like steel wool or rough scrub brushes should be avoided as they can scratch and damage the plaster surface. Stick to soft cloths, sponges, or brushes with soft bristles.
It is not recommended to use a pressure washer on a plaster wall as the high-pressure water can damage the plaster and cause it to crack or crumble. Stick to gentle cleaning methods.
The frequency of cleaning your plaster walls depends on location, traffic, and level of dirt accumulation. Generally, a thorough cleaning every 6-12 months is sufficient, but you can spot-clean as needed.
Yes, you can take preventive measures to keep your plaster walls clean. Regular dusting, avoiding excessive moisture, promptly cleaning spills, and minimising contact with dirty or oily hands can help maintain the cleanliness of your plaster walls.
Painting Over Plaster Walls
Throw a drop cloth down.
Cleaning up the paint removal mess will be a major undertaking. Spread out a drop cloth or similar item on the floor. You can pick up the drop cloth, fold it, and throw away unused paint when you're done.
Putty knife over paint to scrape it off.
If any peeling or flaking has occurred, you can remove the remaining paint by sliding a putty knife underneath it and scraping it off. Avoid scratching the plaster by using the scrapper's flat side.
- Plaster damage can be repaired with a joint compound.
Use very fine grit sandpaper and rub the surface.
Sandpaper is useful for removing tiny pieces that scraping cannot remove. The paint can be picked up by rubbing sandpaper over the area.
Strip your paint using a chemical.
When left on for too long, chemical wall cleaners can leave behind unsightly stains. However, you may need a stripper if the paint on your wall is too stubborn to scrape off without help. Dunk a paintbrush in the stripper, and rub it along the wall. Give the stripper five minutes of rest. To remove the paint, scrape it off with a putty knife.
- To finish cleaning the wall, repeat the steps above. Once you've scraped off some of the paint, you should be able to use the putty knife to get rid of the remainder without resorting to chemical strippers.
You can use a damp towel to clean the wall.
Once the paint is removed, wash the entire wall with a sponge and some clean, cold water. The use of a chemical stripper necessitates this extra precaution. It could cause damage to the wall if it remained there.

Diagnosing Common Issues With Plaster And Repairing It
Cracked Plaster
Plaster cracks are often the first visible sign of damage to a home's walls or ceilings. The only drawback to cracks is that they can indicate a more serious problem or result from your plaster ageing, like wrinkles on your face.
The key is to understand the distinction. The smallest cracks in the hairline are the least dangerous because they are too narrow for a fingernail to fit through. It's usually not worth your time to bother with these cracks unless they widen or you dislike how they appear.
Delaminating cracks, conversely, signal that the plaster is detaching from the lath behind it and are most concerning when they appear on the ceiling but can also appear on the walls. There is a genuine risk that as the plaster begins to separate from the wall behind it, it will fall away totally or, in the instance of a ceiling, come crashing down on top of you.
Finally, cracks in the foundation caused by settlement occur when your home begins to sink. Fixing the foundation issues first is preferable, as the damage will reappear as the house settles, even after you've patched and filled the cracks.
Discoloured Plaster
Water damage can first be detected if the plaster begins to discolour. Brown water spots on your plaster are frequently an early warning indication that a leak has started before any major damage has occurred. A stain-blocking primer can help prevent these marks, but a professional should be called in to fix the leak properly and quickly to avoid further damage to your home.
Bubbling Plaster
In a leak, you may first detect stains on the plaster; if the leak persists, the plaster may bubble and expand. Plaster walls or ceilings can reach this stage of damage without showing any stains as a warning sign, but regardless of whether you have any warning, you need to make sure the leak is fixed and the damaged areas are removed and patched up to prevent mould growth.
If I Want To Plaster A Wall, What Do I Need?
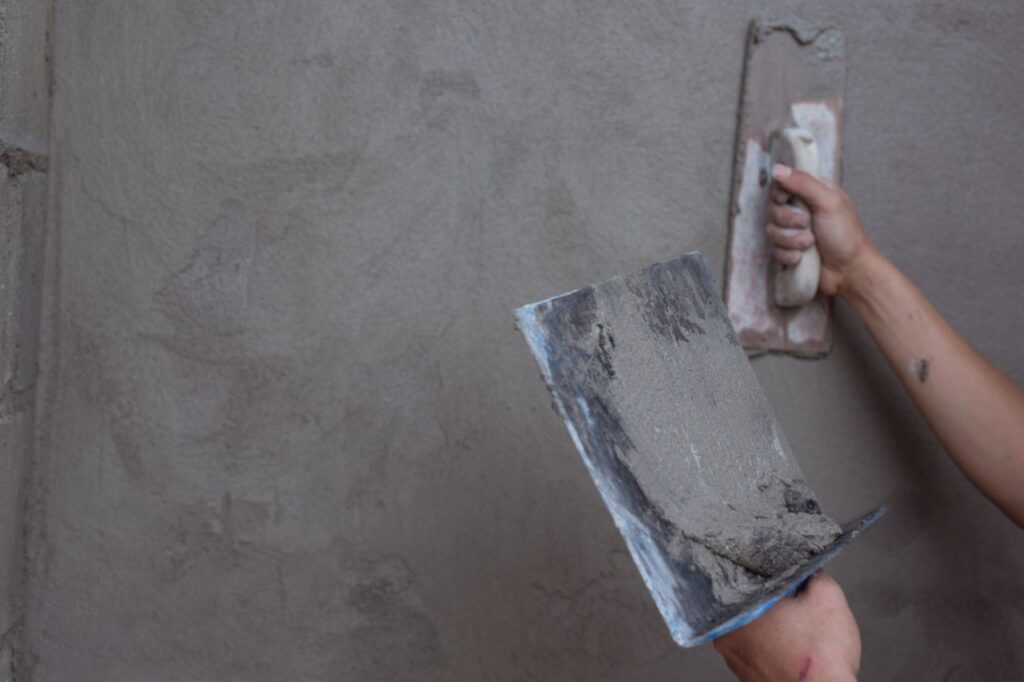
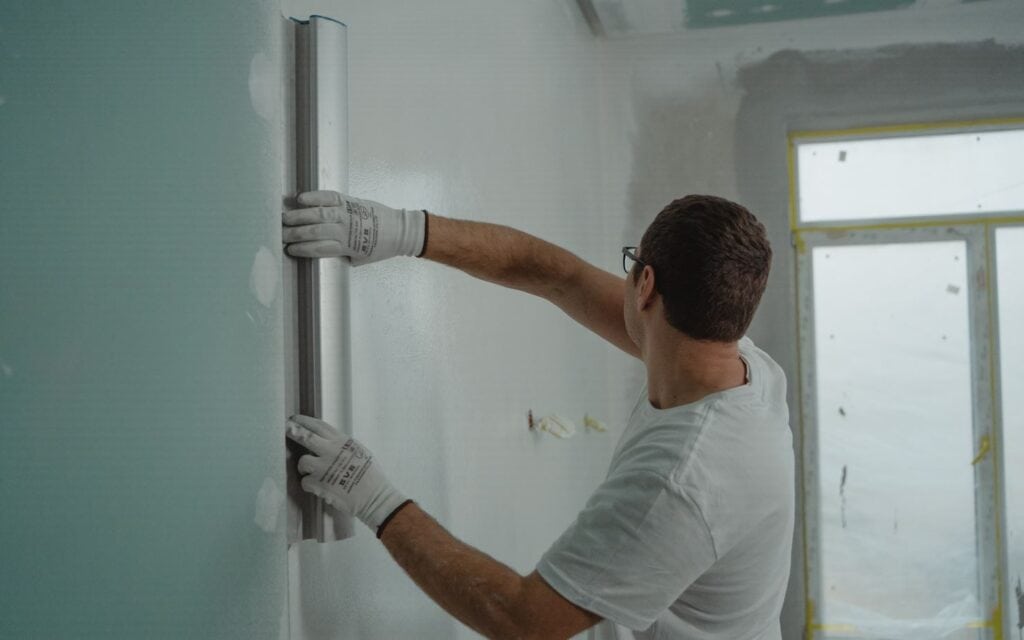
Plastering a wall can be lengthy, so it's crucial to use tools you're comfortable with. The complete list of what you'll need is up top, but here are the five essentials:
- If you need a trowel for plastering, look for one made of stainless steel that has a balanced, ergonomic handle.
- Here, have a hawk board, the instrument of the plasterer. In terms of weight, a plastic hawk board is preferable to a wooden one. However, a hawk board made from wood will last a lot longer.
- The bucket trowel is an implement created to facilitate plaster transfer from the bucket to the hawk board.
- Although mixing the plaster by hand is acceptable, a power mixer makes the process much simpler and faster. It works well for producing huge quantities of plaster that must be applied rapidly.
- A high-quality paintbrush is necessary to smooth water over plaster and maintain clean margins.
If you plan to use the same plastering equipment for multiple projects, you should thoroughly clean them between uses.
Conclusion
Cleaning a plaster wall properly is an art, and this article will show you how to perfect your technique. You can quickly clean, wet a cellulose cloth, dampen the ground with a towel, make a cleaning solution, test it on a tiny, hidden area, or use a more abrasive solution like baking soda or a store-bought cleanser.
Use a dry sponge or towel to wipe away the solution and then a damp one to dry the wall after removing stubborn spots. Scrub the soiled area gently, using circular strokes. Use a degreaser on greasy spots that just won't budge.
Walls and ceilings that have cracks in the plaster are the first evident indicator of damage, although these cracks can also be the product of ageing. The difference between normal cracks and delaminating cracks, which show that the plaster has come loose from the lath behind it, is crucial.
Brown water streaks on the plaster are a telltale sign of damaged plaster. Even though a stain-blocking primer can help avoid these markings, you should still have a professional address the leak as soon as possible.
Stains on the plaster are an early warning sign of bubbling plaster, but if the leak continues, the plaster may bubble and swell. It is possible for plaster walls or ceilings to deteriorate to this point before any stains become visible.
A stainless steel trowel, hawk board, bucket trowel, power mixer, high-quality paintbrush, and power mixer are all useful tools for plastering a wall but feel free to use whatever you are most at ease with. If you want to keep the equipment mold-free, give it a good scrub after each usage.
Content Summary
- Cleaning plaster walls requires skill to maintain their beauty and charm.
- Learn how to clean plaster walls properly in this detailed tutorial.
- Master dry and wet cleaning methods to keep your plaster walls pristine.
- Turn cleaning into an art form and imbue your room with refined elegance.
- Use the vacuum's dust brush attachment to effectively clean the walls.
- Move the vacuum gently in a back-and-forth motion to avoid pressing against the wall.
- Use a bucket of hot water to save time during cleaning.
- Rinse the sponge in the clean water bucket periodically while cleaning.
- Add a small amount of mild detergent to the water for tougher cleaning.
- Soak a cellulose cloth or use a soft towel to wet the sponge.
- Protect the floor with a towel or newspaper to absorb any dripping water.
- Clean a small square or rectangle on the wall using the sponge.
- Work from top to bottom left to right, and continue descending.
- Use gloves and a soft towel to dry the wall after cleaning.
- Create a cleaning solution with mild detergent and water.
- Test the solution on a small, inconspicuous area before applying it to the entire wall.
- Soak the sponge in the cleaning solution and scrub the stained area in circular motions.
- Use the cleaning solution all over the room for thorough cleaning if needed.
- Repeat the cleaning process if the stain persists.
- Let the wall dry using a soft cloth or sponge.
- Use a dull knife to remove crayon marks from the wall.
- Wipe the wall with a Magic Eraser to remove any remaining crayon residue.
- Clean the wall with a sponge and hot water to remove any traces of crayon.
- Remove pen and marker stains by wiping the area with a wet sponge or baby wipe.
- Apply hairspray and rub the stain gently for stubborn pen and marker stains.
- Use toothpaste to cover the stain and let it sit for 10 minutes before wiping it off.
- Prepare the wall for painting by placing a drop cloth on the floor.
- Scrape off any peeling or flaking paint using a putty knife.
- Use fine grit sandpaper to smoothen the surface and remove the remaining paint.
- Consider using a chemical stripper for stubborn paint, following the instructions carefully.
- Clean the wall with a sponge and cold water after using a chemical stripper.
- Repair cracked plaster to prevent further damage to walls and ceilings.
- Differentiate between hairline cracks and delaminating cracks that require immediate attention.
- Discoloured plaster may indicate water damage and the need for professional repair.
- Bubbling plaster is a sign of a persistent leak and should be addressed promptly.
- Use stainless steel trowels for plastering, ensuring a balanced and ergonomic handle.
- A plastic hawk board is preferable for weight, while a wooden one is more durable.
- Use a bucket trowel to transfer plaster from the bucket to the hawk board.
- Consider using a power mixer for faster and more efficient plaster mixing.
- A high-quality paintbrush is essential for smoothing water over plaster and achieving clean margins.
- Thoroughly clean plastering tools between uses for multiple projects.
- Plastering a wall can be a time-consuming task, so it's important to use tools you're comfortable with.
- Essential tools for plastering include a trowel made of stainless steel with an ergonomic handle.
- A plastic hawk board is preferred over a wooden one for its lighter weight.
- Use a bucket trowel to easily transfer plaster from the bucket to the hawk board.
- While mixing plaster by hand is acceptable, a power mixer can make the process faster and more efficient.
- Invest in a high-quality paintbrush for smoothing water over the plaster and achieving clean edges.
- Properly cleaning your plastering equipment between uses is important for maintaining their effectiveness.
- Take care to scrape off any peeling or flaking paint before plastering the wall for a smooth finish.
- Ensure the wall is clean and dry before starting the plastering process to achieve the best results.

