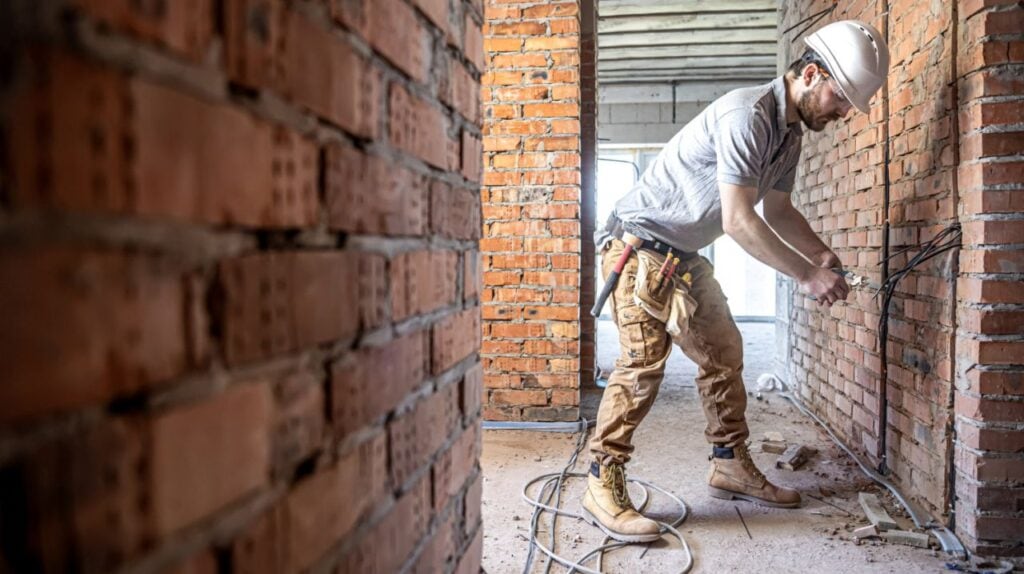
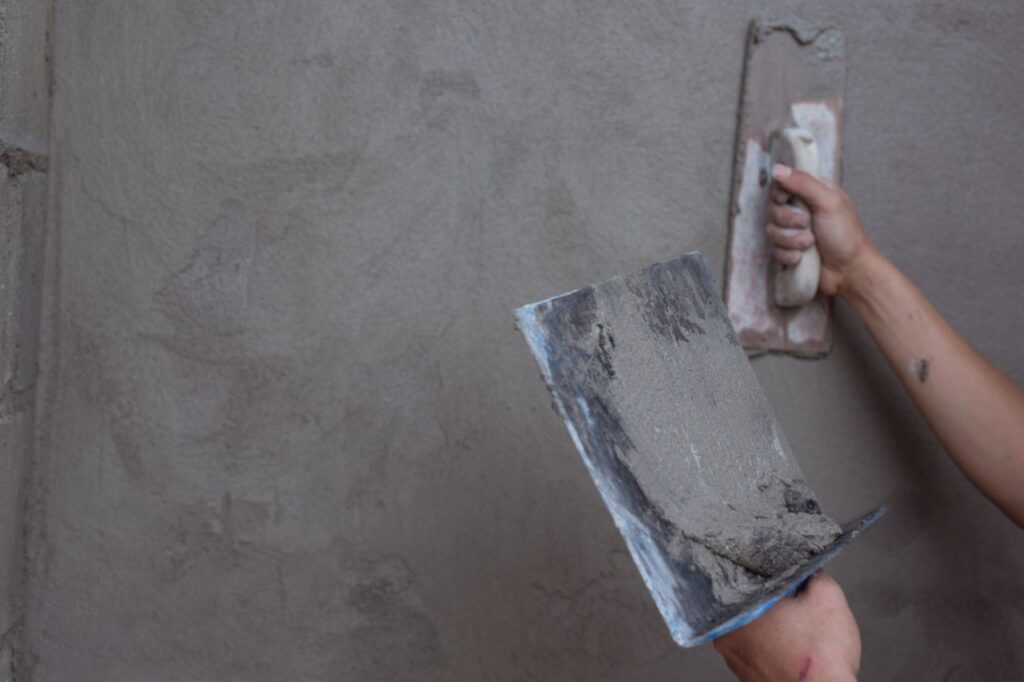
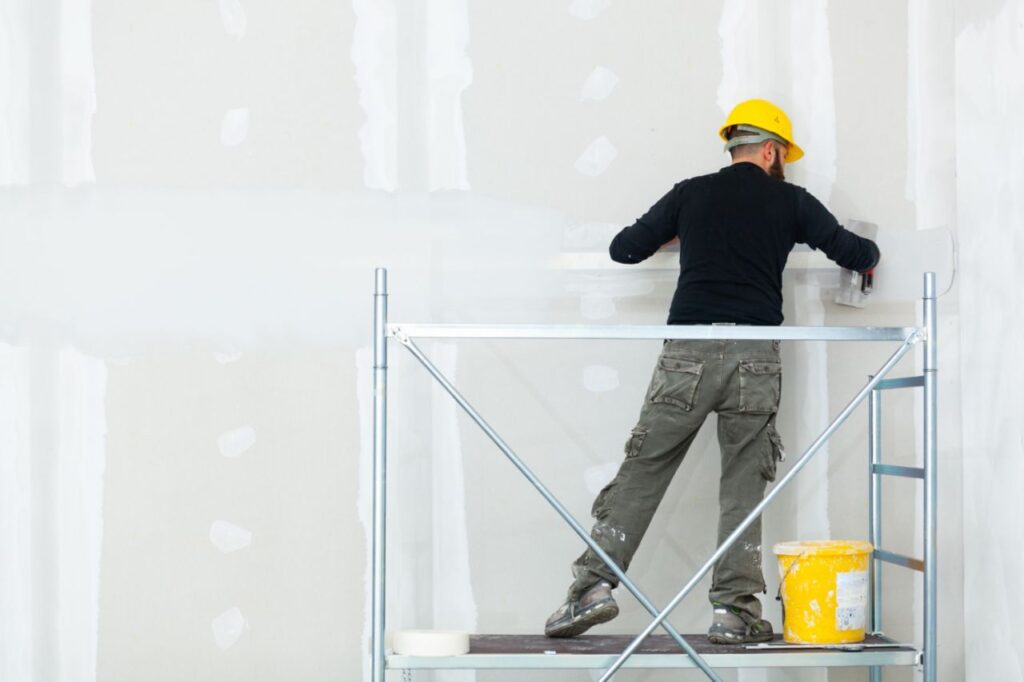
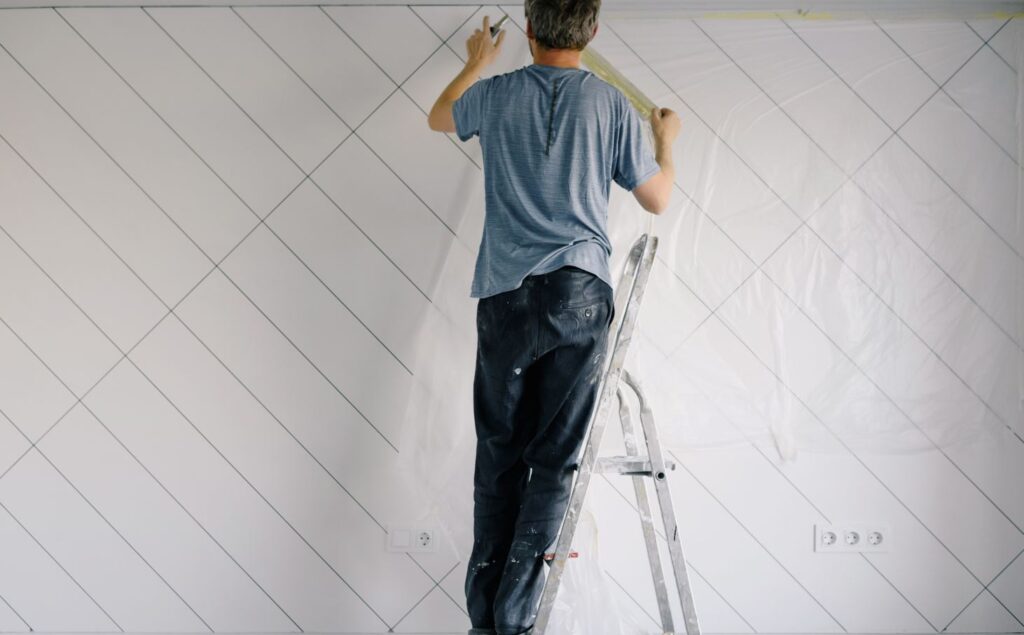
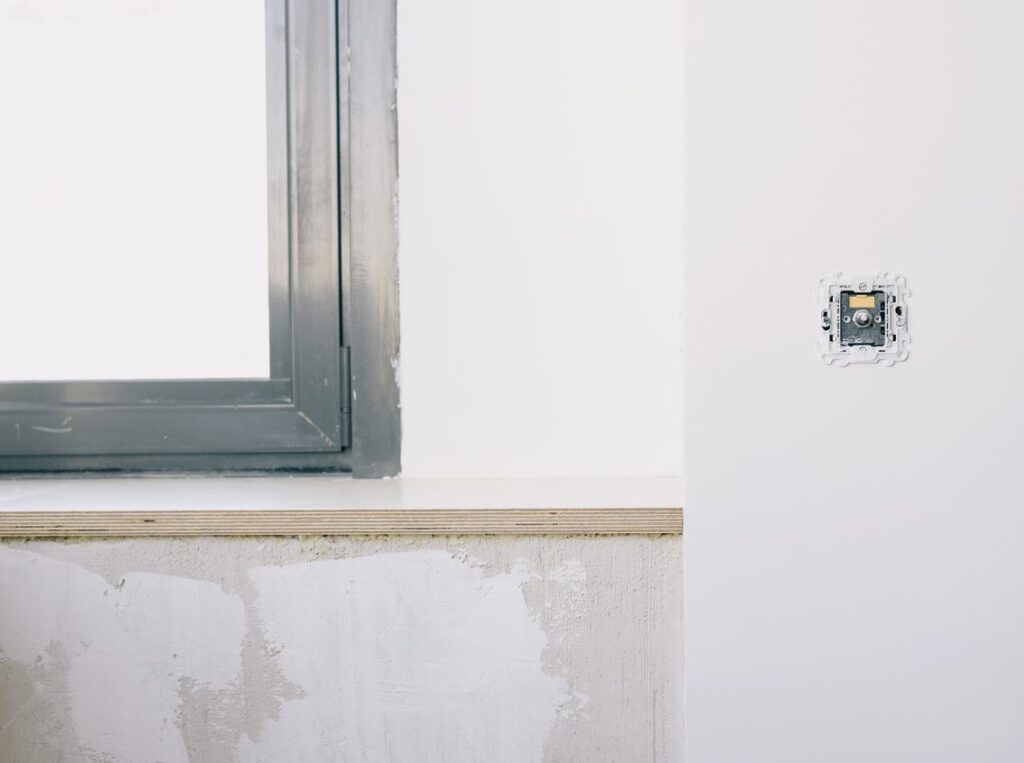
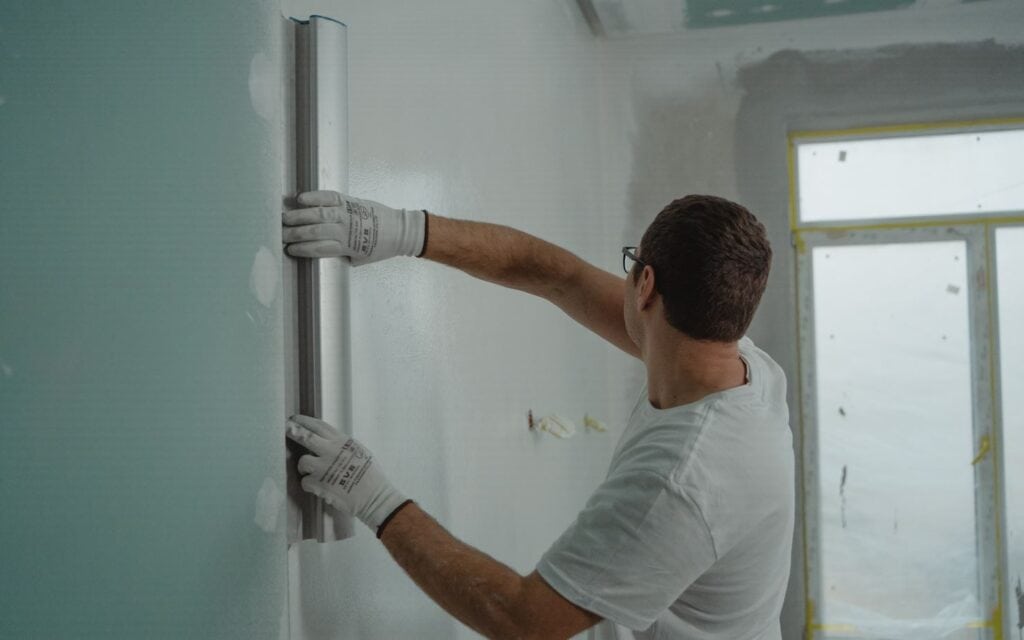
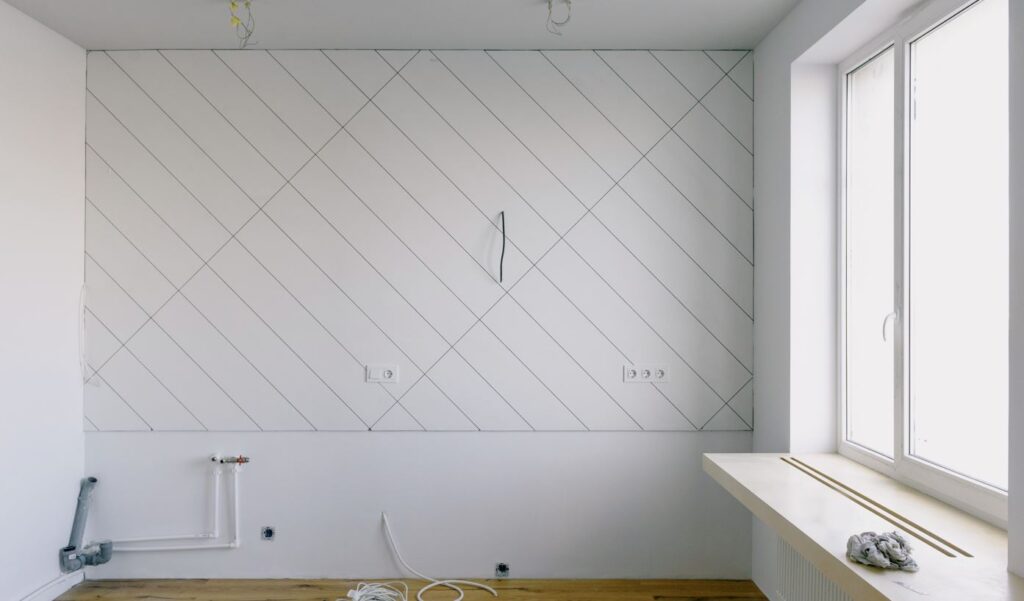
Plastering is the most common way to give walls a smooth, finished appearance. Plastering is an art that requires training and experience to do well. Plaster is a durable and long-lasting coating for walls. Plastering helps to soundproof walls and leaves new and old walls with a smooth surface ready to be painted. Different kinds of plaster are used for different kinds of wall surfaces.
But what if plastering is outside of your price range? Plastering is expensive because not only do you need to buy the plaster material, but you also need to budget for the cost of hiring a professional to skim and reapply the plaster. DIY projects on patchwork sections of walls in a plastered home are a breeze. However, it is advised that you seek expert assistance for large areas. The experts can skim and replaster rough plaster walls to a smooth finish.
In some cases, skipping the plastering step altogether might be preferable. For example, the walls are less than appealing after stripping off the old wallpaper. On the other hand, you may have removed an item from the wall only to find that it needs sanding and painting. Whatever the case, you'll need to sand down the walls and, in some cases, fill in the cracks and holes with a material.
We'll investigate alternatives to plastering for finishing the wall surfaces. Remove or cover dust-sensitive items, like furniture and carpets, before beginning wall smoothing. A dust sheet would work for that purpose. Open the windows to allow for fresh air circulation. Wear a mask to keep dust out of your lungs and goggles to keep debris out of your eyes.
Ways To Smooth Walls Without Plastering
Several do-it-yourself solutions for crooked walls are detailed below. All of them are great for covering up flaws before painting, though they require different levels of DIY expertise.
Clean Off Any Dirt With Sugar Soap
Sugar and dish soap makes an excellent all-purpose cleaner. Although it is ineffective for removing dried paint, it is useful for priming walls before painting. Unfortunately, it will also reveal flaws that aren't obvious at first glance but emerge once the paint is applied.
Use sugar soap to clean the walls, then flush with hot water to remove the residue. When using sugar soap, giving it a good rinse is crucial to eliminate any leftover residue.
Sand Existing Plaster Walls
If your plaster walls are rough and bumpy, sand them down. It might be necessary to use a wire brush on the brick walls of an old home. How you get your walls ready will depend on their current state.
If you have a sizable project and either know how to use an electric sander or can get someone to show you, you might want to borrow or rent one. First, determine the size of the wall bumps to determine the coarseness of the sandpaper to use. Then, select medium or fine grit sandpaper for large and medium or fine grit sandpaper for smaller bumps and finishing.
Take care when sanding plaster. Plaster is delicate and easily damaged by sanding; take care not to exacerbate the situation. Sanding walls to a smooth finish can be a laborious and time-consuming process. It's possible to spend several days trying to achieve a specific result.
Think about the style of plastering that was used in the past. Plaster layers may be even thinner in older homes, and sanding through them can cause the underlying layer to become rougher. The desired outcome is different. Dust will be kicked up using this method, so wearing masks and gloves is important while working in the area.
Clean Scuffs With Warm, Soapy Water
Scuffs, grime, and defects can be cleaned off walls with household detergent and warm, soapy water. Prepare the cleaning solution in a bowl and use it to wipe down the walls from the ceiling. To smooth out rough spots, apply light to moderate pressure. Only bother adding paint or glue once the water has completely dried.
Lining Paper
You can use lining paper to improve the appearance of a wall that is otherwise smooth and free of visible damage. First, prepare the wall by filling in holes and sanding it smooth. The lining paper will reveal wall imperfections such as bumps.
It's up to you to decide whether you want flat, woodchip, or embossed lining paper. First, line the entire wall with lining paper, starting at one upper wall corner. The lining paper must be overlapped by 3mm to account for shrinkage. When the wallpaper paste is dry, trim the lining paper along the top and bottom.
If you want clean walls ready to be painted, use sugar soap to clean them. Although it may sound sweet, sugar soap is an alkaline detergent that looks like powdered sugar. Unfortunately, wall grease, particle debris, and grime are no match for the cleaning power of sugar soap.
After washing in warm water, it's free of any residue that could harm the paint. Also, it can be used to make painted walls look even better.
While cleaning with sugar soap won't strip away any existing coats, it will bring out any flaws that might become visible once you repaint.
Use Fine Filler For Small Imperfections
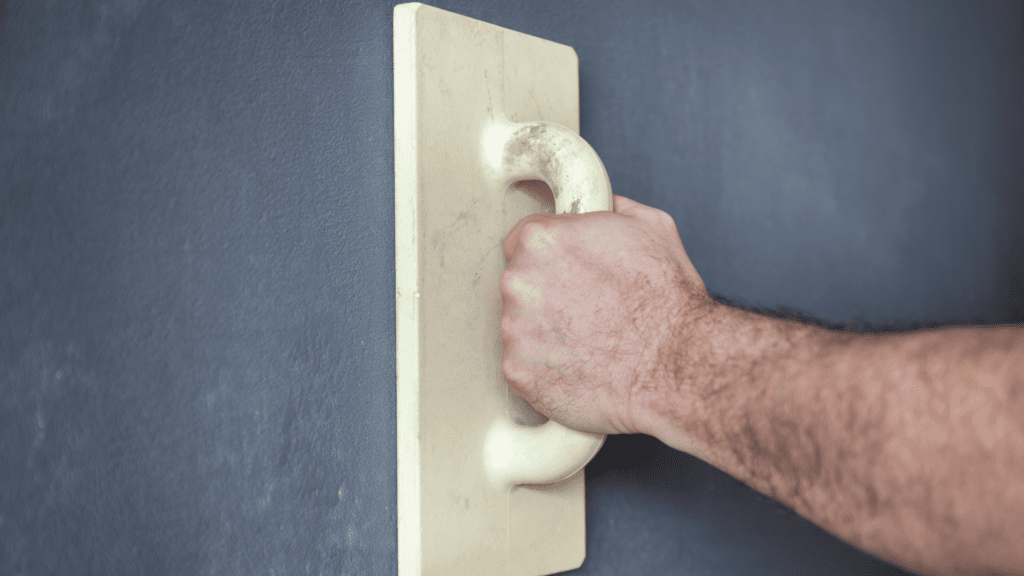
Any tiny cracks or holes can be patched with a fine surface filler. When used as directed, these are capable of concealing even the tiniest of surface flaws like lines or dings. First, only sand off the excess fine filler once you have given it enough time to dry. Then, use fine sandpaper of 100 or 120 grit to smooth the wall.
Scrape Off Any Loose Paint.
If you try to smooth them out before painting, walls with leftover paint can cause lines and bumps in newly painted areas. You can sand the paint off, but first, you should check to see if it contains any lead. Sanding lead paint can cause issues, so always test beforehand by purchasing a simple lead testing kit from any manufacturing unit. To achieve a smooth surface for plastering, you can forego the use of sandpaper and instead use a small scraper to remove any residual paint.
Use Polyfilla To Cover Bumps And Cracks
Fill in dents and cracks with Polyfilla or another similar product. This strategy will work if the area is small or has only a few bumps. Large areas with uneven walls will not be levelled.
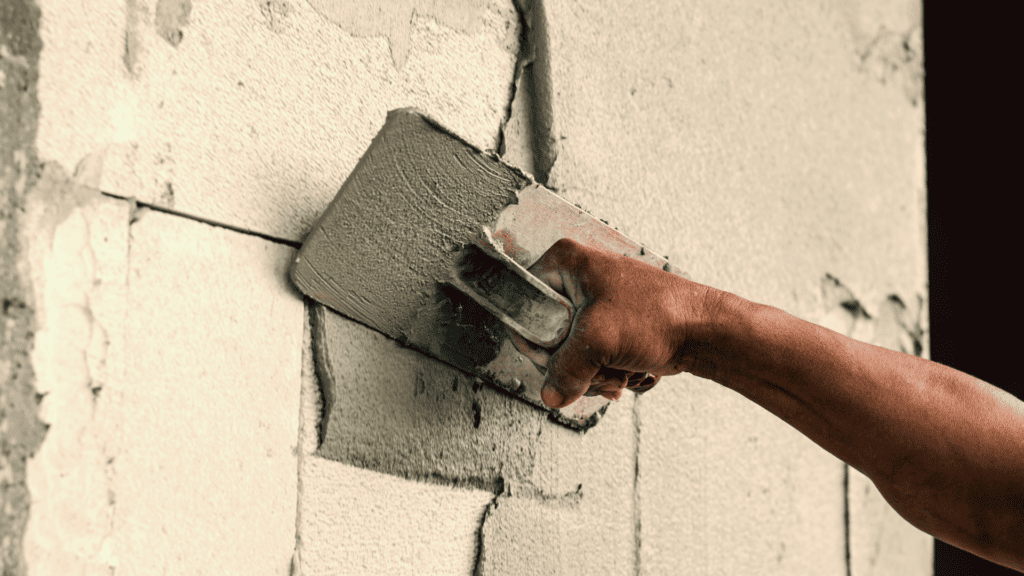
Start using a trowel to spread the polyfill around and smooth the surface. Shrinkage is possible if the spaces between things are too big.
The polyfill material dries and shrinks, incorporating itself into the wall. This is a natural occurrence, so you shouldn't be alarmed. Wait for it to dry for a few minutes before applying another coat. Multiple layers are perfectly fine. You can sand it down to the desired smoothness if you use too much filler.
Hoover The Area To Remove Fine Dust
It's important to periodically dust off the area you're working in when smoothing out dents and blemishes on the walls. Floors and the crack between the floor and the wall should be vacuumed. Dust should be vacuumed up thoroughly before painting begins.
Fill Large Holes With Filler
Larger holes can be patched up with wall filler, which helps repair the wall and creates a smooth finish. Be careful to use the right filler, and take your time. Once the area is dry, use 100-120 grit sandpaper to smooth out the excess so it blends in with the surrounding wall.
Skim Coat The Walls
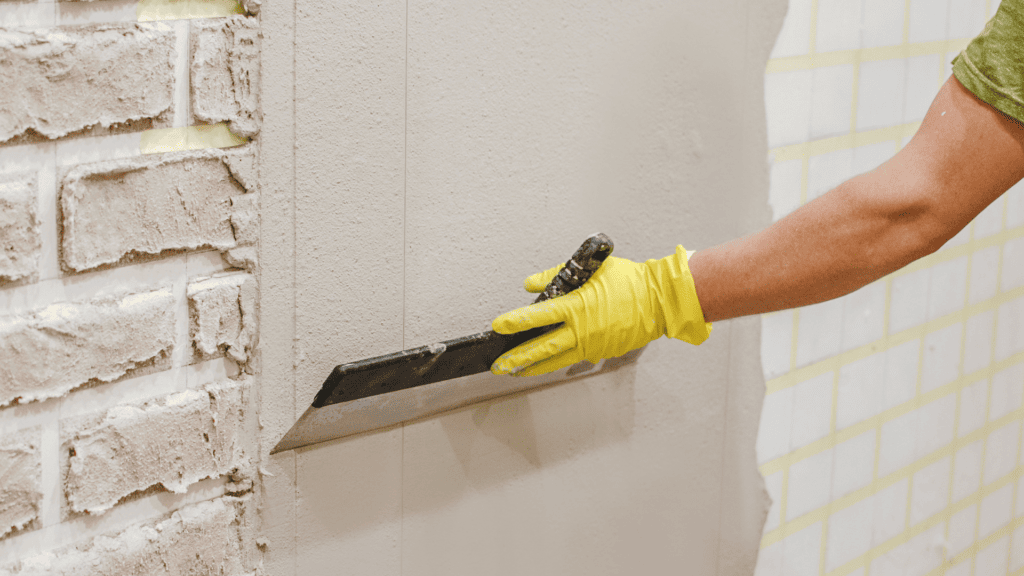
If the wall has numerous imperfections, skim coating is a great alternative to plastering. Before applying the skim coat, ensure a smooth surface by sanding the wall with 100–120 grit sandpaper. Walls can be easily smoothed out with skim coating, but the process is labour-intensive and may not be suited to do-it-yourselfers.
Apply Wallpaper To Cover Imperfections
You might be fine with wallpaper, which, despite its declining popularity, is still a practical way to hide unsightly wall flaws. However, there are ways to improve the results of your wallpapering efforts.
Remove any major bumps from the walls by sanding them down. Walls should be as smooth as possible, and wallpaper should be lined up correctly to ensure a professional look, but this is only sometimes possible, depending on the wallpaper's thickness.
Sand Walls Ready For Painting
A hand sander can treat walls and other large areas where hand sanding would take too much time. Use fine sandpaper and be careful not to overdo it. Remove imperfections from the wall by gliding smoothly along it.
It's important to wear earplugs and a face mask while using a hand sander, and make sure the area has good air circulation so that the dust doesn't settle on you.
Apply A Light Textured Paint
Covering up the flaws with lightly textured paint that will disguise the nicks and bumps is also possible. However, this solution has the potential drawback of not producing the desired result. Take your time and think carefully about what's best for you and your family. A smooth eggshell paint could be applied as an alternative to help smooth out the walls, but it wouldn't be effective at hiding any but the smallest imperfections.
Fitting Plasterboard
Plasterboard is a failsafe option for creating seamless walls without the hassle. In addition, Plasterboard is a great option for covering the uneven walls of older buildings.
Plasterboard installation is easy and can be done by anyone. But it's a long process, especially if you start with nothing and construct stud walls.
Dry lining is another name for plasterboarding. Plasterboarding is a construction method distinct from the more common "wet plastering" (aka dry lining). In other words, the former is a "wet" mixture, whereas the latter is a "dry" board.
Maintaining Smooth Walls
After the walls have been made smooth, they should be kept pristine. With regular care, your walls can retain their pristine appearance and condition for many years.
Keeping your walls smooth is easy if you follow these guidelines.
Regular Cleaning
Over time, dust and dirt can accumulate on walls, making the previously smooth finish appear more textured. To ensure your walls remain clean over time, dust them frequently with a microfiber duster or a soft cloth. It is important to avoid any cleaning products or materials that are too rough, as these can cause the surface to become damaged.
Touch-Ups
Always look for even the smallest flaws, such as nicks or scratches, because they can easily be overlooked. To make the imperfections less noticeable, use minimal joint compound or filler when performing touch-ups. Then, after it has had enough time to dry, lightly sand the area and then repaint it to match the colour of the wall around it.
Protect Against Moisture
Smooth walls can have their paint peeled off or be damaged by moisture, depending on how much moisture is present. Take special care in areas prone to moisture accumulation, such as bathrooms and kitchens. Humidity levels can be lowered by turning on ventilation and exhaust fans. To prevent damage caused by water, any spills or splashes should be wiped up as soon as possible.
Gentle Cleaning
You can use mild detergent and warm water to clean your walls if they need more than dusting. Scrub the walls softly with a sponge or clean cloth and a bucket of water disinfected with a small amount of detergent. Use fresh water to wash and pat dry.
Avoid Harmful Effects
It's important to exercise caution when rearranging things near the walls. Don't slam them into the wall or scrape them down the floor; doing so can cause damage. Instead, place felt or rubber pads under each leg to avoid scratching floors or damaging furniture.
Regular Inspections
Make it a habit to perform routine checks on your walls to look for any signs of damage or wear. Keep an eye out for fissures, bubbling paint, or discolouration. Then, take immediate action to fix any problems that arise to prevent further damage from occurring and preserve the smoothness of your walls.
Conclusion
Plastering is a common way to give walls a polished look, but it can be costly and time-consuming to do. Patchwork portions of walls in a plastered home are a good DIY endeavour, but for larger areas, it's best to hire a professional.
DIY options exist that don't involve plastering to fix slanted walls. To begin, remove any grime with sugar soap, an all-purpose cleaner that may be used to take off dried paint but will also highlight any defects that show up after the paint has been applied. If necessary, use a wire brush or electric sander to remove the plaster from the walls. Plaster wall sanding is a tedious and time-consuming task, so it's important to protect your health by donning a mask and gloves.
Using household detergent and warm, soapy water, wipe down walls from the ceiling to remove scuffs. If you patch any gaps and sand the wall smoothly, lining paper can do wonders for its aesthetic value. Sugar soap, an alkaline detergent that looks like powdered sugar, can improve the appearance of freshly painted walls because it leaves no residue that could damage the paint.
To cover up minor blemishes like lines or dings on the surface, apply fine surface filler. After the fine filler has dry, smooth the wall with fine sandpaper of 100 or 120 grit.
Remove loose paint with a scraper before painting to avoid creating lines and bumps. Check the paint you use to smooth them out for lead content and use a small scraper to remove any paint that remains after priming and painting.
Start by using a trowel to evenly distribute Polyfilla or any comparable product into the holes and fissures. If there are too many empty places, things might get smaller. When polyfill dries and shrinks, it becomes an integral part of the wall structure. It's crucial to let it dry completely between coats. Periodically dusting the area and vacuuming the floors and cracks before to painting can help eliminate fine dust.
Using filler to patch up the wall and restore its smooth appearance is a simple and effective solution. Although the skim coating is a fantastic alternative to plastering, it is a labor-intensive process that may be beyond the capabilities of the average DIYer.
The right wallpaper application can disguise flaws, but only if it's straight and even. Use earplugs and a face mask when sanding walls with a hand sander in preparation for painting. Using gently textured paint to cover over dings and dents may or may not be effective. Plasterboard is a time-consuming yet foolproof method of making perfectly smooth walls.
If you stick to these rules, you'll have no trouble keeping your walls smooth. Maintaining clean walls and avoiding damage requires regular cleaning. When making minor repairs, use only a small amount of joint compound or filler and carefully sand the area before painting over it. Turn on the air conditioner and the fans to dry the house out. A mild detergent and warm water are ideal for gentle cleaning. When moving things close to the walls, be mindful of protecting the floor and furniture with felt or rubber pads.
It is important to do routine checks for damage or wear indicators like cracks, bubbling paint, or discolouration. Keep the walls as smooth as possible by acting quickly if necessary.
Content Summary
- Plastering is the most common method for achieving smooth walls.
- Plastering requires training, experience and can be expensive.
- DIY projects on patchwork sections are easier, but large areas may require expert assistance.
- Sanding the walls can help smooth rough and bumpy plaster.
- Cleaning walls with sugar soap can prime them before painting.
- Sanding plaster walls requires caution to avoid damaging the delicate plaster.
- Cleaning scuffs and defects with warm, soapy water can improve the wall's appearance.
- Lining paper can be used to cover wall imperfections before painting.
- Using a fine filler can patch small imperfections and provide a smooth surface.
- Loose paint should be scraped off before smoothing the walls.
- Polyfilla can be used to fill dents and cracks in walls.
- Vacuuming the area is essential to remove fine dust particles.
- Larger holes can be patched with wall filler for a smooth finish.
- Skim coating is an alternative to plastering for walls with numerous imperfections.
- Wallpaper can be applied to hide unsightly wall flaws.
- Sanding the walls prepares them for painting.
- Lightly textured paint can help disguise nicks and bumps on the walls.
- Plasterboard is a failsafe option for seamless walls and covering uneven surfaces.
- Regular cleaning helps maintain the smoothness of walls.
- Touch-ups should be done for small flaws using joint compound or filler.
- Protecting against moisture is crucial to prevent damage to smooth walls.
- Gentle cleaning with mild detergent and warm water can remove dirt from walls.
- Avoid slamming or scraping objects against walls to prevent damage.
- Regular inspections help identify and fix any wall damage or wear.
- Plastering is an art that requires training and experience.
- Plaster provides durability and a smooth surface for painting.
- DIY projects are easier on patchwork sections but may require expert assistance for large areas.
- Sanding walls can help remove roughness and bumps.
- Sugar soap can be used to clean walls before painting.
- Sanding plaster requires care to avoid damaging it.
- Cleaning walls with warm, soapy water can remove scuffs and defects.
- Lining paper can improve the appearance of walls with imperfections.
- Fine filler can be used to patch small cracks and holes.
- Loose paint should be scraped off before smoothing the walls.
- Polyfilla can fill dents and cracks on walls.
- Vacuuming the area helps remove fine dust particles.
- Wall filler can be used to patch larger holes for a smooth finish.
- Skim coating is an alternative to plastering for walls with many imperfections.
- Wallpaper can hide wall flaws and improve the appearance.
- Sanding walls prepare them for painting.
- Lightly textured paint can help disguise nicks and bumps on walls.
- Plasterboard is a reliable option for seamless walls and uneven surfaces.
- Regular cleaning helps maintain smooth walls.
- Touch-ups should be done for small imperfections.
- Protecting against moisture prevents damage to smooth walls.
- Gentle cleaning with mild detergent and warm water keeps walls clean.
- Avoid damaging walls by being cautious with objects near them.
- Regular inspections help identify and fix wall damage or wear.
- Plastering requires training and experience to achieve a smooth finish.
- Plaster provides durability and a smooth surface for painting.
Frequently Asked Questions About Plastering
While using products such as joint compound or filler is common for wall smoothing, there are techniques like sanding and wallpapering that don't require additional products.
The time required depends on the size and condition of the walls and the chosen method. For example, smoothing walls without plastering can take several days to complete, considering preparation, drying time, and necessary touch-ups.
It's generally recommended to prime the skim coat before painting. Priming helps to create a better surface for paint adhesion and enhances the durability and appearance of the final paint job.
Yes, it's possible to smooth textured walls without removing the texture. Techniques such as skim coating, applying wall liner, or using wallpaper can help to conceal and smooth the existing texture.
You may need sandpaper, a sanding block or pole, a joint compound or filler, a putty knife, sponges, paint brushes or rollers, and a scraper for wallpaper removal.

