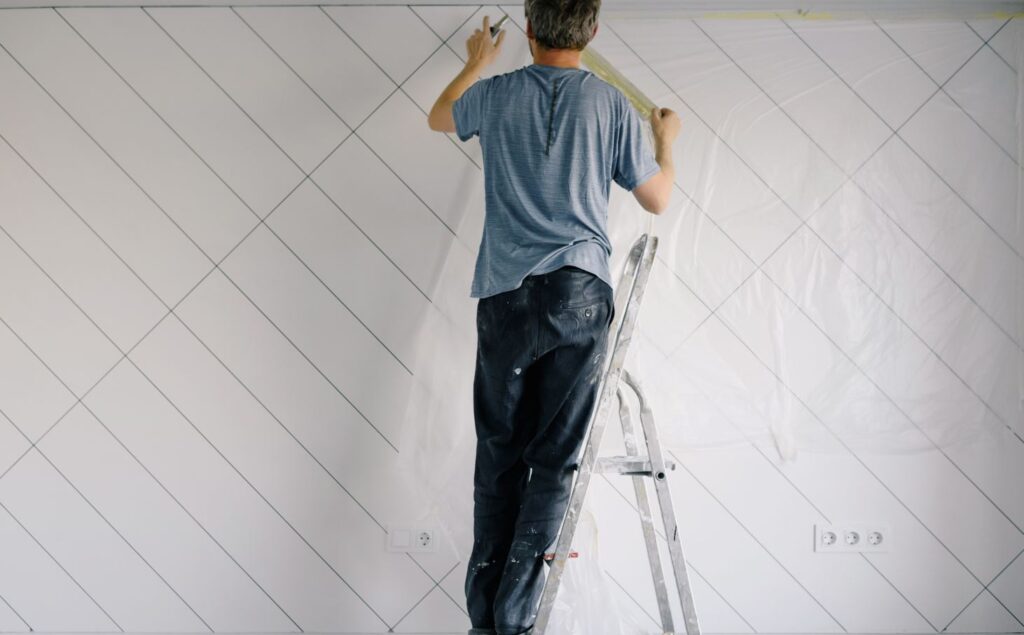
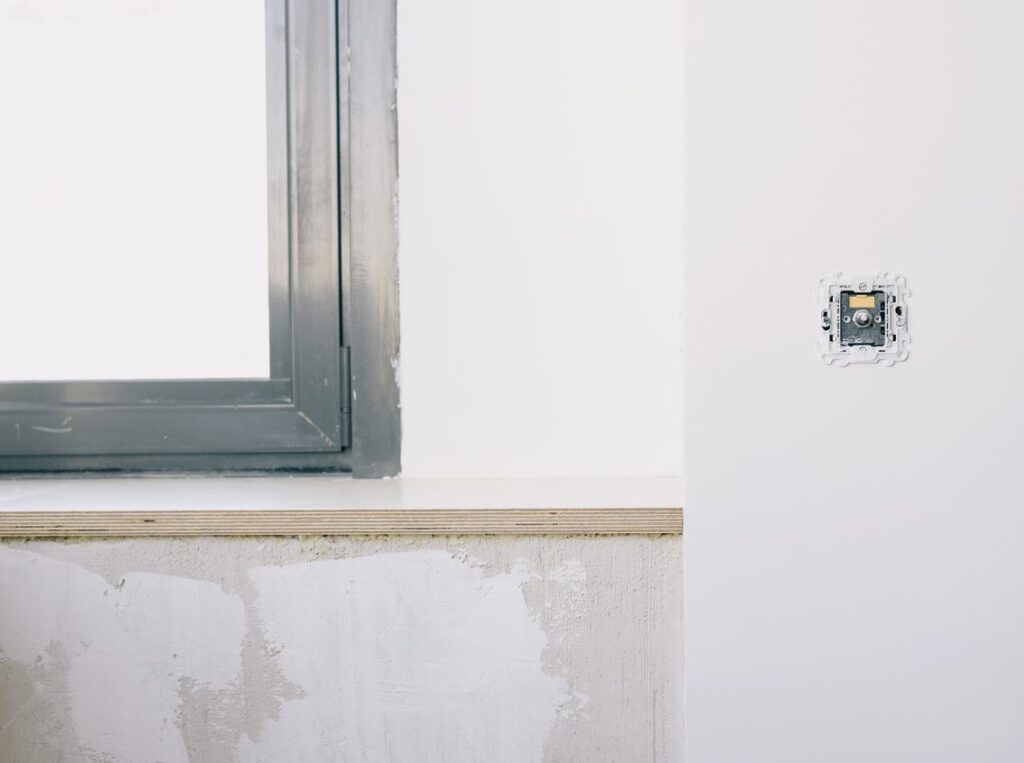
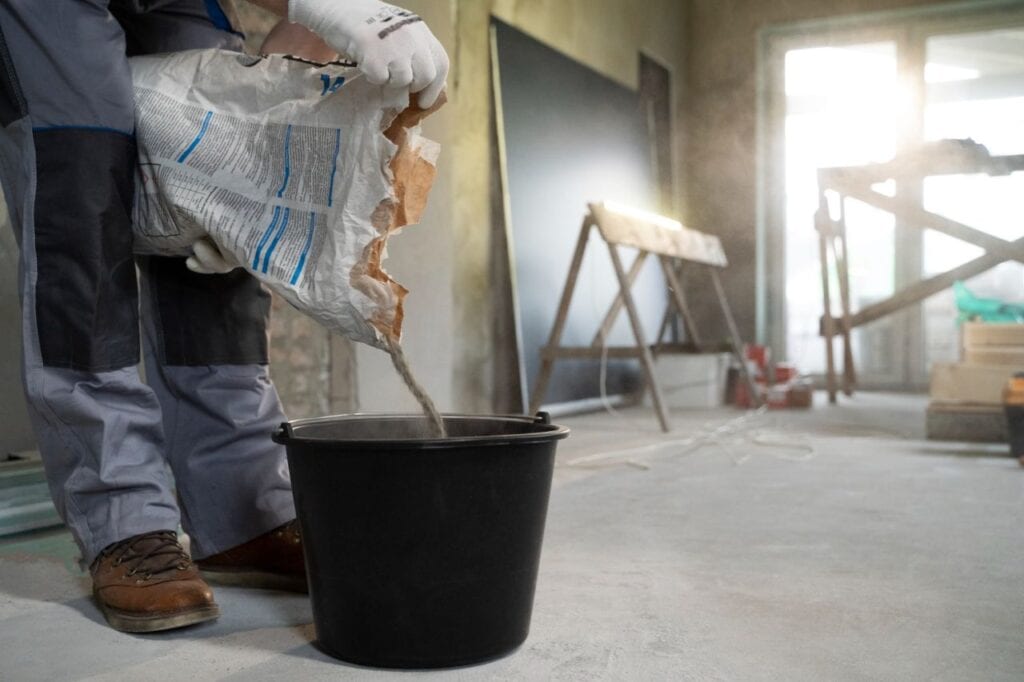
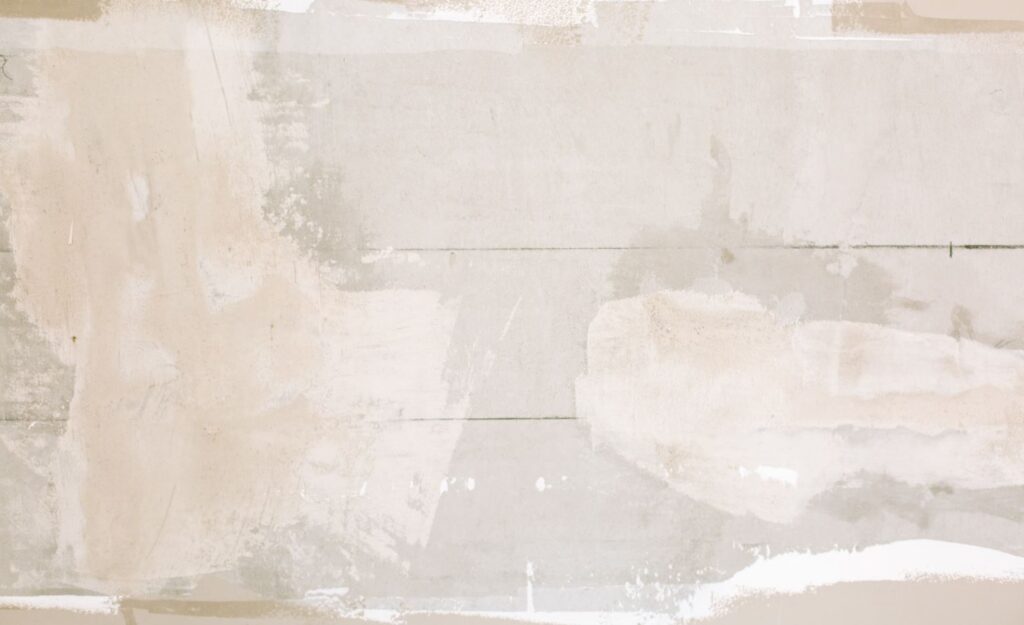
Is the peeling plaster on your walls frustrating you and making you wonder what you can do to restore their former glory? Believe it or not, you have company. Plaster walls that are peeling are a typical issue with multiple root causes, including water damage, improper installation, and general wear and tear. This fascinating manual explore the ins and outs of restoring peeling plaster. You will learn how to fix this problem and bring back the original condition of your walls with the help of professional advice and detailed guidelines. It's time to say goodbye to ugly peeling and hello to the radiance of freshly painted walls.
What Caused The Peeling In My Plaster Walls?
Perhaps The Plaster Was Not Completely Dry Before Painting.
If there is moisture in the plaster behind freshly painted walls, the paint will peel. Before you can paint over plaster, it must be completely dry.
- Plaster needs at least a few days to dry completely, but waiting a week is preferable before painting freshly plastered walls.
- Plaster has a light creamy pink hue when it is completely dry.
Paint That Has Built Up Over Time May Begin To Flake Off Of Ageing Plaster.
Plaster walls often merely get new paint jobs to keep them looking presentable. However, the walls might become damaged when too much paint is put on peeling old plaster.
- Paint that appears peeling due to too many layers should be removed by sanding or scraping, and the plaster should then be repainted.
- Inadequate priming of the plaster before painting is another cause of flaking paint.
The Top Layer Of Plaster Might Peel Up If There Is Too Much Moisture.
Any plastered wall will require three coats of plaster: the scratch coat, the intermediate coat, and the top coat, often known as the hard coat. The top coat is the most absorbent and will peel away from the base layers if wet too often.
- It occurs most frequently on exterior walls but can also appear in the kitchen or bathroom.
- Plaster walls can get damp from day-to-night temperature swings, as well as from air conditioning.
How Do You Prepare Plaster For Painting?
The First Step Is To Remove The Flaking Paint.
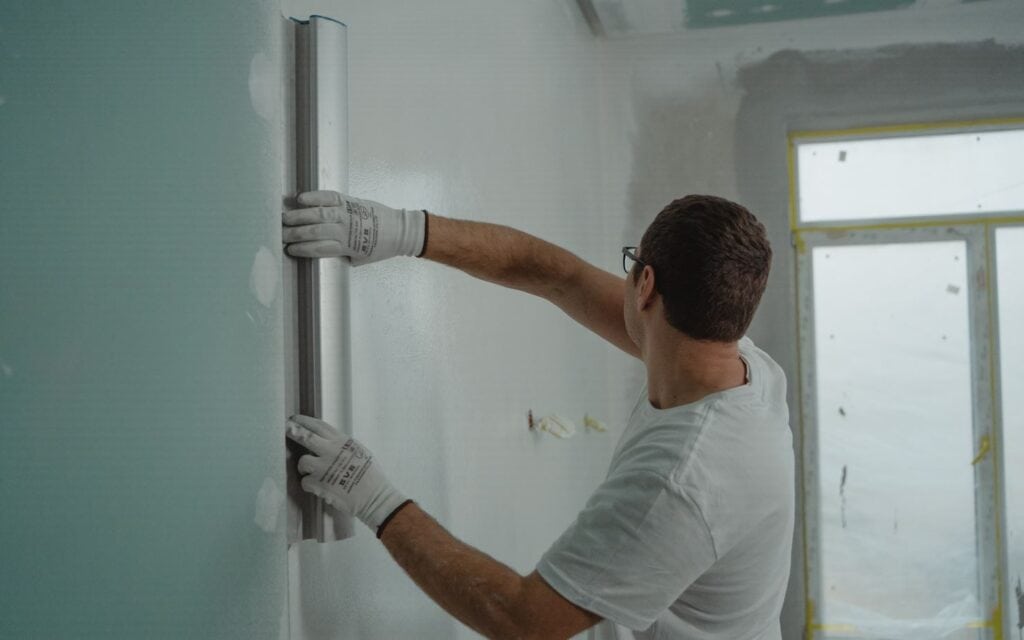
Scrape flaky paint using a putty knife. Roll the putty knife in a back-and-forth motion across the affected area, occasionally switching directions to remove all the flaking paint.
- This allows you to check that the plaster is still intact and has not begun to peel away from the underlying layers of the wall. It can be painted as long as the plaster's top layer is in place.
Use Sandpaper To Round Off The Remaining Paint.
Place sandpaper with a fine grain (1500 or 2000) on a sanding block. Use it to go back and forth over the peeled area's unbroken paint until the two colours merge.
- Before painting over a damaged area, ensure the underlying plaster is repaired. Joint compound or patching plaster will do the trick.
Prepare The Harmed Area For Use.
One coat of plaster priming should be painted over the peel using a paintbrush. Wait at least an hour after applying primer before painting.
- It would help if you gave patched plaster at least three days, preferably a week, to dry before priming and painting over it.
- As soon as you begin applying the primer, any faults in the wall will become immediately apparent.
Can Any Paint Be Used On Plaster, And If So, What Kind?
Emulsion Acrylic Paint.
After the wall has been patched and primed, apply your chosen acrylic paint with a smooth roller. After the first layer has dried for a full night, give the wall a new, uniform aspect by applying a second and third coat.
- If you want to give your plaster a little sheen, try using a semi-glossy or glossy paint.
- Try to paint over an existing layer with paint of the same shade. If impossible, prime the entire wall with plaster primer and repaint.
Spackle For Plaster Wall Repairs?
Joint Compound Or Patching Plaster Is Ideal For Making Quick Fixes.
The joint compound should be mixed with water as the manufacturer directs and applies to the injured area using a putty knife. After waiting at least 24 hours, use the edge of the putty knife to blend it into the surrounding area.
- As an illustration, this method can be used to repair flaking paint and expose a damaged top coat of plaster before painting over it.
- Joint compound or patching plaster can also be used to repair minor damage to your plaster.
- Professional plaster restoration using traditional methods and matching materials is recommended for damaged areas larger than 2 feet (0.61 metres) by 2 feet (0.61 metres).
How Do You Repair Huge Fissures In Plaster?
Make Small Pilot Holes In The Plaster On Either Side Of The Break.
Drill a hole on the other side of the crack using a masonry bit measuring 3/16 inches (4.76 millimetres). Repeat the process on the other side, spacing the holes about 4 inches (10 centimetres) apart. Drill a line of holes along the crack, spacing them out by about 3 inches (7.6 centimetres).
- If you feel the drill hitting wood when drilling through plaster, you can stop drilling and remove the masonry bit.
Fill The Holes With Plaster Repair Adhesive And Inject It.
First, you should vacuum all the cracks to remove any loose plaster. Next, use a caulking gun to fill each crack with plaster repair adhesive.
- Remember that the goal here is to encourage the plaster to reaffix to the lath underneath and prevent additional cracking. Joint compound or repair plaster can heal cracks in the plaster's top layer.
Put The Glue On The Lath And Screw The Plaster Into Place.
After drilling holes in the wall:
- Cover each screw with a plastic washer measuring 2 inches (5.1 centimetres).
- Put a screw into each hole and ensure it reaches the wooden lath underneath.
- Remove the screws and washers after waiting a day or two.
- Remove glue that seeps through gaps using a moist sponge.
- As the plaster is pulled back together by the screws, the crack should begin to close.
- After removing the screws, fix the crack with a joint compound or repair plaster before priming and painting.
Can Drywall Be Used Instead Of Plaster?
If The Plaster Can't Be Fixed, Then.
Unless the plaster is severely damaged and repairing it is too expensive or complicated, there is no reason to replace it with drywall, especially in older structures. Plaster and lath buildings offer some soundproofing, insulation, and fire protection and should be preserved if just slightly damaged or peeling.
- Even though plaster walls are still very built, they fell out of favour after the 1950s as drywall became more popular. Drywall is widely employed in today's building industry because of its speed and low cost.
Frequently Asked Questions About Plaster Wall
Yes, applying a primer helps the paint adhere better and ensures an even finish. Use a primer suitable for plaster surfaces.
It can be challenging to achieve an exact match. Take a small sample of the existing paint to a store for colour matching.
Feather the edges of the repaired area by sanding and gradually blending the paint. Apply multiple thin coats for a seamless finish.
Ensure proper ventilation, fix any moisture issues, and maintain a stable indoor humidity level. Avoid using excessive water when cleaning the walls.
If the peeling and damage are extensive, or if the plaster is old and deteriorated, it might be more cost-effective to remove and replace the entire wall. Consult a professional for an assessment.
The Most Frequent Plastering Flaws And What Causes Them
Cracked Plaster
This is the most typical problem you'll encounter. Plaster can crack in a variety of ways, including delamination cracks, hairline cracks, and settlement cracks. Numerous factors can cause these fissures to manifest. Bricks may contract due to shifting foundations or shifting roof temperatures.
Uneven Plaster
Uneven plastering can be traced back to flaws in the finishing plane of the surface, which poor craftsmanship inevitably creates. A bad plaster job will ruin the look of the final result.
A block hand sander should suffice when the plaster is only slightly uneven in spots. If the plaster is bumpy, an electric sander may be required. Use a very fine sandpaper grit in either scenario, and take your time.
If the walls are highly uneven, a skim coat of plaster may be the best option. It's similar to traditional plastering, except you're filling in the cracks here. This is a breeze compared to sanding, but you'll need a steady touch to avoid creating more work for yourself.
Wall Of Bubbling Plaster
Dampness and condensation are key contributors to plaster deterioration. This issue arises when water damage causes the material to bubble or expand excessively. The damage could worsen, and mould could start growing if you don't take care of it immediately.
Determine where the water is leaking from and plug it in if possible. First, thoroughly clean the wall by removing the damaged plaster and other debris. Before painting over the damaged area, prime it using a sealer and primer in one made of oil.

Plasters That Won't Stick
When the material separates from the wall, we call that a flaw. If the debonding area grows, it will be necessary to undertake more extensive repair work.
If the walls are dusty or oily, carefully wipe them down. Use a cement slurry or a spatter dash coat on the walls before applying plaster. If you want to prevent debonding problems in the future, apply bonding liquids last.
Grinning In Plastering
Plastering flaws also include mortar joints that can be seen. The removal of mortar joints and the suction differential between bricks and mortar are the main causes.
Plastering without first applying an undercoat or splatter dash coat can help prevent this from happening. Rendering and plastering materials will slide about less if applied this way.
Blistering
The expansion of the plastered surface through the development of tiny plaster patches. Air pockets form in a wall when the cement mortar is not mixed properly or when moisture penetrates the wall.
Removing the blister is as simple as removing the afflicted plaster and replacing it with a patch after the moisture issue has been resolved. Easy to use and dry, joint repair compound allows you to recreate the plaster surface with a paintable patch that matches the existing plaster, giving your structure that classic old-house look.
The Gentle Nature Of Plaster.
When exposed to excessive moisture, plaster softens in localised areas. Softness is caused by the undercoats' high suction, excessively thin finishing coats, and deliquescent salts.
What Are Some Of The Plastering's Benefits, If Any?
- Plastering improves the wall's strength and durability while giving drywall a more polished and sturdy appearance. The reaction during the process is crucial for strengthening the connection and producing stronger walls.
- To prepare a surface for painting, this step is essential. Painting is a great way to improve the look of a wall.
- Plastering a wall is a great way to add texture and style to a room.
- The work gets done quickly and on schedule as a result.
- There is no pollution from plastering.
- It leaves a flawless finish and is less likely to cause surface cracking.
Conclusion
Plaster should be repaired before drywall is installed, especially in older buildings. Damaged or peeling plaster and lath can compromise the soundproofing, insulation, and fire safety of a building, therefore it's important to keep it around.
Causes of plaster cracking include foundation movement and changes in roof temperature. Uneven plastering might be the result of sloppy work, ruining the entire project. Plastering is an important step that can lengthen the life of a wall and increase its strength. For sanding uneven walls, you can use either a block hand sander or an electric sander with a fine sandpaper grain. Extremely uneven walls may benefit from a skim coat of plaster, but this process requires a steady hand to prevent making the problem worse.
Plaster deterioration due to water damage and humidity can foster mould growth. Cleaning the wall and applying sealer and primer will help prevent debonding. Before putting plaster, make sure the wall is dust- and oil-free by wiping it down and applying a cement slurry or spatter dash coat. If the wall is dirty or oily, clean it first and then apply the bonding substances. It's important to fix any plastering issues before putting a new coat.
Fix the plastering problems using bonding liquids if they are obvious. Blistering occurs when air pockets form in freshly applied plaster as a result of inadequate mixing or water penetration. Plastering a wall is a great way to update its look, add some flair, and get it done in a timely fashion.
Content Summary
- Peeling plaster walls can be frustrating and can make your walls look unsightly.
- Water damage, improper installation, and general wear and tear are common causes of peeling plaster.
- This comprehensive guide will help you restore peeling plaster walls and bring back their original condition.
- Professional advice and detailed guidelines will assist you in fixing the problem effectively.
- Say goodbye to ugly peeling and hello to beautifully painted walls.
- Moisture in the plaster behind freshly painted walls can cause the paint to peel.
- Plaster must be completely dry before painting to avoid peeling.
- Wait at least a week before painting freshly plastered walls.
- Peeling paint can result from excessive layers of paint on old plaster.
- Sanding or scraping should be done to remove peeling paint, followed by repainting the plaster.
- Inadequate priming of the plaster before painting can lead to flaking paint.
- Excessive moisture can cause the top layer of plaster to peel.
- Exterior walls are more prone to this issue, but it can also occur in the kitchen or bathroom.
- Temperature swings and air conditioning can contribute to dampness in plaster walls.
- The first step in preparing plaster for painting is removing the flaking paint.
- Use a putty knife to scrape off the flaky paint in a back-and-forth motion.
- Check that the underlying plaster is intact and not peeling before painting.
- Use sandpaper to smooth out the remaining paint on the peeled area.
- Repair the underlying plaster with joint compound or patching plaster before painting over it.
- Apply one coat of plaster primer over the peeled area before painting.
- Give patched plaster enough time to dry before priming and painting.
- Applying primer will reveal any faults in the wall that need further attention.
- Emulsion acrylic paint is suitable for painting plaster walls.
- Apply acrylic paint with a smooth roller, allowing each coat to dry before applying the next.
- Consider using semi-gloss or glossy paint to give the plaster a sheen.
- Prime the entire wall with plaster primer if painting over an existing layer is not possible.
- Joint compound or patching plaster is ideal for quick fixes on plaster walls.
- Mix the joint compound with water and apply it to the damaged area with a putty knife.
- Blend the joint compound into the surrounding area for a seamless finish.
- Professional plaster restoration is recommended for areas larger than 2 feet by 2 feet.
- Small pilot holes should be made on either side of a crack in plaster walls.
- Fill the holes with plaster repair adhesive using a caulking gun.
- Use screws and plastic washers to secure the plaster back into place.
- Remove the screws and washers after a day or two.
- Repair the crack with joint compound or repair plaster before priming and painting.
- Drywall can be used as a replacement for severely damaged plaster walls.
- Plaster and lath offer soundproofing, insulation, and fire protection benefits.
- Drywall became more popular than plaster after the 1950s due to its speed and cost-effectiveness.
- Cracked plaster is a common issue caused by various factors.
- Uneven plastering is often the result of poor craftsmanship.
- Use a hand sander or electric sander to address uneven plaster.
- A skim coat of plaster can be applied to highly uneven walls.
- Bubbling plaster occurs due to dampness and condensation.
- Repair water leaks and remove damaged plaster before painting over the area.
- Plaster that won't stick is a flaw that requires additional repair work.
- Wipe dusty or oily walls before applying plaster.
- Apply a cement slurry or spatter dash coat before plastering to prevent debonding.
- Grinning in plastering can be prevented by applying an undercoat or splatter dash coat.
- Blistering occurs when the plastered surface expands or moisture penetrates the wall.
- Plastering improves wall strength, durability, and the overall appearance of the walls.

