Plastering the ceiling with a texture can make the space more interesting and attractive to the eye. However, there are times when a smoother, more contemporary look or damage necessitates the removal of the textured ceiling plaster. Removing textured ceiling plaster can be difficult and requires careful preparation and the correct procedures. Still, it's well worth the effort if you're planning a restoration project or want to refresh your living area.
This blog will show you how to safely and efficiently remove textured ceiling plaster. For your convenience and the protection of the underlying structure, we will supply you with helpful hints, safety measures, and suggested equipment. Following these steps, you can transform your textured ceiling into a smooth surface to paint or hang pictures.
Understanding Textured Ceilings
Popcorn ceilings, which first became popular in the late 1950s, were developed to hasten the building process. Contractors were able to cut down on post-installation fine-tuning thanks to the drywall's uneven texture. Time and money were spared as a result.
The standard method of finishing was to spray on a popcorn texture. It helped with soundproofing and added a touch of fire safety as well.
Regarding that fad that isn't as popular as it used to be anymore, one major safety concern needs to be addressed.
The Importance of Removing Textured Ceiling Plaster
Many positive outcomes can result from removing textured ceiling plaster. Some of the most compelling arguments in favour of scraping off that textured ceiling:
Improves Aesthetic Appeal
Ceilings with the once-popular textured plaster can make a space look old and drab. However, you can update the look of your space and give it a clean, contemporary feel by removing it.
Easier Maintenance
Ceilings with a textured plaster finish can be difficult to maintain due to the buildup of dust and dirt in the fissures. Cleaning and maintenance are reduced in complexity when the textured surface is eliminated.
Makes Future Repairs And Modifications Easier.
Having a flat ceiling surface makes it much simpler to perform maintenance on the structure or perform renovations in the future. In addition, removing the textured plaster allows repairs or alterations without disrupting the existing texture or requiring a match.
Increases The Amount Of Natural Light That Is Reflected
Ceilings with a textured pattern have a propensity to absorb light, which can make a room appear darker and more compact. By removing the textured plaster, you can improve the light reflection in the room, resulting in the room feeling both brighter and larger.
Enhances Indoor Air Quality
Plaster with a textured surface can accumulate dust mites and other allergens over time. These contaminants have been shown to have a detrimental effect on indoor air quality and have been linked to various respiratory and allergy symptoms. Removing the textured plaster can contain these harmful substances and indoor air quality can be improved.
Increases The Value Of A Home
Adding a flawless and well-maintained ceiling can greatly boost your property's worth. Getting rid of textured ceiling plaster is one way to increase your home's value in today's competitive real estate market. Buyers typically seek out properties that are up-to-date, uncluttered, and spotless.
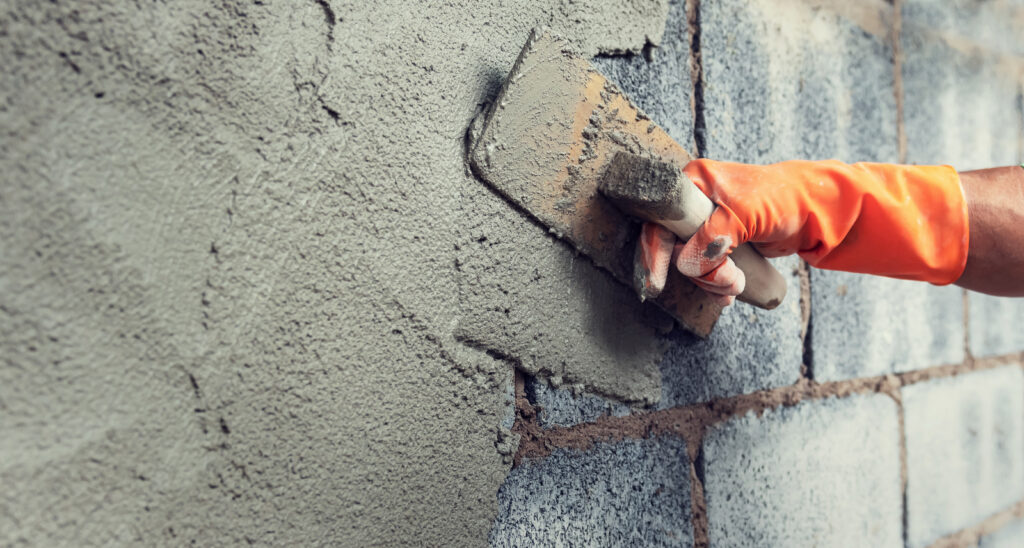
Step-By-Step Instructions For Removing Textured Ceiling Plaster
The results of your examination have been returned. No asbestos exists in your area. Get going now because you're all set.
The equipment you'll need is as follows, so let's get started:
- Pressurised sprayer
- Large putty knife
- or drywall taping trowel
- Dust collection system or trash bags
- Plastic tarps
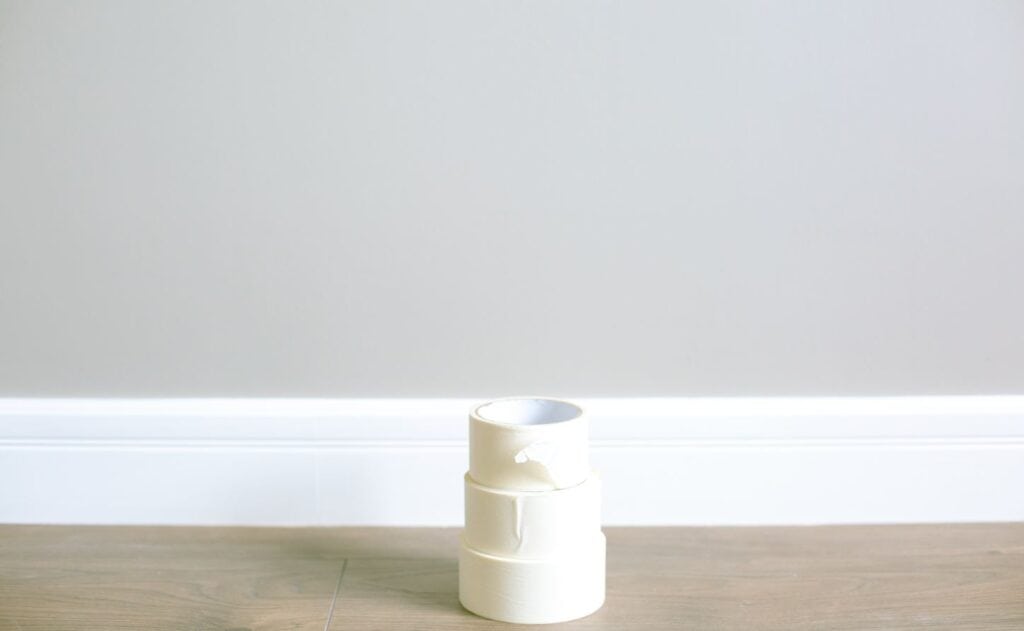
- Painter's tape
- Ladder or scaffolding
Those are the fundamentals. Depending on the specifics of your room, you may require some items that we still need to include. Before beginning, gather the necessary materials. If you do this, you'll be able to finish the project more quickly and with less stress.
Prepping The Room
It would be best to safeguard the room's walls, floor, and furniture unless you work in a space.
Plaster removal from a textured ceiling is messy regardless of the approach taken.
- To begin, take down any and all items affixed to the ceiling. Before removing any electrical parts, ensure the circuit breakers are turned off. Connect all wire ends with wire nuts.
- Put the fixtures somewhere else so you won't trip over them.
- Painter's tape can seal off any exposed wiring or ventilation holes.
- Get rid of as many pieces of furniture as you can. Cover thoroughly with plastic, whatever you can't throw away. Painter's tape will work well for this purpose. It doesn't take much for the dust to get in.
- Wrap around the floor several inches up the walls.
- The following step is to tape plastic sheeting along the walls and let it drape to the floor to prevent dust from falling through the floor covering. Attach the floor of the drapes to the covering using tape.
- Keep in mind that you'll need a doorway. The open door will let dust in.
- You can remove the textured ceiling after ensuring the room is dust-free, and everything is covered.
Gathering The Necessary Tools
The proper equipment is essential for removing textured ceiling plaster. The following is a list of necessities:
- Water
- Painter's tape
- Drop clothes or old sheets.
- Safety goggles
- Plastic sheets or tarps
- Respirator or dust mask
- Sander or sanding block
- Putty knives or scrapers
- A vacuum cleaner with a HEPA filter
- Garden sprayer or spray bottle
- Paint and primer (optional for refinishing)
- protective attire, such as gloves and coveralls
Ensuring Safety First
The happiness of you and your loved ones should always come first in any home improvement project. However, removing textured ceiling plaster may create dust and other hazards. Therefore, please observe the following precautions:
- Keep the dust and dirt out of your eyes by donning a pair of safety goggles.
- Put on a respirator or dust mask to prevent particles from entering your lungs.
- Put on clothing intended to prevent skin irritation.
- Ventilate the space by opening windows or turning on fans as needed.
- If you have someone to work with, do so; it will be easier and safer.
Make Use Of A Specific Product
Using a particular texture remover product is similar to texturing a ceiling requiring a careful application.
They advocate for the product's use. After applying it to the (ceiling) surface, you can leave it alone overnight by covering it with plastic wrap.
The textured paint and ceiling will both become more pliable after this procedure. You can scrape away the texture the following morning with a long-handled blade scraper.
Using Water To Remove Textured Ceiling Plaster
Here are the detailed steps you need to take to remove textured ceiling plaster using water:
- Spraying water on the ceiling: Spray the textured ceiling generously with warm water from a spray bottle. Ensure all the ground you'll be working on is submerged in water. Because of the water, the plaster will become less sticky and more pliable.
- Allowing the water to absorb: Wait a while for the water to soak in after spraying it on the ceiling. The water will seep into the textured plaster, softening it so it can be easily scraped off. Depending on how thick it is and how well it sticks, it could take several minutes for the plaster to absorb all of the water.
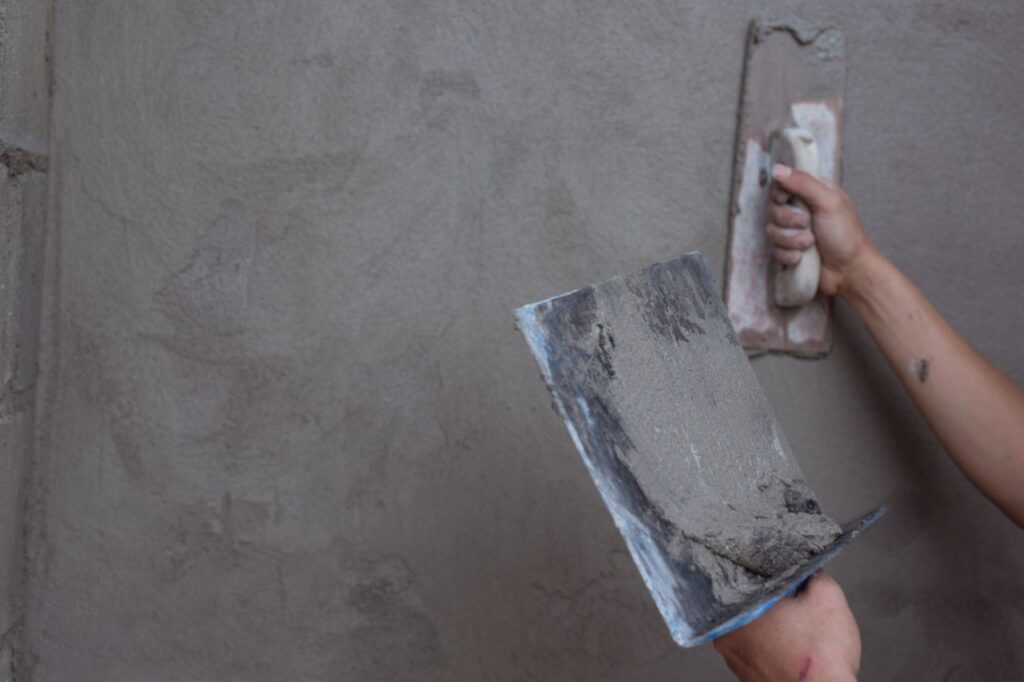
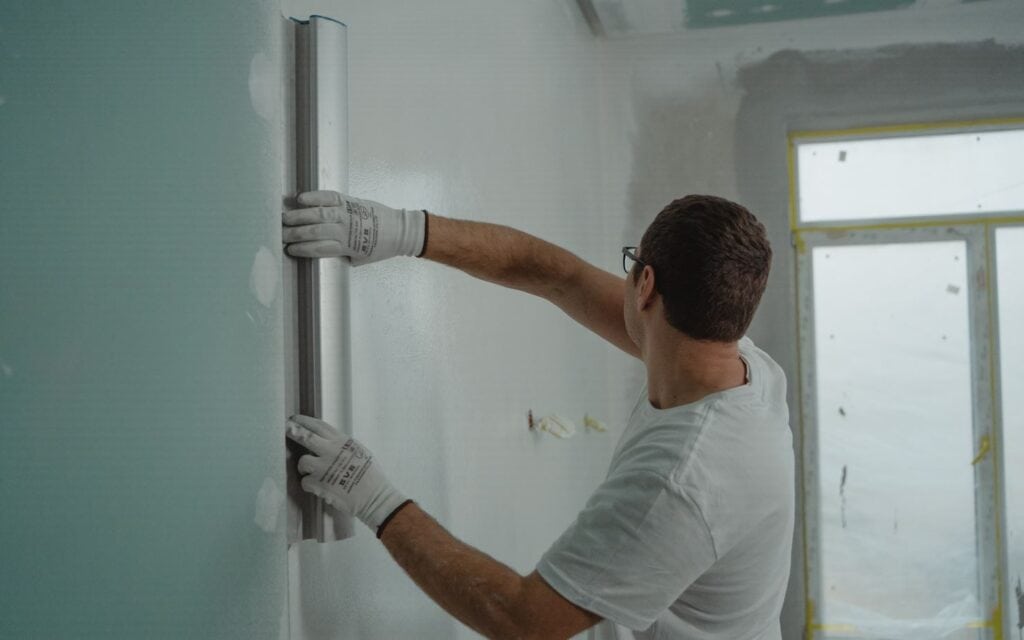
- Remove the plaster: After the water has soaked in, gently remove the textured plaster with a putty knife or scraper. Working from one section's edge, slowly drag the scraper across the surface while applying light pressure. When removing the plaster, take extra care not to scratch the underlying surface. Gather the leftover plaster scrapings and throw them away properly.
- If necessary, repeat the procedure: Spraying and scraping the textured plaster may require more than one attempt. Repeat the process to remove any remaining stubborn areas or thin the texture. You can scrape off any remaining plaster after giving the area another soaking spray. Ceiling smoothness can be controlled by how many times this process is repeated.
Sanding Textured Ceiling Plaster Removed By Dry Method
Here are the detailed steps you need to take if you want to use the dry approach to removing textured ceiling plaster.
- Sanding the surface of the ceiling: You should begin by using coarse-grit sandpaper to smooth out the ceiling's texture. You can easily reach the ceiling using a sanding pole or a stepladder. You can sand in a circular motion or back and forth, but the pressure must be consistent. The goal is to eliminate all imperfections and produce a perfectly flat surface. Protect your lungs and eyes from the dust by wearing a mask and goggles.
- Getting Rid of Loose Plaster Particles: The textured plaster will come apart as you sand it. Using a putty knife or scraper, remove any flaking plaster that may appear as you sand. Throw your garbage away properly.
- Smoothing the surface: When the bulk of the textured plaster has been removed, you can use finer grit sandpaper to even out the ceiling. Maintain a steady sanding motion to create a flawless surface. To avoid over-sanding and causing damage to the underlying surface, take your time and inspect the work regularly.
- Vacuuming the area: A vacuum cleaner with a brush attachment should be used to remove the dust and debris left behind after sanding. Ensure a complete cleanup by wiping down the walls and any nearby furniture. Dust can easily accumulate in nooks and crannies, so give them special attention.
Dry sanding can produce a lot of dust, so it's important to wear a mask and other protective gear if you do it. A dust mask, goggles, and adequate ventilation are all essential safety measures. In addition, drop cloths or plastic sheeting should be used to cover furniture and floors to contain dust.
Ceiling Repair And Refinishing
After removing the textured plaster, the ceiling must be repaired and refinished for a smooth, professional finish. After scraping away the textured layer, give the ceiling a thorough once-over to look for damage. High-quality joint compound or spackle can be used to fill these cracks and holes, creating a seamless finish.
Once the compound has dried, the damaged areas can be sanded to a smooth appearance. After the ceiling repairs, it can be refinished with a new coat of paint or a different texture, depending on your preference. It is crucial to pay close attention to detail during this process so that the restored ceiling areas blend perfectly with the rest of the ceiling.
Cleaning Up The Mess
Removing textured ceiling plaster will leave a mess that must be cleaned before the area can be considered clean and orderly again. Dust, debris, and stray plaster particles can be released during removal. The first step in cleaning up after removal is to collect all the tools and equipment used. This includes things like scrapers, putty knives, and sandpaper. Next, put the dust and shards of plaster you've gathered in a trash can.
Next, you should vacuum the entire space from top to bottom to get rid of any lingering dust or debris. To clean surfaces and eliminate any lingering dust, use a microfiber cloth or one with a brush attachment. Remember to change or clean your air filters if you want cleaner air inside. Finally, mop or sweep the floor thoroughly to remove any lingering dust or dirt. If you take the time to tidy up the area, you can return to enjoying a clutter-free environment.
Tips For Easier Removal
Following a few guidelines can simplify and expedite removing textured ceiling plaster. Keep in mind the following suggestions:
First, Test A Small Area.
It's important to examine a small ceiling area first to evaluate the texture and determine the best removal approach before committing to the complete process. Find out if any additional work or special equipment is needed to remove the plaster.
For The Wet Method, Use Warm Water.
Warm water can be helpful if you use the wet method to remove textured ceiling plaster. Plaster is easier to scrape off when warmed by water, which weakens its adhesive properties. Prepare the textured surface for removal by filling a spray bottle with hot water and liberally spraying it on.
Working In Small Groups
Removing the textured plaster from the ceiling should be completed gradually rather than all at once. By working on a small section at a time, you can ensure its complete removal while reducing the likelihood of causing any damage to the underlying surface. Get started on a small section of the ceiling and work your way across the room in a methodical fashion.
Seeking Professional Assistance If Necessary
When dealing with a larger area or starting from scratch, removing textured ceiling plaster can be challenging and time-consuming. If you can't handle the workload or aren't confident in your abilities, hiring help is best. In order to safely and effectively remove textured ceiling plaster, it is recommended that you hire a professional contractor.
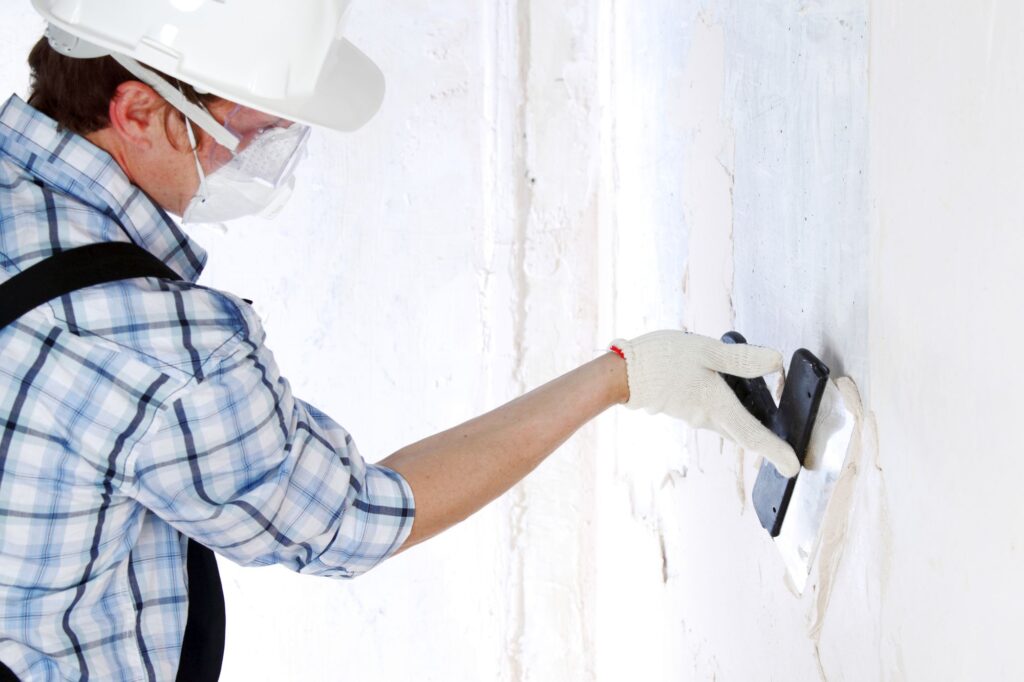
Conclusion
Plaster with a textured surface can enhance the aesthetics of a room but potentially compromise its structural integrity. It's not easy to remove textured ceiling plaster, but if you're planning a renovation or just want a change, it's time well spent. In this post, we'll go through the steps you need to do to safely and effectively remove textured ceiling plaster.
In an effort to speed up construction, popcorn ceilings were invented in the late 1950s and became popular shortly thereafter. As a conventional finishing technique, spraying on a popcorn texture improved soundproofing and increased fire safety. This trend, however, has faded in recent years.
Numerous advantages accrue from removing textured ceiling plaster, including a more pleasing appearance, reduced repair and maintenance costs, more natural light reflection, cleaner air inside, and a higher property value.
You'll need a pressurised sprayer, a big putty knife, a drywall taping trowel, a dust collecting system, some plastic tarps, some painter's tape, a ladder or scaffolding, and safety gear to remove textured ceiling plaster. Remove all electronics from the room, wrap the furniture in plastic, and lay down a plastic sheet on the floor.
Preparation is the key to a successful removal, so make sure you have everything you need, including water, painter's tape, drop clothes or old sheets, safety goggles, plastic sheets or tarps, a respirator or dust mask, a sander or sanding block, painter's tape, a vacuum cleaner with a HEPA filter, a garden sprayer or spray bottle, paint and primer (optional for refinishing), and protective clothing.
Safety goggles, a respirator or dust mask, and protective gear are all necessary while removing textured ceiling plaster. Open windows and/or use fans to bring in fresh air. Working with a partner reduces risk and increases convenience. Just like texturing a ceiling, using a specific texture remover solution calls for meticulous application and then waiting for it to dry overnight. These are the procedures to take off a textured ceiling: Taking down a textured ceiling is no easy task, but if you follow these steps you'll be able to get a polished look in the end.
Content Summary
- Plastering the ceiling with a texture can enhance its visual appeal.
- Removing textured ceiling plaster requires careful preparation and procedures.
- It's worth the effort to remove textured ceiling plaster for restoration or a refreshed living area.
- Popcorn ceilings were popular in the late 1950s and aided in the building process.
- Removing textured ceiling plaster improves aesthetic appeal.
- Textured ceilings can be challenging to maintain due to dust and dirt buildup.
- A flat ceiling surface makes future repairs and modifications easier.
- Removing textured plaster enhances natural light reflection and makes the room appear brighter and larger.
- Textured plaster can accumulate dust mites and allergens, negatively impacting indoor air quality.
- Removing textured plaster can increase the value of a home.
- The blog provides step-by-step instructions for safely removing textured ceiling plaster.
- Preparing the room is crucial before removing the plaster.
- Gather the necessary tools and materials before starting the project.
- Removing textured plaster can create dust and hazards, so safety precautions should be taken.
- Specific products can aid in the removal of textured ceiling plaster.
- Water can be used to soften the textured plaster for easier removal.
- Sanding is an alternative method for removing textured ceiling plaster.
- Loose plaster particles should be removed during the sanding process.
- The surface should be smoothed after the bulk of the textured plaster is removed.
- Vacuuming and cleaning the area is necessary after removing textured ceiling plaster.
- Repairing and refinishing the ceiling is crucial for a smooth, professional finish.
- Cleaning up the mess is essential after removing textured ceiling plaster.
- Testing a small area before starting the complete removal process is recommended.
- Warm water can be used for the wet method of removing textured ceiling plaster.
- Working on small sections at a time ensures complete removal without damaging the underlying surface.
- Seeking professional assistance is advisable for larger areas or if unsure of one's abilities.
- Safety goggles and a dust mask should be worn during the removal process.
- Proper ventilation should be maintained while removing textured ceiling plaster.
- Plastic tarps and painter's tape are essential for protecting the room during the process.
- Removing furniture and covering the floor with plastic helps minimize dust and debris.
- Taping plastic sheeting along the walls prevents dust from falling through.
- Using a pressure sprayer and putty knife are recommended tools for removing textured plaster.
- Having a well-prepared room and the necessary tools can expedite the removal process.
- Removing textured plaster can update the look of a space and provide a contemporary feel.
- Easier maintenance is a benefit of removing textured ceiling plaster.
- A smooth ceiling surface simplifies future repairs and modifications.
- Removing textured plaster improves light reflection and makes the room feel brighter and larger.
- Indoor air quality can be enhanced by removing textured plaster.
- Removing textured ceiling plaster can increase the value of a home in the real estate market.
- Following step-by-step instructions ensures a safe and efficient removal process.
- Dust collection systems or trash bags should be used to dispose of plaster scrapings.
- Sanding the surface helps achieve a flat and smooth ceiling.
- Proper attire, including gloves and coveralls, should be worn for safety.
- Using a texture remover product can aid in the removal process.
- Spraying warm water on the ceiling softens the textured plaster for easier removal.
- Sanding the ceiling surface eliminates imperfections and creates a flat surface.
- Vacuuming the area after sanding removes dust and debris.
- Repairing and refinishing the ceiling ensures.
Frequently Asked Questions About Ceiling Plaster
Yes, it is possible to remove textured ceiling plaster without professional help. However, it is important to note that the process can be labour-intensive and potentially messy. Therefore, before proceeding, ensure you have the necessary tools, such as a scraper, goggles, a mask, drop cloths, and a ladder. Additionally, consider testing for hazardous materials like asbestos before starting the removal process. If hazardous materials are present, it is strongly recommended to seek professional assistance due to the associated health risks.
The time it takes to remove textured ceiling plaster can vary depending on various factors, such as the area's size, the plaster's thickness, and your level of experience. On average, it may take several hours to a few days to complete the process for a standard-sized room. Therefore, it's important to allocate sufficient time for preparation, including setting up drop cloths and gathering the necessary tools. In addition, the removal process involves scraping off the plaster, which can be time-consuming and physically demanding. Additionally, you may need to address any repairs or touch-ups after removing the textured plaster.
Yes, it is necessary to wear a mask while removing textured ceiling plaster. Scraping off the plaster can generate dust particles that may contain potentially harmful substances, such as silica or asbestos, depending on the age of the plaster. Breathing in these particles can be hazardous to your health. Wearing a mask, specifically a respirator mask with a high-efficiency particulate air (HEPA) filter, helps to prevent inhalation of these particles and protects your respiratory system. Therefore, you must prioritise your safety and wear a mask throughout the removal process.
Using chemical removers to remove textured ceiling plaster is not recommended. Textured ceiling plaster is typically a thick and heavily textured material that chemical removers may not easily penetrate. Moreover, applying chemicals to the ceiling can lead to drips and potential damage to the underlying structure. It is generally more effective to use manual methods such as scraping or sanding to remove the textured plaster. These methods allow for better control and minimise the risk of unintended damage. Remember to take proper safety precautions, including wearing protective gear, when using manual tools for removal.
If you suspect that your ceiling has asbestos-containing textured plaster, it is crucial to exercise caution and not attempt to remove it yourself. Asbestos poses significant health risks when its fibres are released into the air and inhaled. Therefore, hiring a professional asbestos abatement contractor trained and equipped to handle asbestos safely is highly recommended.

