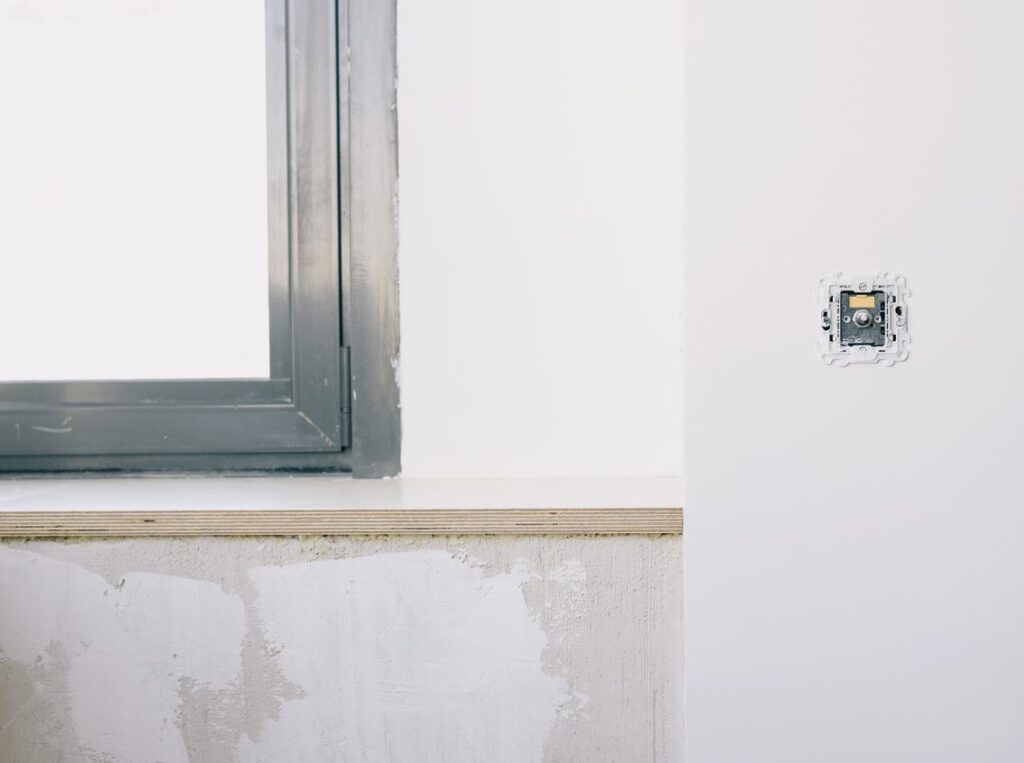
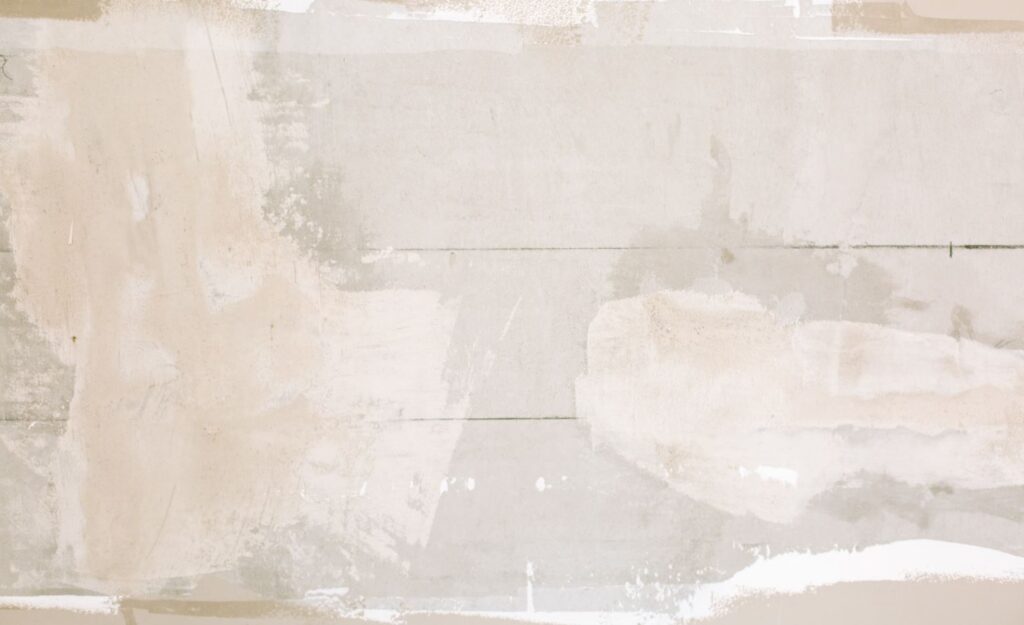
Cement board, often called Wonderboard or Hardiebacker, is a popular substrate for tile installations. Plaster is often used to cover cement boards, but drywall is also an option. However, if you want to get it right, there are some things to consider before you start plastering.
Keep reading to find out how these variables can modify your results. A cement board, for instance, is commonly nailed onto a building's frame structure, which consists of wood or metal studs.
It's a great option for areas like bathrooms, kitchens, and other places where water could cause damage if it got behind the tiles or through the grout. If that's the case, then read on! You will discover the one secret to successfully plastering over cement boards.
What Is A Cement Board?
To determine whether or not cement board can be plastered over, a thorough understanding of what cement board is required and knowing the reasons for and against applying plaster will help you decide whether or not to do so. Therefore, it's important to get a firm grasp on what cement board is before investigating whether or not it can be plastered over. Likewise, knowing the reasons for and against applying plaster will help you decide whether or not to do so.
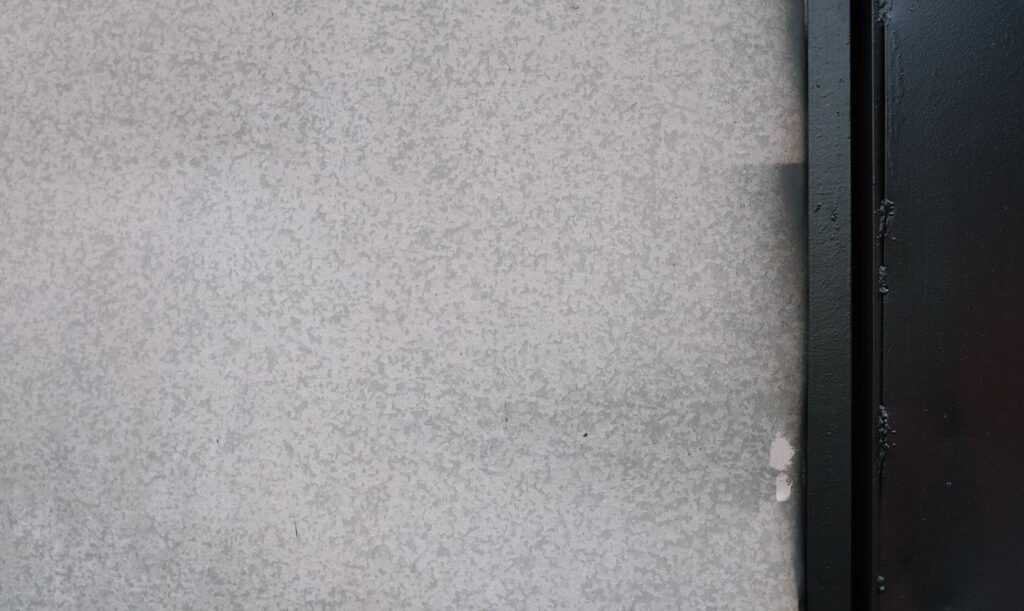
These are fibre sheets made from cellulose and cement. These planks can be either half an inch or one-fourth thick. The majority of their applications are as tile backers. An advantage of cement board over paper-covered gypsum is its durability and resistance to water and moisture. In addition, a cement board makes an excellent backing material because it prevents mould growth.
This quality of cement board is especially useful because tiles are commonly used in wet areas like bathrooms and kitchens. Cement boards are only some of the portable building materials. Two people are required to move it. There's a lot of dust, too.
Cement boards can be put to use in some settings. Wooden floors and countertops are two such examples. Stucco can also be applied to a cement board. Cement boards can be used indoors and outdoors, depending on the project's requirements. A vapour barrier and adhesive should be applied in layers when putting in cement board. After that, use drywall screws to secure the board in place.
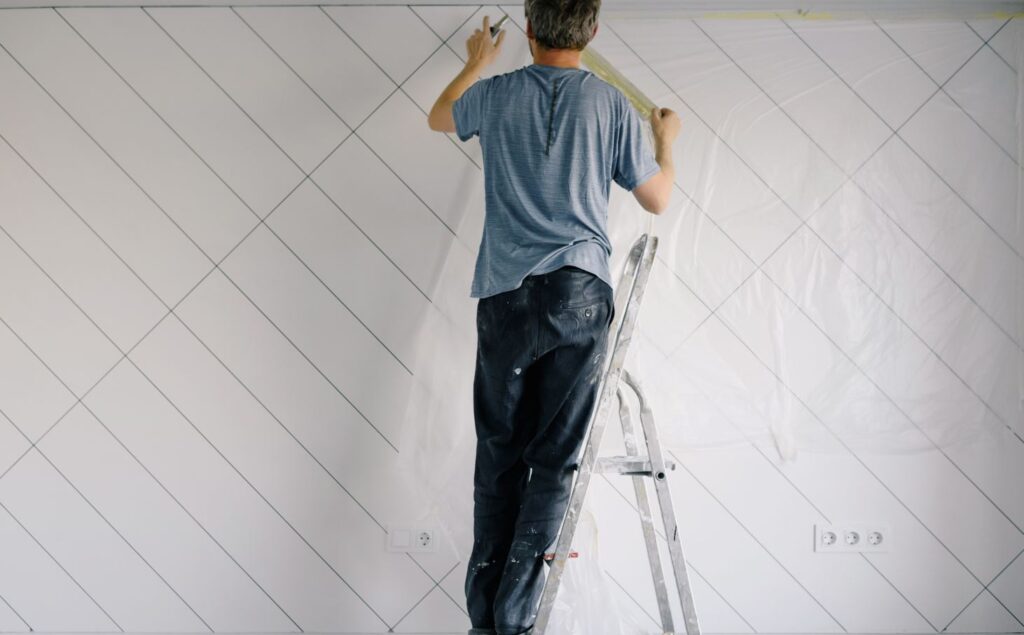
How To Plaster Over A Cement Board: Step-By-Step Instructions
Step 1: Determine
The first step is to check if the cement board is flat or has an embossed pattern. If the panelling is smooth, you can use a standard tile mortar as a base for your plaster. If the surface is embossed and not Sure Back, additional measures will be required to ensure a successful outcome.
Taping off the areas of the wall where the paper covering is located is necessary if the cement board has an embossed surface, allowing you to create a smooth top. Next, apply the joint compound to the damaged areas, wait for it to dry, and proceed with your work.
Step 2: Prepare
After you've finished the first stage, you'll need to clean up the wall panelling and remove any leftover compound before you can plaster it. Then, when you're ready to plaster, apply a thin coat of drywall primer to the entire surface.
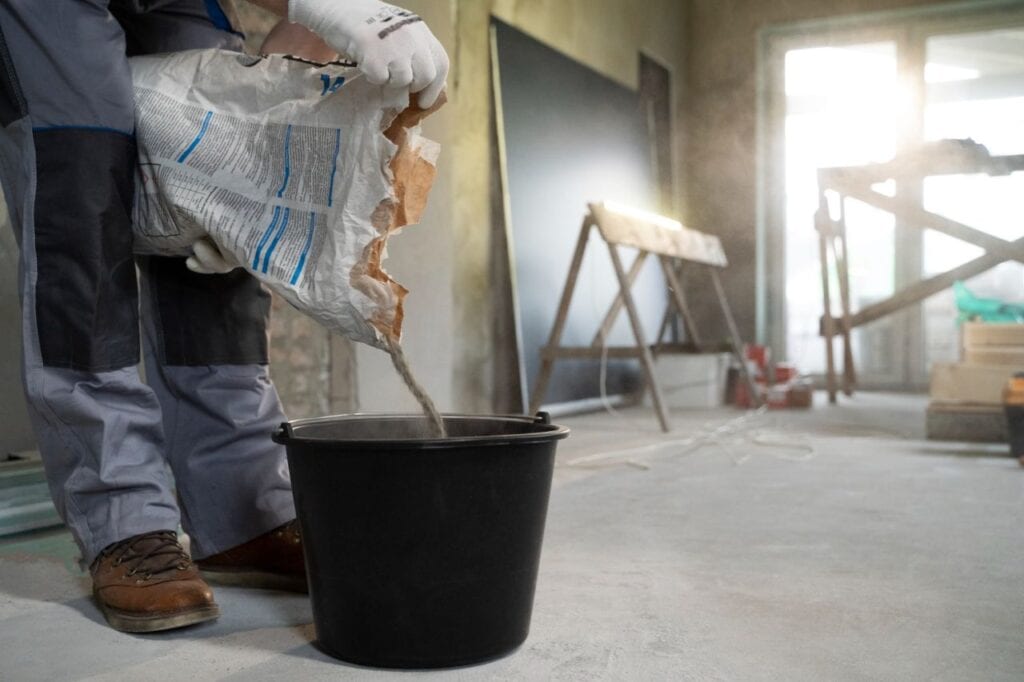
After that, water can be added to the plaster to thin it out to the consistency of sour cream. You should wait to add sand to the mixture after you've spread it on your cement board surfaces, so you can hold off for now.
Step 3: Apply The First Coat
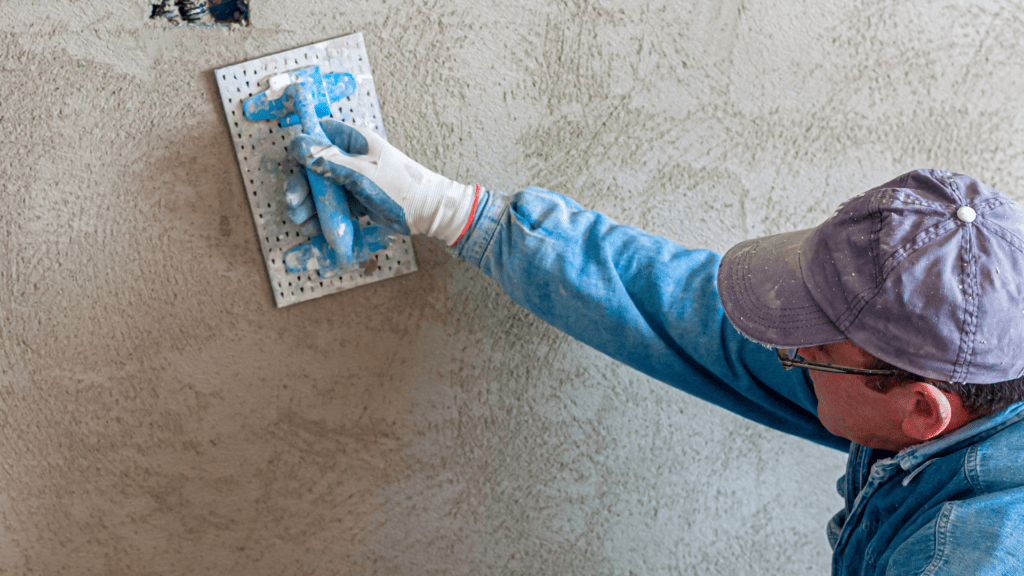
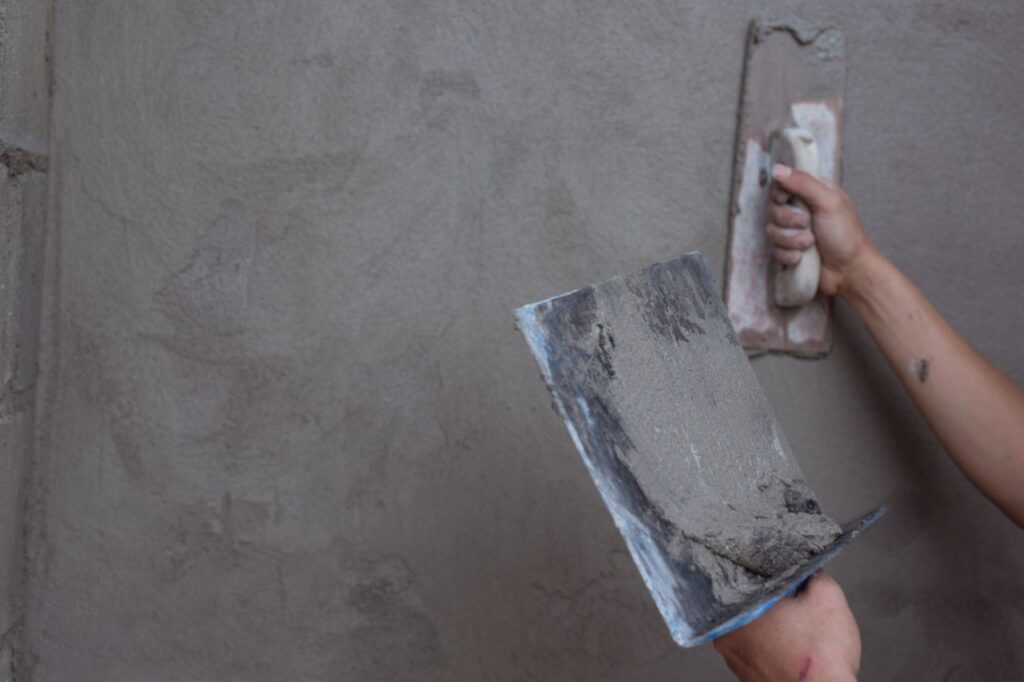
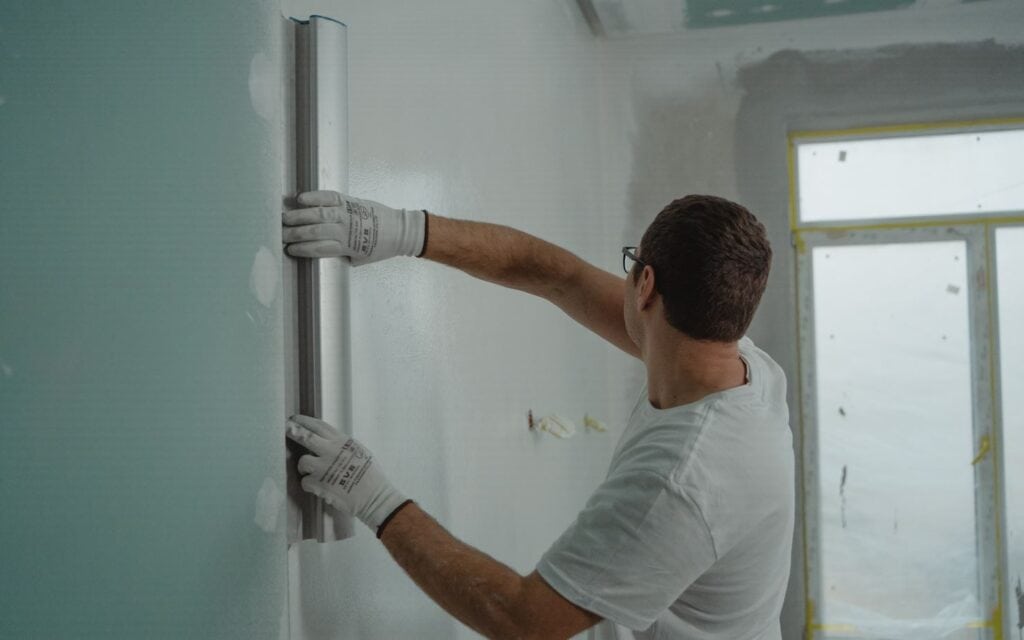
Applying the first coat of your thin plaster mixture should resemble how you applied the drywall primer. The optimal position for holding a trowel is at a 45-degree angle, with the edge resting on the wall you're working on. Then, sweep away from yourself before bringing the trowel back towards you.
It's important to wait until the first coat is dry before applying the second. Carefully consider how many coats of plaster you want to apply to the cement board and how long you want to wait for each coat to dry before applying the next.
Step 4: Texture should be added.
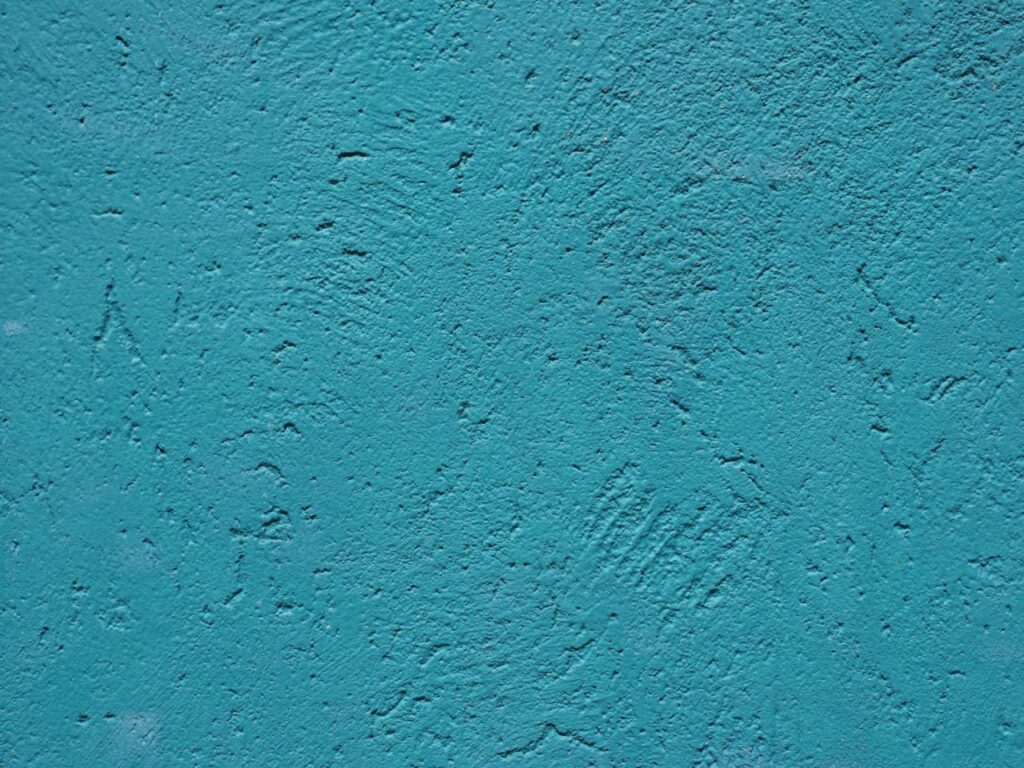
This is the stage during which you will add texture to your plaster. Adding texture to your plaster involves applying a layer over the desired area and pushing it against itself using a drywall knife or trowel.
After that, dry it completely for a couple of hours before applying a second coat. Make sure you let the first one dry out completely before moving on. Return to the textured area with a second coat when the first coat is dry.
Step 5: Sand
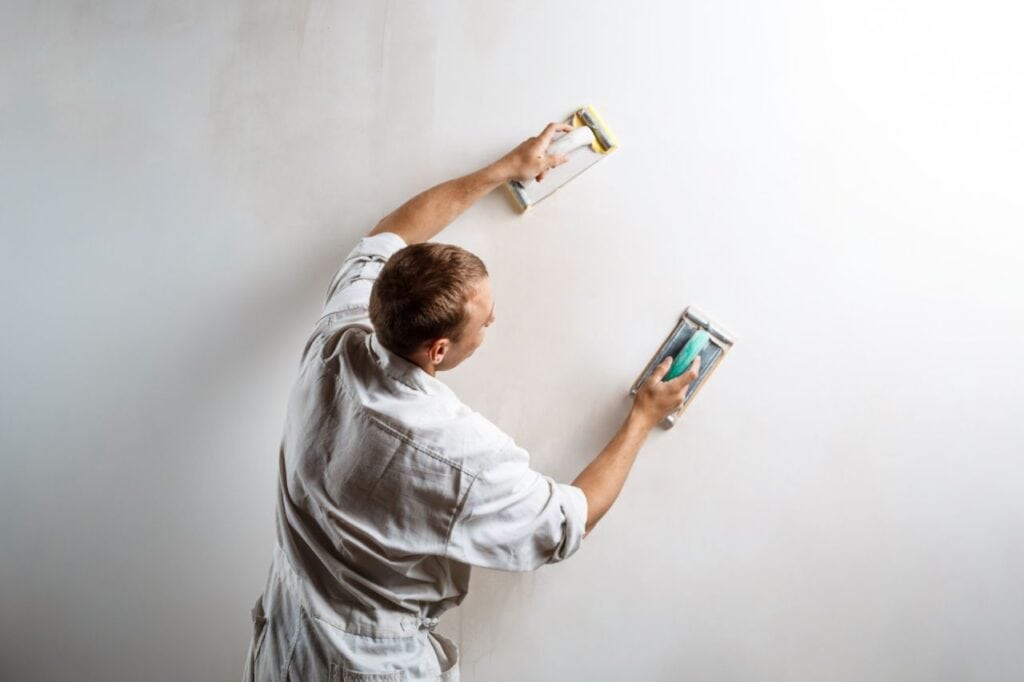
After the first two have dried, the joint compound should be applied as a final coat. When you've finished doing that, you can start sanding. If any portions of your plastered surface still look rough after you've applied the mixture, a sanding block or pole sander should do the trick.
After sanding, clean up the dust and debris with a vacuum and a damp cloth. After using the sander, you should cover the entire surface with a joint compound. Then, do it yourself by following the instructions above for plastering over the cement board.
Step 6: Maintain
Routine maintenance is required after applying the plaster mixture to the cement board. Do this by shoving more of the same mixture into any holes or crevices that may appear over time. To do this, first wet the area and then, if necessary, add the mixture.
You'll need to use medium-grit sandpaper to smooth the surface after the mixture dries before adding a second layer. If you want your wall to look its best, use water regularly to wash away any messes or spills. If properly cared for, plaster can last for decades without any issues.
Step 7: Final Touches
Now that you've completed everything, you can prime the surface in preparation for painting. If you want the best possible results from your paint job, you should keep this in mind. Priming can be done with an aerosol can or a brush, so choose the method that best suits your needs before starting.
It's also a good time to install trim like crown moulding and baseboards to make the plaster look less out of place. Pay special attention to the joints when installing moulding so the finished product appears seamless.
Will Stucco Make Plaster Cement Board Adhesive?
Some online discussion boards recommend using stucco to make a rough surface on which to plaster. However, you may be sceptical of their efficacy if you've encountered similar suggestions.
The construction industry regularly uses stucco. It's a material that can be applied to cement boards or other surfaces to add texture and colour.
Stucco can be used both indoors and out. The weather- and UV-resistant outdoor choice is a practical one. Stucco is a cement-based siding typically made with lime, sand, water, and cement.
There is a plethora of stucco colours and textures to choose from. The surface is finished with cement and acrylic. Plastering over stucco that has already been applied to cement board is our focus here so we won't delve deeply into the variety of stucco finishes available.
Stucco is applied to cement boards to protect and improve their appearance over time. Of course, you can plaster it if you like, but the result will be the same as the stucco.
Stucco can make a smooth base for plastering over cement board. However, the stucco must be removed before the wall is plastered. A summary of how to stucco over cement board is provided below.
First, it would be best to calculate the stucco area over the cement board. You can get an exact measurement with the help of a tape measure. To make sure the board's surface is consistent, you'll need sheets of fibreglass reinforcing mesh.
Better results can be achieved by overlapping the sheets on the cement board. Remember to put mesh over the cement board's seams. As soon as that is completed, a bonding agent can be added. You can brush this right on top of the mesh and cement board. The stucco should be applied after it has had ample time to dry.
It's important to take your time when stuccoing. The ideal thickness is about a quarter of an inch. Then, the substance can be spread with a trowel. Please do not use a plasterer's comb on the first coat until it has dried completely.
The latter intends to thin the layer to roughly eight inches. Spray some water on the completed surface and wait for it to harden over the course of two days. Then, you can apply another coat of stucco over the damaged area. The recommended thickness of the second layer is a quarter of an inch. The second layer is typically the final one. This allows you to customise the final product to your specifications.
Common Mistakes To Avoid During Tile Removal
Avoiding the typical pitfalls plaguing people when removing tiles from a plaster wall is important. Tile removal can go more smoothly and efficiently if you steer clear of these pitfalls.
The following are some common mistakes:
Rushing The Process
When removing tiles, one of the most common mistakes people make is moving too quickly through the process. However, taking your time and moving slowly and carefully is necessary to avoid accidentally damaging the plaster wall. Cracks, gouges, or even structural issues could be caused by rushing.
Ignoring Safety Precautions
Maintaining a secure environment must always be your top priority. Injury from flying tile shards or sharp tools is avoidable if proper safety equipment, such as goggles and gloves, are worn. Damage to furniture and flooring can also occur if drop cloths or tarps are not used to cover the area.
Ignoring The Wall Condition
Assessing the wall's plaster condition prior to removing tiles is essential. If loose plaster or cracks are ignored, they may cause more problems when being taken down. On the other hand, removing the tiles will reveal a smoother surface if any damage is fixed first.
Absence Of Breaks
Removing tiles from a large area can be a strenuous physical task. Fatigue and ineffectiveness are the results of overwork and failing to take breaks. Maintain your concentration and stamina by working steadily, pausing frequently, and consuming plenty of water.
Using Excessive Force
When removing tiles, using an excessive amount of force can cause damage to both the tiles and the plaster wall behind them. When prying off the tiles, it is essential to apply pressure in a controlled and gentle way. An excessive amount of force can cause cracks in the tiles, which will result in a more extensive repair job.
Incorrect Tool Usage
The tiles and the plaster wall can be damaged if the right tools are used or if the right tools are used correctly. Therefore, having the right tools and knowing how to use them properly is crucial, such as a putty knife or chisel. This will reduce the potential for nicks and scratches.
Failure To Remove Adhesive Remains
Removing the tiles is only one step in the process; removing the adhesive residue is also an important step to take. If you don't remove the adhesive properly, you might have an uneven surface or trouble applying the new finish. Therefore, taking the time to remove any adhesive residue using the correct methods is important.
Inadequate Preparation
Removing tiles can be easier if adequate preparation is performed beforehand. Therefore, before you begin, check to see that you have easy access to all of the essential tools and components of the project. This includes using drop cloths, protective gear, and tools designed specifically for removing tiles.
Is It Worth It To Plaster Over Cement Board?
Plastering walls have long been a standard technique for achieving a nice, even coating. However, plastering cement boards, for example, rarely turn out perfectly. Plaster often only sticks if coaxed into doing so by a primer, stucco, or metal lath.
Primers are the most user-friendly option. However, if you want the plaster to stay on the cement board, you must learn about the different available primers.
We have discussed how stucco, by itself, can produce an acceptable appearance. Plastering over stucco would only add a little value to the finished product. The metal lath has proven to be effective as well.
Plastering over cement board, in the end, is more of an experiment. If you have solid construction skills, you'll have no trouble pulling this off. If you're beginning, though, you should get some blue board, attach it to some cement board, and then plaster it.
Plastering will be much less hassle, and the cement board should retain its finish longer.
The cement board and the plaster will need something to be sandwiched in between them, regardless of the technique used. Plaster can't be applied directly on top of the cement board.
Conclusion
It is common practice to put tiles on cement board (also known as Wonderboard or Hardiebacker) that has been plastered over. Cement boards are often covered with plaster, however, drywall can also be utilised. Cement boards, which are fibre sheets formed from cellulose and cement, are more durable and resistant to water and moisture than paper-covered gypsum. They can be used in damp environments like kitchens and bathrooms.
Sand the joint compound surface after the first two coatings have dried. Vacuum up the dust and wipe down the surfaces with a moist cloth. Use joint compound to cover the entire surface, then proceed as described above to plaster over the cement board.
If cracks or holes emerge in the plaster, simply fill them with more of the same mixture and let it dry. After the first layer dries, smooth it with sandpaper of medium grit before applying a second. If you want your plaster to survive for decades without flaking or cracking, you need to routinely wash away dirt and spills with water.
Apply a paint primer using an aerosol can or a brush for the best effects before painting. Trim the room with crown moulding and baseboards to hide the plaster's mismatch, paying close care to the joins. Cement boards are protected and give a more aesthetically pleasing finish by being stuccoed. Over cement board, it provides a flat surface for plastering, but it must be removed beforehand.
If you want a smooth finish after removing stucco off the cement board, you'll need to measure the area covered by the stucco and use sheets of fibreglass reinforcing mesh. After using a bonding agent, the stucco can dry. Use a trowel to spread it out to a thickness of a quarter of an inch. Dry the stucco completely before adding any more finishes coats to achieve the desired look.
Avoid making these common blunders while removing tiles: working too quickly, not using protective gear, not checking the wall for damage, not fixing breaks, using too much force, using the wrong tool, and not cleaning up adhesive residue. Drop cloths, safety goggles, and tile-specific tools are essential for a successful tile removal project. Primers, stucco, and metal lath are all options for smoothing out imperfections when plastering over cement boards. Plastering over cement board is more of an experiment, but it's easier and should last longer if you have good construction skills.
Content Summary
- Plastering over cement boards is a common technique for tile installations.
- Cement board is also known as Wonderboard or Hardiebacker.
- Drywall can be used as an alternative to plaster for covering cement boards.
- Proper considerations should be made before starting the plastering process.
- Cement boards are commonly nailed onto wood or metal studs in a building's frame structure.
- Cement boards are ideal for areas prone to water damage, such as bathrooms and kitchens.
- Understanding what cement board is and its properties is crucial before deciding to plaster over it.
- Cement boards are made from cellulose and cement, providing durability and resistance to water and moisture.
- Cement boards prevent mould growth, making them suitable for wet areas.
- Cement boards can be used as tile backers or for other applications like wooden floors and countertops.
- Cement boards require proper installation with a vapour barrier, adhesive, and drywall screws.
- Checking the surface of the cement board is the first step in plastering.
- An embossed surface may require additional steps for a successful plastering outcome.
- Taping off areas with a paper covering helps create a smooth surface for plastering.
- The wall should be cleaned and any leftover compound removed before plastering.
- Applying a thin coat of drywall primer is necessary before plastering.
- The plaster mixture should be thinned with water to the consistency of sour cream.
- The first coat of plaster should be applied at a 45-degree angle using a trowel.
- Each coat of plaster should be allowed to dry before applying the next.
- Texture can be added to the plaster by using a drywall knife or trowel.
- Sanding is required after the plaster has dried to achieve a smooth surface.
- Regular maintenance should be performed to fill any holes or crevices that may appear over time.
- Water should be used to wash away any messes or spills on the plastered surface.
- Priming the surface is necessary before painting over the plaster.
- Installing trim like crown moulding and baseboards can enhance the appearance of the plastered wall.
- Stucco can be used to add texture and colour to cement boards.
- Stucco is a cement-based siding made with lime, sand, water, and cement.
- Stucco can be applied indoors and outdoors and offers weather and UV resistance.
- Stucco can create a smooth base for plastering over cement board.
- Stucco needs to be removed before plastering the wall.
- Proper measurements and fibreglass reinforcing mesh are necessary for stucco application.
- A bonding agent should be applied before adding the stucco.
- Stucco should be applied in layers with proper drying time between each coat.
- Removing tiles from plaster walls requires careful and slow work.
- Ignoring safety precautions can lead to injuries and damage to furniture and flooring.
- Assessing the condition of the plaster wall before tile removal is important.
- Taking breaks and staying hydrated is crucial to avoid fatigue and maintaining concentration.
- Applying excessive force during tile removal can cause damage to tiles and the plaster wall.
- Using the right tools and using them correctly is essential to prevent damage during tile removal.
- Properly removing adhesive residue is important to achieve an even surface for the new finish.
- Adequate preparation before tile removal can make the process smoother.
- Plastering over cement boards is an experiment that may require solid construction skills.
- Primers, stucco, or metal lath can help plaster adhere to cement boards.
Frequently Asked Questions About Plastering
While it's possible to remove tiles from a plaster wall without causing significant damage, some minor damage is often unavoidable. Taking the necessary precautions, using the right tools, and working patiently will help minimise any potential damage.
Reusing removed tiles can be challenging due to the risk of breakage during the removal process. Additionally, the adhesive residue on the back of the tiles may make them unsuitable for reuse. It's generally more practical to consider new tiles for future projects.
After removing the tiles, thoroughly inspect the plaster wall for any cracks, holes, or loose plaster. If you notice significant damage, it's advisable to consult a professional for repairs. Smaller cracks or minor imperfections can often be patched and smoothed using appropriate plaster repair techniques.
Yes, you can remove tile adhesive residue using natural alternatives. For example, baking soda, water, or vinegar can effectively break down the adhesive. Apply the mixture to the residue, let it sit for a few minutes, and then scrub gently with a sponge or soft brush.
Hiring a professional for tile removal is only sometimes necessary, especially for smaller projects. However, consulting a professional can ensure a successful outcome if you need clarification on the process or if the plaster wall requires extensive repairs. In addition, they have the expertise and tools to handle more complex situations.

