Plaster walls add aesthetic value to a home but also necessitate regular upkeep. Plaster walls are notoriously easy to damage, as anyone who has ever painted or plastered their home can attest. Care for your wall properly; it will retain its clean, attractive appearance for many years.
Any imperfections, such as scratches or chips, should be concealed immediately to prevent them from worsening. In addition, check the walls for any cracks in the plaster that could allow moisture in and lead to further complications.
Learn how to cover plaster walls with this helpful blog post!
Importance Of Covering Plaster Walls
There are a number of reasons why it's essential to cover plaster walls:
Aesthetics
Walls made of plaster may have flaws like cracks, dents, and texture variations. You can make the area look more polished and put together by concealing them. Covering the plaster walls with whatever you like best—paint, wallpaper, or decorative panelling—can completely change the look and feel of the room.
Easy Maintenance
Older plaster walls, in particular, can be a pain to keep up. Dust, filth, and stains can easily accumulate on them, and it can be challenging to clean them without destroying the plaster. Painting or using washable wallpaper on the walls makes them less of a chore to keep clean and tidy. You'll save time and effort, and the walls will stay looking great if you do this.
Concealing Flaws
It can be challenging to repair imperfections in plaster walls completely. So instead, the walls can be covered to conceal imperfections and create a consistent and smooth surface. This is helpful if you're dealing with an older building or need more time or money to make major plaster repairs.
Protection
Walls made of plaster can easily be damaged over time. The settlement, temperature fluctuations, and general wear and tear are all potential causes of cracking. You can prevent further damage to the plaster by covering the walls with a protective barrier. As a result, the plaster will last longer without requiring as many fixes or replacements.
Versatility
You can do a lot of different things by covering plaster walls. You'll find a wide range of options in terms of colour, pattern, and texture to pick from. Wall coverings give a space the exact mood and ambience you want, whether for a sleek, modern aesthetic or something more classic and elegant.
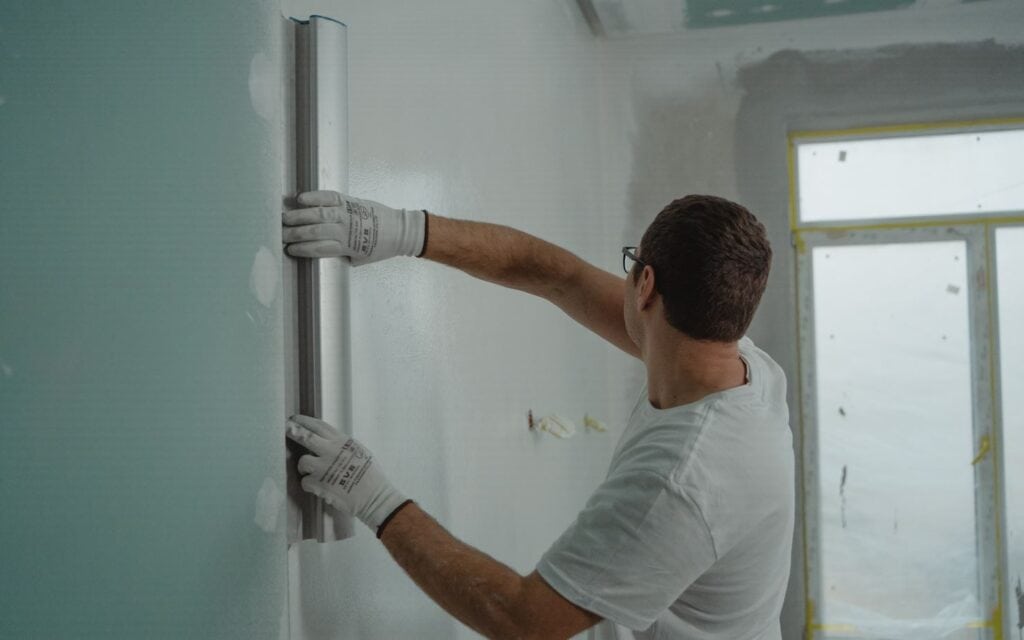
Materials That Are Appropriate For Plaster Wall Coverings
Depending on personal preference and the desired effect, you can cover plaster walls with various materials.
Commonly used materials that can be used to cover plaster walls are as follows:
Paint
When it comes to protecting plaster walls, painting is a common choice. It is available in a rainbow of tones and finishes, from matte to satin to glossy. Use a primer made for plaster walls before painting to ensure good adhesion and a smooth finish.
Wallpaper
Wallpaper is a versatile way to decorate your walls with texture, patterns, and designs. It's available in various designs, from classic to modern, and can be used to make a bold or understated statement. Follow the manufacturer's instructions when hanging wallpaper on plaster walls.
Textured Finishes
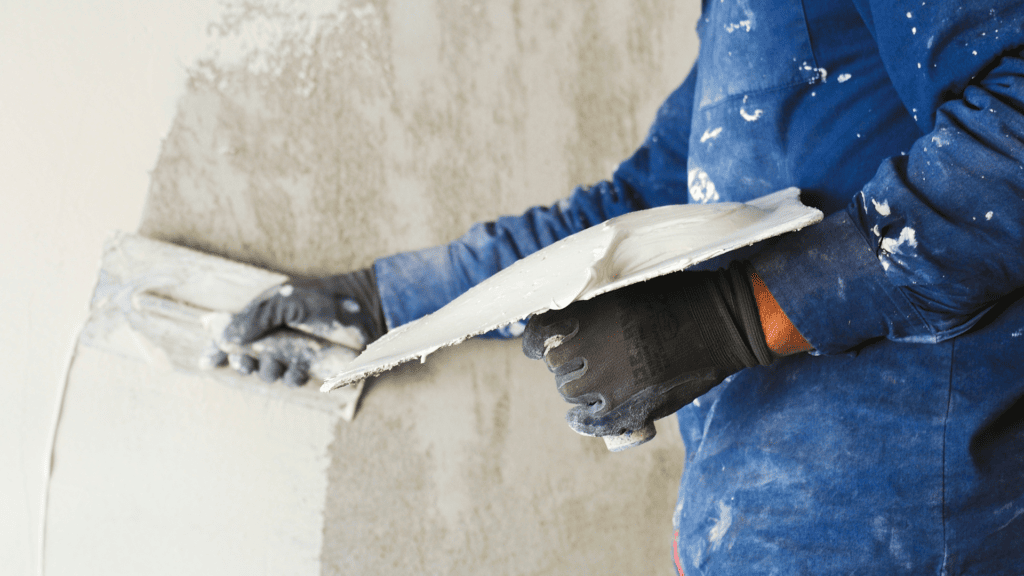
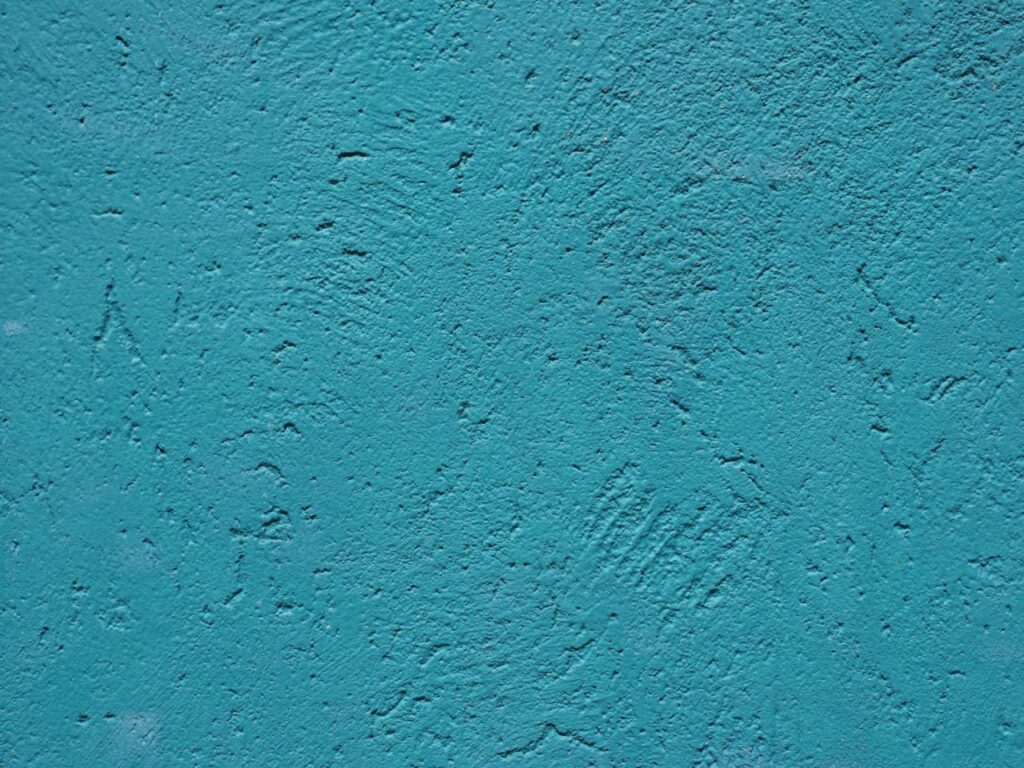
Walls that have been plastered can have textured finishes applied to them for added depth and visual interest. These coatings are excellent for hiding flaws and giving items a one-of-a-kind appearance. Depending on the desired result, they can be applied by troweling, spraying, or rolling.
Panelling
Panelling is another alternative to painting or wallpapering plaster walls. Beadboard, shiplap, and raised panels are just a few examples of the many types of cladding available. Panelling can be stained or painted to suit your aesthetic preferences and be a durable covering.
Tiles
Tiles are an attractive and functional alternative to plaster for wet environments like bathrooms and kitchens. Tiles made of ceramic, porcelain, or glass are frequently used for this function. You can get them in various colours, sizes, and designs to suit your style.
Fabric
Fabric wall coverings are a great way to make a room feel more inviting and at home. Natural fibres, vinyl, and fabric-backed wallpaper are just some of the materials you can choose from. Fabric wall coverings can be adhered to the wall or hung like wallpaper.
Steps To Follow On How To Cover Plaster Walls
Plaster wall coverings are an easy and effective way to improve the look of your space and prevent further damage to the walls. Planning before beginning any home improvement project is helpful whether you want to paint the walls, install new wallpaper, or try something else entirely.
This guide will take you by the hand and show you every step you need to take to cover plaster walls, from preparing the walls to applying the covering. Following these instructions will result in a flawless, eye-catching finish that completely revitalises your walls.
Step One: Determine
The first thing to do is draw up a plan for the walls. The next thing to do is to figure out how to hide the plaster—with paint, wallpaper, or something else. If you want to paint, continue to the next section. Before beginning a wallpapering project, stopping by a hardware store or a home improvement centre for assistance and materials is a good idea.
There are several plastering options if you want to hide the plastered walls. The first option is to cover the problem with drywall or a panel board. Drywall requires no special preparation for installation and can be painted to match any colour scheme. The use of a panelboard on the walls is another stylish option. It, too, can be painted in any shade you like after being primed first.
After settling on a covering, the next step is to equip yourself to put it in place. Prepare a nail gun, a taping knife, pencils, and a stud finder for working with drywall. Invest in a panel board if that's what you intend to use it for.
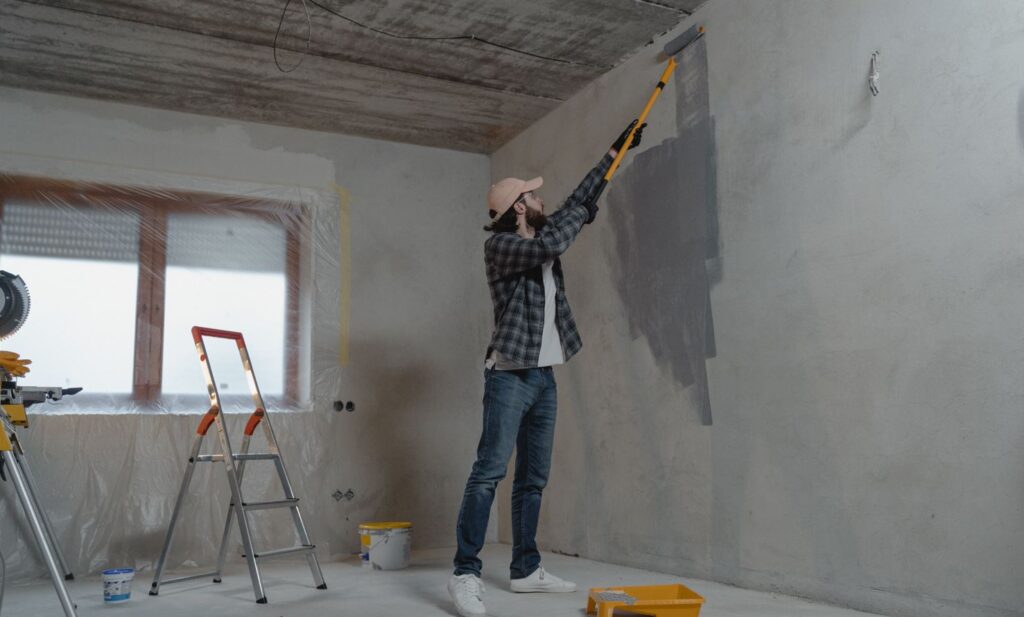
Step Two: Prepare The Walls
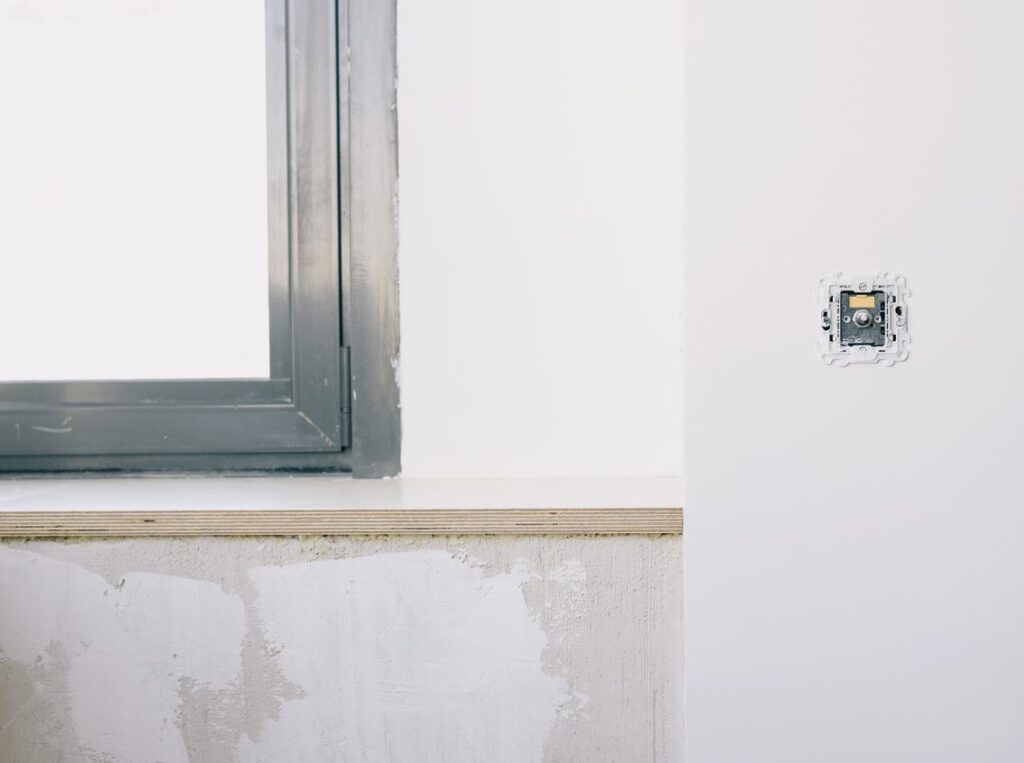
The walls must be cleared of all clutter before the covering can be installed. Then, the walls and anything attached to them must be repaired or removed. Unremovable trim, like moulding and baseboards, should be painted to blend in with the new flooring before installation.
When you're done, no one will be able to identify where the holes were before you spackled them and touched up the paint. After they have been prepared to your satisfaction, you can then sew on the protective covering. Before installing drywall, you must locate and label the wall studs.
All walls rely on studs, which are heavy beams, to hold up the drywall. You can use a stud finder or your knuckles to check for hollow spots in the wall.
Step Three: Mark The Covering Material, Then Cut It.
The covering material can be installed after it has been measured, marked, and cut. First, nail or screw it in place, then cover it with paint or wallpaper, whichever was purchased. Next, use a pencil to draw lines on a panel board where cuts must be made to accommodate the doors, windows, ceiling, corners, and floor.
Follow the outlines with a utility knife and remove the excess material. Cut carefully; it's simple to make skewed incisions. Using a panel board necessitates precise mitring of all edges to ensure a snug fit. If an electric saw is available, employ it rather than a utility knife because it is safer and more precise.
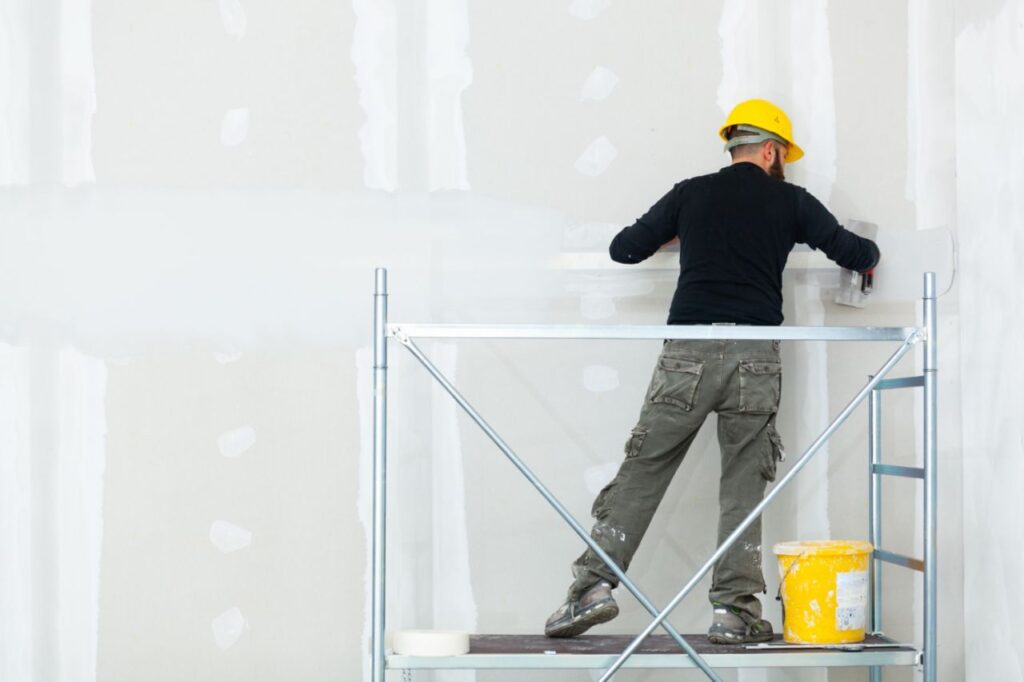
Drywall only requires that you trim the overhang. Now that it's securely fastened to your walls and perfectly overlaps the previous sheet of drywall, you can finally start painting. Panelboards typically have one solid side that needs to be decorated before being mounted on a wall. Useful information for hiding imperfections in plaster walls.
Step Four: The Covering Material Is Attached
You shouldn't worry too much about this because it's easier than it sounds. To start nailing down your new covering, all you need is a stud finder and a pencil, assuming you already have the necessary materials and equipment. Then, when you're ready, nail the drywall up to the studs.
Be mindful of this if there is plumbing or wiring inside the wall. It would be best if you didn't hammer on it or hit it with a nail because you might pierce something vital and cause structural damage to your walls. To prevent wrinkles and cracks at the wall's edge, drywall should always be fastened behind door frames.
However, if you drive the nail in too deeply or at an angle, it may become stuck and require professional removal. Next, use nails to secure the second sheet of drywall on top. Finally, to prepare the wall for installing the new panelling, you might need a small screwdriver to remove any paint that has built up.
Step Five: Paint
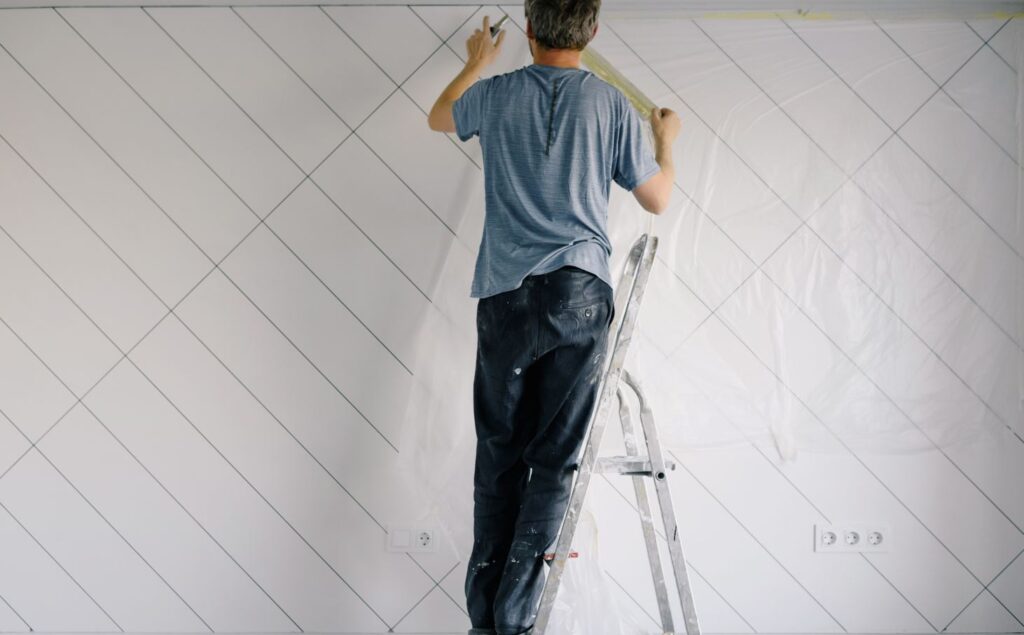
When everything is in place, you can decorate it as you see fit. If you don't want certain wall parts painted, you can mask them off with tape. For example, if you're painting a patterned wall but only want one section to be solid, you can mask off that section with tape.
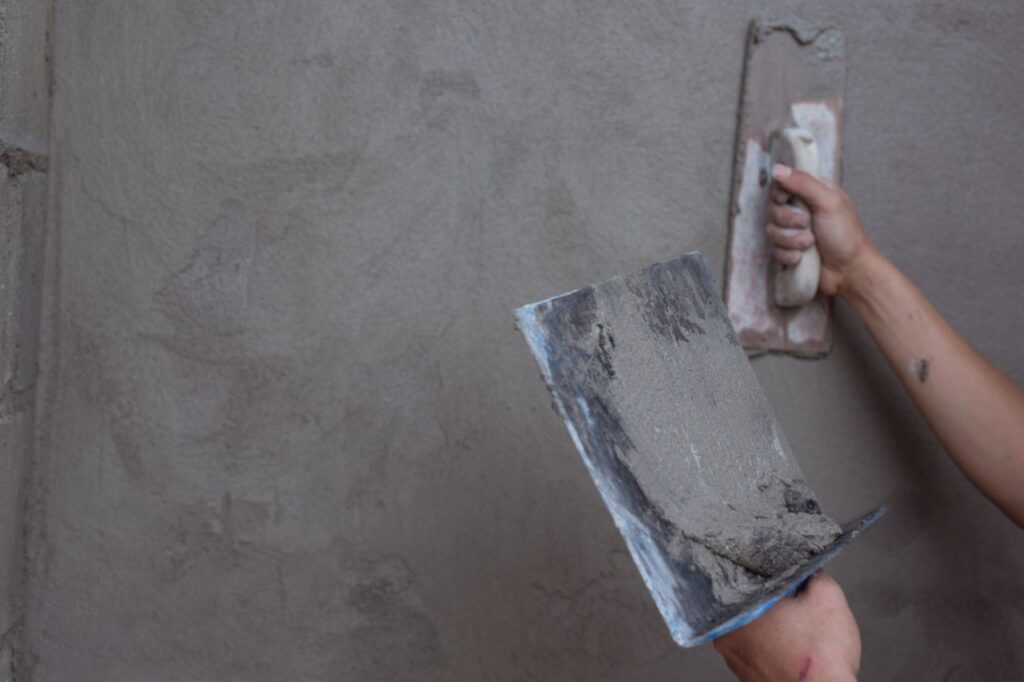
Joint compound, rather than paint, is the material of choice when working with textured wall coverings. The joint compound is similar to spackle but is thicker and requires less water. Apply it evenly over the drywall joints with a putty knife.
Once dry, use fine sandpaper or steel wool to smooth it out until it's flush with the surrounding wall. You can always wear another coat and review the previous one until you get the desired result. Continue reading if you're interested in learning more about covering plaster walls.
Step Six: Let It Dry
This is a crucial stage because having no recourse in case of a mistake while working on the wall can be extremely annoying. Only have someone else work on the covering, no matter how skilled they are. You may have to start from scratch if things go differently than planned the first time.
Please wait until the paint or wallpaper has been burnt before hanging anything on the walls. If you want to change the look of a room, you can paint the drywall a different colour and hang lighter items on it, but you should only put something heavy, like shelves or mirrors, on the walls. Do not hang anything too heavy for at least a week.
Walls can be severely damaged if procedures are carried out improperly, and cracks or holes appear where they should not. To prevent this from happening, plan and enlist the aid of a trusted companion for the more challenging steps.
Step Seven: Decorating!
Start decorating as soon as it has been scorched and completed! To get everything to the desired height, begin with the lighter items. You can safely hang up your prized artwork and photographs after your walls are finished.
Placing decorative panels about 1/8 inch away from the drywall creates a great backing less likely to warp or bend than if the panels were pushed directly into the wall. You should also attach them so that they are parallel to one another.
You have completed your wall-covering project! New walls allow you to start fresh with your room's aesthetic. First, ask a friend to come over and lend a hand if you're struggling. Then, learn how to plaster a wall by following these instructions.
Step Eight: Upkeep For Your Wall
After the wall has been built, it must be maintained regularly. For example, nail holes should be filled so no one is hurt if stepped on, and walls should be smoothed out before painting to hide any cracks. Please do not attempt to fix problems with the covering material or its application independently; instead, consult an expert.
In the case of wet paint or other substances that have already leaked through a wall, this can prevent additional harm. Take prompt action to prevent injury if something is spilt on your freshly hung wallpaper or painted wall.
If you need more confidence in completing these tasks on your own, you can always hire a professional to help you. However, instead of taking the chance of damaging your walls by trying something new, it is best to hire a professional.
Conclusion
Plaster walls are aesthetically pleasing and add value to a home, but they need regular maintenance. They're vulnerable to damage yet simple to cover up with paint or removable wallpaper. Many factors necessitate covering plaster walls, including beauty, ease of upkeep, fault concealment, protection, and adaptability. Painting, wallpapering, texturing finishes, cladding, tiling, and fabric are all common choices for covering plaster walls.
Painting is a popular option because of the wide range of tones and finishes it offers, as well as the versatility of its application methods (by brush, roller, or spray). Wallpaper is another possibility; it comes in a wide range of styles and patterns. Plaster walls can have texture put to them to make them more interesting to look at. Planelling is also available, and common applications include beadboard, shiplap, and raised panels. Ceramic, porcelain, or glass tiles provide a beautiful and practical alternative to plaster in bathrooms and other damp areas.
Fabric wall coverings come in a wide variety of colours, patterns, and sizes, making it easy to find one that suits your needs and tastes. There is also wallpaper made of natural fibres, vinyl, and cloth. You can apply these coverings directly to the wall or hang them up like wallpaper.
Regular wall maintenance, including filling nail holes and smoothing out prior to painting, can help conceal flaws. If you are having trouble with the cover or the application, you should seek the advice of a professional. Instead of taking a chance on a novel approach, hire a professional if you lack the assurance to carry out these responsibilities.
Content Summary
- Plaster walls require regular maintenance to retain their clean and attractive appearance.
- Immediate concealment of imperfections like scratches and chips is necessary to prevent further damage.
- Checking for cracks in plaster walls is important to avoid moisture penetration and complications.
- Covering plaster walls can enhance aesthetics and create a polished and cohesive look.
- Paint, wallpaper, and decorative panelling are options for covering plaster walls.
- Easy maintenance is a benefit of covering older plaster walls with paint or washable wallpaper.
- Covering plaster walls helps to conceal flaws and achieve a smooth surface.
- It provides protection against damage caused by settlement, temperature fluctuations, and wear and tear.
- The versatility of covering plaster walls allows for a wide range of colour, pattern, and texture options.
- Materials suitable for covering plaster walls include paint, wallpaper, textured finishes, panelling, tiles, and fabric.
- Paint comes in various tones and finishes and should be applied after using a primer for good adhesion.
- Wallpaper offers versatility in texture, patterns, and designs and should be hung following the manufacturer's instructions.
- Textured finishes can be applied to plaster walls for added depth and to hide flaws.
- Panelling, such as beadboard and raised panels, can be stained or painted to suit aesthetic preferences.
- Tiles made of ceramic, porcelain, or glass are a functional option for wet environments like bathrooms and kitchens.
- Fabric wall coverings, including natural fibres and fabric-backed wallpaper, create a welcoming atmosphere.
- Proper planning is crucial before covering plaster walls with paint, wallpaper, or other materials.
- Determining the desired covering material and equipping oneself accordingly is important.
- Walls must be cleared of clutter and repaired or removed before installing the covering material.
- Unremovable trim should be painted to match the new flooring before installation.
- Identifying and labelling wall studs is necessary for installing drywall.
- Marking, measuring, and cutting the covering material is essential before installation.
- Utility knives or electric saws can be used to make precise cuts on panel boards or drywall.
- Nail or screw the covering material in place, ensuring it overlaps the previous sheet of drywall.
- Paint or wallpaper can be applied to the covering material to achieve the desired look.
- A joint compound is recommended for textured wall coverings and should be applied evenly with a putty knife.
- Sanding the joint compound ensures a flush finish with the surrounding wall.
- Allowing the covering material to dry completely before hanging anything on the walls is crucial.
- Proper installation and care during the covering process prevent damage to the walls.
- Decorating the walls with artwork and photographs can be done after the covering is complete.
- Hanging decorative panels slightly away from the drywall helps prevent warping or bending.
- Regular maintenance of the covered walls includes filling nail holes and smoothing out cracks before painting.
- Seeking professional help is recommended for fixing problems with the covering material or its application.
- Prompt action should be taken if spills occur on freshly hung wallpaper or painted walls.
- Hiring a professional can provide more confidence in completing wall-covering tasks.
- Regular upkeep of the walls is necessary after they have been covered.
- Filling nail holes and smoothing out cracks helps maintain the integrity of the covering.
- Consulting an expert is advised for independent fixing of covering material or application issues.
- Taking prompt action prevents further damage from wet paint or substances that have leaked through the wall.
- Hiring a professional is a safer option than risking damage by attempting unfamiliar tasks.
- Plastering walls can be learned by following instructions.
- Upkeep of the newly built walls should include regular maintenance and repairs.
- Filling nail holes and smoothing out walls before painting helps hide cracks.
- Seeking expert advice is recommended for problems with the covering material or application.
- Immediate action is necessary to prevent additional damage from spills on freshly hung wallpaper or painted walls.
- Hiring a professional can provide assistance and confidence in completing tasks.
- It is best to hire a professional to avoid damaging walls when attempting new tasks.
- Hiring a professional is a safer option than risking damage by trying something unfamiliar.
- Taking prompt action prevents further harm from spills on newly covered walls.
- Consulting an expert ensures the proper completion of wall-covering projects.
Frequently Asked Questions About Plaster Walls
Common issues with plaster walls that need to be repaired before covering include:
- Cracks: Plaster walls are prone to developing cracks over time due to factors like settling, temperature changes, or structural movement. These cracks should be repaired to ensure a smooth and stable surface before applying any covering material.
- Holes and Dents: Holes and dents can occur due to accidental impacts or the removal of previous fixtures like nails or screws. It is important to fill these holes and smooth out any dents to achieve a seamless finish on the plaster walls.
- Loose or Peeling Plaster: The plaster may become loose or start peeling away from the underlying surface. This can be caused by moisture damage or inadequate adhesion. The loose or peeling areas must be reattached or repaired to provide a stable foundation for the covering material.
- Uneven Texture: Plaster walls may be uneven due to the application process or previous repairs. It is essential to address any unevenness by levelling and smoothing the surface to achieve a uniform appearance before covering the walls.
It is recommended to paint directly over plaster walls with additional preparation. Preparing the walls by filling in cracks, sanding the surface, and applying a primer is important. This ensures better paint adhesion and helps achieve a professional and long-lasting finish.
Primer is important before applying the covering material because it helps to create a smooth and even surface, enhances the adhesion of the covering material, and promotes better durability and longevity. It also helps to prevent the absorption of moisture, stains, and other contaminants from the underlying surface, resulting in a more professional and polished finish.
Yes, you can cover plaster walls with wallpaper. It is a popular and effective way to add colour, pattern, and texture to your walls. Ensure that the plaster walls are properly prepared and that you use the appropriate wallpaper adhesive for a secure and long-lasting installation.
You can use a few simple techniques to touch up any imperfections on covered plaster walls. First, use a putty knife to apply spackling compound or filler for small cracks or holes. Smooth it out and let it dry before sanding the area gently. Then, apply a thin primer layer and paint over the repaired spot. If there are larger imperfections, you may need to use a joint compound to create a smooth surface, followed by sanding, priming, and painting. Finally, blend the touch-up area with the surrounding wall for a seamless finish.

