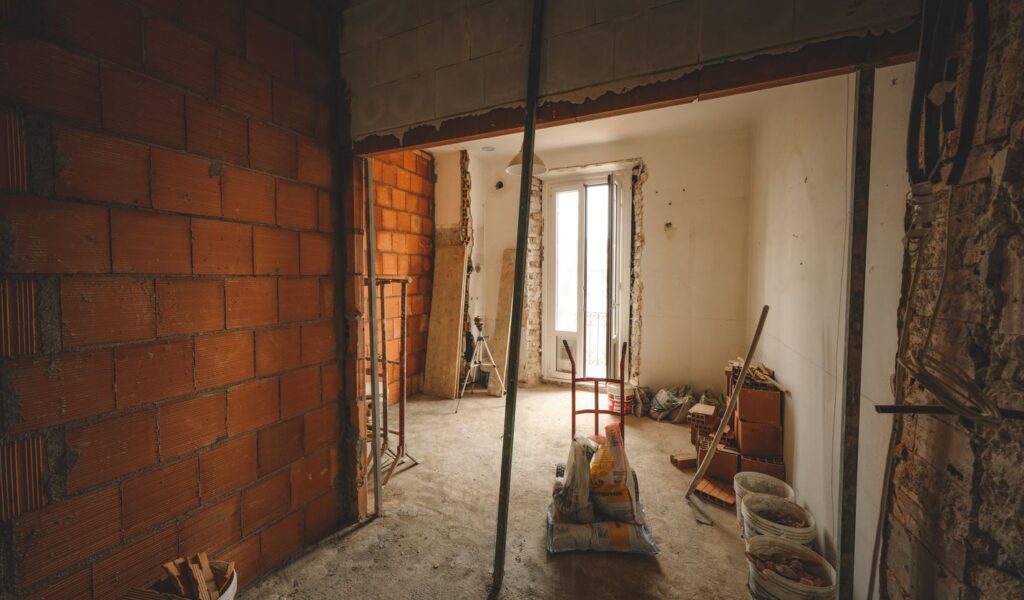
During a home improvement project, have you thought, "How long does it usually take the plaster to dry?" If you want to get the best results while plastering a wall or patching a hole in one, you need to know how long it will take for the plaster to cure.
Plaster's durability and sleek appearance make it a popular choice for exterior and interior applications. Drying times for plaster depend on some variables, including humidity, temperature, and the thickness of the applied layer.
Drying and curing time for plaster typically ranges from a few minutes to a few days. You may reduce drying time and increase the possibility of an effective plastering project by considering critical factors and using the right ventilation and moisture management strategies.
This article will explore the variables that impact plaster drying time and offer advice for speeding up the process.
Understanding The Plaster Drying Process
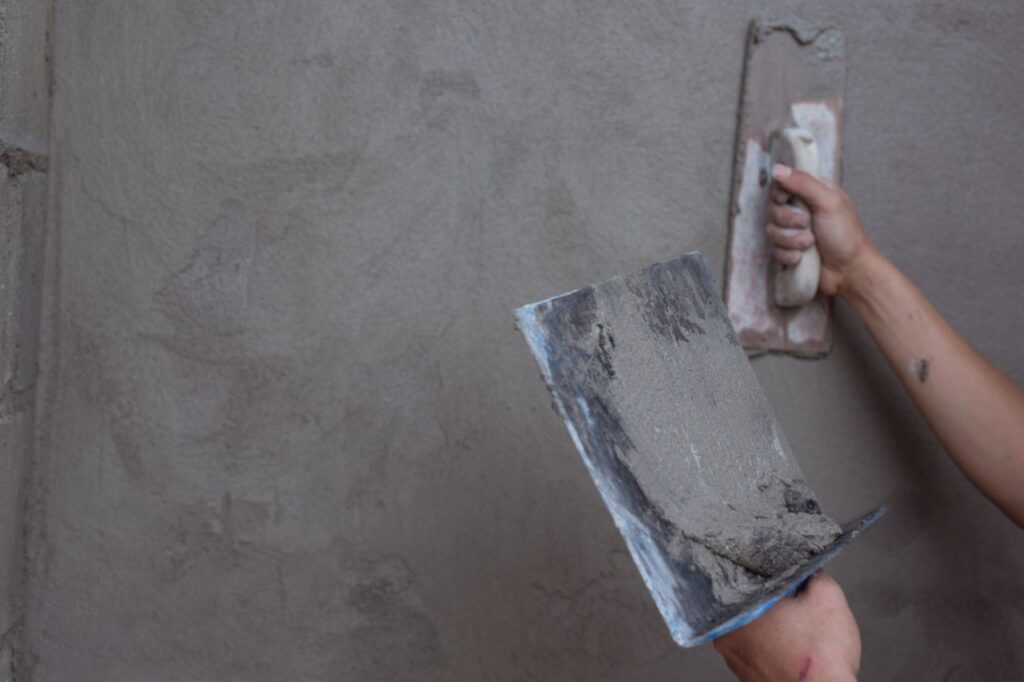
The drying process of plaster must be understood to estimate how long it will take to dry. Plaster is a combination of water, binders, & additives that are applied to a surface. Evaporation of the water causes the plaster to dry and harden over time. Curing is the term for this period.
Many chemical reactions take place within the plaster while it dries. Crystalline structures form as a result of a reaction between the binders there in the mixture and the water. The strength and longevity of the plaster are enhanced by these structures.
Changes occur in the plaster as the water evaporates. The initial softness and flexibility make it ideal for shaping and polishing. The plaster begins to harden and take on its final appearance and texture very slowly.
The plaster's drying time is highly conditional, considering not just the plaster itself but also the surrounding environment and, thus, the thickness of said coat being applied. As more of the thinner coat is in contact with air, it dries more quickly.
Plaster's dryness is not determined merely by whether or not the surface feels damp when touched. Plaster's interior moisture content is just as important. Time should be allowed for a full and consistent drying process to occur once the interior moisture has evaporated.
Knowing how long plaster takes to dry can help you set reasonable expectations and take the necessary precautions for the best possible outcome. We'll discuss what affects plaster drying time and why in the next part.
Plaster Drying Time Influencing Factors
Many variables affect how long it takes for plaster to dry. The drying process's estimation and management can be greatly improved with a thorough understanding of these elements. Let's examine the main causes that delay plaster's drying time:
Temperature
Plaster's drying time and success are both greatly affected by ambient temperature. The plaster's drying time can be shortened if the temperature is raised above the dew point. The drying process can be slowed down by lower temperatures. Plastering and drying are best accomplished when temperatures are kept within a narrow range.
Humidity
The time it takes for the plaster to dry depends on the relative humidity in the room. Plaster takes longer to dry because high humidity inhibits water evaporation. Drying time is reduced when humidity levels are reduced. Proper ventilation and dehumidification methods can assist in controlling humidity and speed up the drying process.
Plaster Thickness
Drying time is proportional to the thickness of a plaster covering. Thicker coats are less porous and dry more slowly than thinner ones. To guarantee appropriate drying and prevent concerns like cracking or uneven drying, it's vital to follow manufacturer instructions regarding the wall depth for every plaster type.
Ventilation
For plaster to dry quickly and properly, air circulation is crucial. The drying process can be sped up by ensuring adequate airflow is directed at the plaster. The air in a room can be properly ventilated through open windows, fans, or dehumidifiers. But, it is important to find a happy medium and prevent quick drying, which can cause problems like shrinking or cracking by limiting the amount of airflow.
Ambient Conditions
Drying time can be affected by environmental factors such as room temperature, humidity, and the amount of direct sunlight. Slower drying might occur in rooms with inadequate air circulation, and uneven drying and surface concerns can result from drying in direct sunlight. Plaster drying should be controlled and monitored to guarantee uniform and rapid drying.
Plaster drying times can be estimated more accurately, and drying conditions can be optimised if these parameters are considered. The drying times for the various plaster varieties will be discussed in the next section.
Various Plasters And Their Drying Times
Plaster comes in several forms, each with unique properties and drying time, and is utilised in building and remodelling tasks. Let's talk about the many kinds of plaster and how long it takes for each to dry:
Gypsum Plaster
Plaster of Paris, or gypsum plaster, is a common material due to its affordability, versatility, and ease of usage. Gypsum powder and water are the usual ingredients. The drying time for a thin application of gypsum plaster is typically between 24 and 48 hours. Certain paints may need more time to dry than others if they are thicker.

Lime Plaster
Lime plaster requires only lime, sand, and water as its three main components. Because of its durability and permeability, it is ideal for use in refurbishment initiatives. Lime plaster typically takes longer to dry than gypsum plaster. Lime plaster can take anywhere from a few more days to a few weeks to dry, depending on the thickness of the application and the environmental factors.
Cement Plaster
Plaster made from cement, sand, & water is known as cement plaster or stucco. Its outstanding resilience makes it a popular choice for external applications. Cement plaster's drying time varies greatly based on elements like coat thickness and ambient temperature and humidity. Drying time for cement plaster varies, although it usually takes several days up to a few weeks.
Clay Plaster
Natural clay, sand, & fibre combine to form clay plaster, a material lauded for its eco-friendliness, breathability, and aesthetic appeal. Clay plaster takes more time to dry than other varieties of plaster. Clay plaster, depending on its thickness and the surrounding conditions, may require several weeks or months to dry entirely. Working with ceramic plaster requires a lot of patience.
The drying mentioned above durations can shift depending on temperature, moisture, plaster thickness, and airflow. While working with plaster, you must always follow the instructions and advice provided by the manufacturer.
You may better plan your project and guarantee adequate drying before continuing with more development or finishing work if you are familiar with the oven drying of various types of plaster. In the following paragraphs, you'll find helpful advice for speedily curing plaster.
Frequently Asked Questions About Plastering
Yes, there are several methods to speed up plaster drying, such as using fans, dehumidifiers, and applying heat. However, it's crucial to strike a balance and avoid compromising the quality and integrity of the plaster.
The drying time of plaster varies depending on several factors, but typically it takes around 1 to 3 days for a thin coat of plaster to dry. Thicker coats may require more time, and factors like humidity and ventilation can also affect the drying time.
Painting or wallpapering over wet plaster can lead to various issues, such as peeling, blistering, and mould growth. It's essential to wait until the plaster is completely dry before applying any finishes.
While using a heater can help accelerate the drying process, it's crucial to exercise caution. Excessive heat can cause the plaster to crack or shrink, leading to structural problems. It's advisable to follow manufacturer guidelines and seek professional advice if needed.
To ensure that the plaster is fully dry, you can check the moisture content using a moisture meter. Additionally, the plaster should feel cool and have a consistent colour throughout.
Advice On Effective Plaster Drying
Plaster must cure thoroughly to form a hard, long-lasting coating. Here are some helpful hints for speedy plaster drying:
- Maintain Optimal Temperature and Humidity: The drying area should be kept at room temperature with a relative humidity of 50 to 60 per cent. Temperatures between 20 and 25 degrees Celsius (68 and 77 degrees Fahrenheit) with relative humidity between 40 and 60 percent are prefered. The plaster will dry more quickly and uniformly under these conditions.
- Ensure Adequate Ventilation: For plaster to dry quickly and properly, air circulation is essential. Let in some fresh air by throwing open the windows and door. To improve ventilation, you can also utilise fans or dehumidifiers. Avoid creating too much airflow since this can hasten drying and lead to problems like cracking and shrinking.
- Avoid Direct Sunlight: Plaster can dry unevenly and develop surface problems if exposed to direct sunshine. Keep the drying space out of direct sunshine, and if that's not possible, use drapes or blinds to filter out what little sunlight there is. This reduces the potential for issues and helps keep drying conditions constant.
- Use Dehumidifiers: Dehumidifiers can be used in high-humidity settings to bring the relative humidity down. Plaster can dry more quickly with the aid of dehumidifiers since they remove excess moisture from the air.
- Follow Manufacturer Guidelines: Always use the plaster according to the manufacturer's instructions and recommendations. Drying durations, maximum thicknesses, and special precautions and instructions are all included in these recommendations.
- Be Patient and Allow Sufficient Drying Time: It's best not to speed drying. Make sure you give the plaster plenty of time to dry before moving on to the next step in the building process. If the drying process is rushed, the quality and durability of the plaster may suffer.
- Monitor the Moisture Content: Check the moisture level in the plaster with a moisture metre. This aids in making sure the plaster is completely dry before finishing. By measuring the relative humidity inside, a moisture metre gives a more precise picture of how far along the drying process is.
By following these guidelines, you may ensure that the plaster dries quickly and thoroughly. Drying plaster correctly ensures a smooth finish and reduces the likelihood of future problems. Common blunders that can occur when plaster is drying will be discussed in the next section.
Common Errors To Prevent
Some errors can slow the plaster drying process and lower the quality of a finish. Some typical blunders are as follows:
- Insufficient Drying Time: Not waiting long to allow the plaster properly dry is a common mistake. Cracks, poor finish adhesion, and structural weaknesses might result from rushing the job. To guarantee proper drying, adhere to the manufacturer-recommended drying time.
- Applying Finishes Too Early: Plaster must dry completely before finishing materials may be applied, or they risk peeling, blistering, or even mould formation. Before applying any ornamental or protective finishes, wait till the plaster is dry, both inside and out.
- Inadequate Ventilation: The drying process can be slowed down if there isn't enough airflow in the designated drying area. Opening windows, utilising fans, or hiring dehumidifiers can all help with air circulation, which in turn helps with moisture evaporation. Drying times are cut in half, and humidity is kept at bay when ventilation is adequate.
- Excessive Heat: Plaster can cure faster with heat, but if you use too much of it, it will shrink, crack, and lose its structural integrity. Please avoid direct heaters and guns, as they produce dangerously high temperatures. Drying is best accomplished with natural airflow and temperate temperatures.
- Ignoring Manufacturer Guidelines: One common error is not following the manufacturer's instructions. Several types of plaster have different application methods, drying times, and thickness restrictions. Poor drying and poor results are possible if these rules are disregarded. For optimal results, read the manual provided by the manufacturer.
- Not Monitoring Moisture Content: If you don't check the plaster's moisture level, you can end up finishing or building too soon. With a moisture metre, you may check the relative humidity and ensure the plaster is dry enough to continue working. Avoid problems by routinely checking the moisture level.
By avoiding these pitfalls, you may speed up the plaster drying time and improve the final product. The keys to avoiding these traps are patience, following instructions closely, and paying attention to detail. The relevance of thoroughly dry plaster will be discussed in the following section.
The Importance Of Properly Dried Plaster
The success and longevity of a building or remodelling project are directly tied to how well the plaster was allowed to dry. The need to wait till the plaster is completely dry before proceeding is highlighted here.
- Strength and Stability: When allowed to dry thoroughly, plaster gains the rigidity and durability essential for long-term use. The chemical processes that occur while the plaster is drying help to strengthen it and make it more durable. These reactions need time to complete for a firm & stable plaster surface to result.
- Adhesion of Finishes: Adhesion problems can occur when applying a finish to wet or poorly dried plaster, such as paint, wallpaper, or ornamental coatings. Finishes can cling effectively to a thoroughly cured plaster wall, and the wall will remain stable over time.
- Resistance to Cracking: Plaster is more likely to crack if not cured thoroughly. Plaster surface stress, retained moisture, or uneven drying can all contribute to this problem. Taking your time to let the plaster dry completely will yield the best results in terms of a smooth, long-lasting finish.
- Enhanced Aesthetics: The visual appeal of the final surface is enhanced by the ropey look of the dried plaster. Plaster, after it has dried and set uniformly, looks smooth and consistent. It's a great base for numerous ornamental treatments and guarantees an attractive final product.
- Prevention of Mold and Mildew: Mold and mildew can flourish if the plaster isn't dried thoroughly, so be sure to follow all drying instructions carefully. A healthy interior environment may be maintained, and the risk of mould infection may be reduced with proper drying.
- Long-Term Durability: Plaster allowed to dry thoroughly is extremely resilient. If you wait until the plaster is entirely dry before continuing with the rest of the construction or finishing, you have a surface that will last a long time.
Achieving a high-quality finish, extending the life of your project, and reducing the need for repairs all depend on properly dried plaster. Let the plaster dry completely by the specified drying periods and procedures. We will wrap up this topic in the following section.
Conclusion
As a mixture of water, binders, and additives, plaster drying time is an important consideration for home renovation projects. Conditions like as temperature, humidity, and coat thickness all play significant roles in how quickly plaster dries. Drying time for plaster depends on its thickness; controlling humidity with ventilation and dehumidification helps expedite the process.
Drying times vary depending on the type of plaster, with gypsum plaster being the most popular option due to its low cost, high flexibility, and low learning curve. Lime plaster, which consists of lime, sand, and water, takes more time to dry than gypsum plaster, anywhere from a few extra days to a few weeks. Popular for exterior use, cement plaster dries at different rates depending on factors such as coat thickness and environmental temperature and humidity.
Natural clay, sand, and fibre are the main ingredients of clay plaster, making it more time-consuming to dry than other types of plaster. Maintaining ideal temperature and humidity, namely temperatures between 20 and 25 degrees Celsius (68 and 77 degrees Fahrenheit) and relative humidity between 40 and 60 percent, is crucial for proper plaster drying. In these conditions, the plaster will dry faster and more evenly if you do this first.
In order to get the greatest results in home renovation projects, it is essential to understand the factors that effect plaster drying time. Plastering can go smoothly and efficiently if you follow the manufacturer's directions and keep an eye on the drying process. Plaster drying properly requires good ventilation, protection from direct sunshine, the use of dehumidifiers, adherence to product requirements, patience, and sufficient drying time. As a result, you won't have to worry about cracks, bad finish adhesion, or structural problems. Common blunders to avoid include not allowing enough time for drying, adding finishes too soon, not providing enough ventilation, using too much heat, and not following manufacturer instructions.
Plaster must be entirely dry before finishing, thus moisture monitoring is essential. The drying process can be better understood with the use of a moisture metre, which measures the relative humidity inside the plaster. If you follow these steps, you can reduce the plaster's drying time and enhance the quality of your finished product.
The success and durability of a construction or renovation project depend on the plaster's drying time. The strength, stability, adhesion of finishes, resistance to cracking, improved aesthetics, prevention of mould and mildew, and long-term durability of plaster are all greatly improved by allowing it to cure completely before proceeding. You can save money on maintenance and repairs by completing a project correctly the first time and according to all drying directions.
Content Summary
- Understanding the drying time of plaster is crucial for achieving the best results in home improvement projects.
- Plaster's durability and sleek appearance make it a popular choice for exterior and interior applications.
- Drying times for plaster depend on variables such as humidity, temperature, and layer thickness.
- Drying and curing time for plaster typically ranges from a few minutes to a few days.
- Effective plastering projects can be achieved by considering critical factors and using proper ventilation and moisture management strategies.
- Plaster is a combination of water, binders, and additives that dry and harden over time.
- Crystalline structures form within the plaster during drying, enhancing its strength and longevity.
- Plaster starts as a soft and flexible material, gradually hardening and taking on its final appearance and texture.
- Plaster drying time is influenced by the plaster itself, the surrounding environment, and the thickness of the applied coat.
- Interior moisture content is as important as surface dampness in determining plaster dryness.
- Knowledge of plaster drying time helps in setting realistic expectations and taking necessary precautions.
- Variables such as temperature, humidity, plaster thickness, ventilation, and ambient conditions affect plaster drying time.
- Temperature greatly affects plaster drying time, with higher temperatures speeding up the process.
- High humidity prolongs drying time, while reduced humidity accelerates it.
- Proper ventilation and dehumidification methods assist in controlling humidity and expediting drying.
- Thicker plaster coats dry more slowly than thinner ones, and manufacturer instructions should be followed for appropriate drying.
- Adequate air circulation through ventilation is crucial for quick and proper plaster drying.
- Environmental factors like room temperature, humidity, and sunlight can impact drying time and should be controlled and monitored.
- Different types of plaster have varying drying times, such as gypsum plaster, lime plaster, cement plaster, and clay plaster.
- Gypsum plaster typically dries within 24 to 48 hours, while lime plaster may take several days to weeks.
- Cement plaster's drying time varies based on coat thickness, temperature, and humidity.
- Clay plaster requires more time to dry and may take several weeks or months.
- Drying times can vary depending on temperature, moisture, plaster thickness, and airflow.
- Following manufacturer instructions is crucial for proper plaster drying.
- Optimal temperature, humidity, ventilation, and sunlight control expedite plaster drying.
- Dehumidifiers can be used to reduce humidity levels and speed up the drying process.
- Patience is necessary to allow sufficient drying time and ensure the quality and durability of the plaster.
- Monitoring the moisture content with a moisture meter ensures thorough drying before finishing.
- Insufficient drying time can result in cracks, poor adhesion, and structural weaknesses.
- Finishing materials should be applied only when the plaster is completely dry to avoid peeling, blistering, or mould formation.
- Adequate ventilation is essential for proper drying, and excessive airflow can lead to issues like cracking and shrinking.
- Plaster should be protected from direct sunlight to prevent uneven drying and surface problems.
- Dehumidifiers help reduce moisture levels and expedite plaster drying.
- Manufacturer guidelines should be followed for each plaster type to ensure optimal drying results.
- Monitoring moisture levels with a moisture meter helps determine the progress of the drying process.
- Properly dried plaster gains strength, stability, and durability over time.
- Finishes adhere better to thoroughly cured plaster walls, ensuring long-term stability.
- Thorough drying reduces the likelihood of cracking and maintains a smooth finish.
- Dried plaster has an aesthetically pleasing appearance and serves as a base for ornamental treatments.
- Proper drying prevents mould and mildew growth, maintaining a healthy environment.
- Thoroughly dried plaster exhibits enhanced durability, reducing the need for repairs.
- Avoiding common errors such as insufficient drying time and premature application of finishes is crucial.
- Inadequate ventilation can slow down the drying process and lead to moisture-related issues.
- Excessive heat should be avoided as it can cause shrinkage, cracking, and structural integrity loss.
- Ignoring manufacturer guidelines regarding application methods, drying times, and thickness restrictions can result in poor drying and outcomes.
- Regularly monitoring the moisture content of the plaster ensures proper drying before proceeding.
- Properly dried plaster contributes to a high-quality finish and long-lasting results.
- Thoroughly drying plaster is essential for the strength, stability, and adhesion of finishes.
- Proper drying reduces the risk of cracks, mould, and surface defects.
- The importance of allowing the plaster to dry completely is crucial for the success and longevity of a building or remodelling project.

