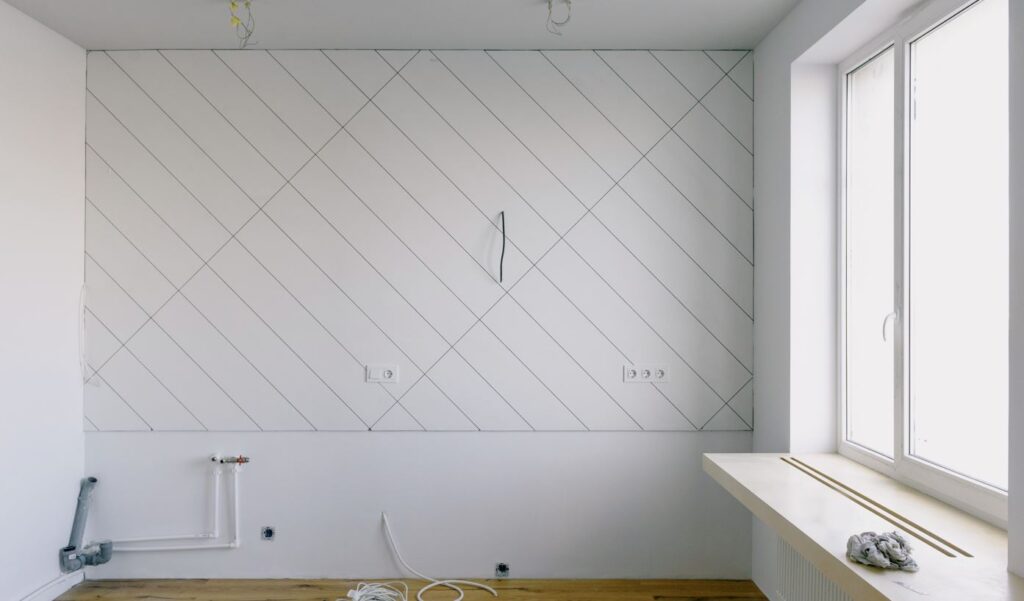
Should DIYers employ a pro or try their hand at plastering themselves? This is a question frequently asked by homeowners about making changes to their homes.
Plastering is an essential process for giving walls and ceilings a finished, professional look. It's crucial to consider all the factors before deciding to do the project on your own to save money.
Plastering may be a difficult and time-consuming project for the do-it-yourselfer, requiring expertise with the materials and methods. It can be expensive to fix poor results if they are produced without sufficient experience or training.
But, if you hire a professional plasterer, you can rest assured that the job will be done correctly and efficiently. They have the know-how, equipment, and experience in the field to complete the job to perfection, completely altering your area.
This post will discuss the things to consider when considering whether to plaster on your own or hire a professional.
The Knowledge Of The Plastering Process
Plastering is a method for finishing walls and ceilings to a uniform smoothness. It's an essential aspect of interior finishing since it provides a nice, long-lasting surface for other décor forms.
Plastering Function
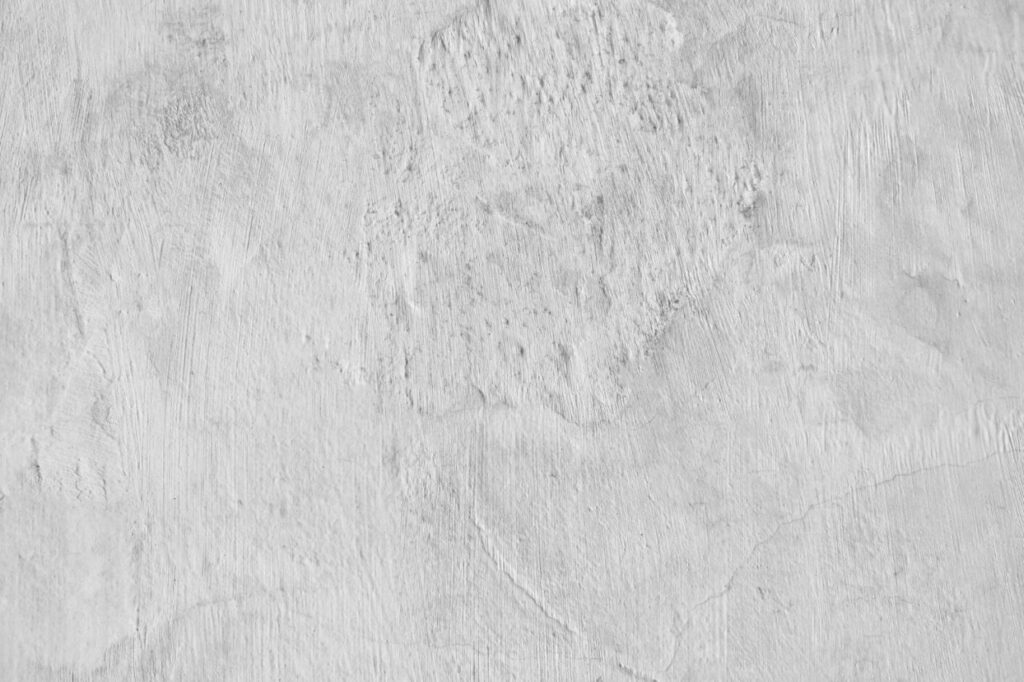
Plastering ensures that all surfaces have the same smooth, even appearance. Plaster can hide flaws like cracks & unevenness in walls and ceilings, making them ready for additional finishes. It not only improves the appearance of a space but also helps to preserve the building's foundation.
Plaster Types
Plaster is used for many different purposes, and there are many different kinds. Some typical examples are:
- Gypsum Plaster: Most internal walls and ceilings are finished with this plaster. Gypsum powder and water form gypsum plaster. It dries rapidly, has a clean surface, and is simple to manipulate.
- Lime Plaster: The basic ingredients of lime plaster are lime, sand, & water. Because of its breathability and compatibility with conventional construction processes, it is frequently utilised for historic and older buildings.
- Cement Plaster: Plaster made from cement, sand, & water is called cement plaster. It's typically utilised for exterior walls and surfaces that need to last a long time and withstand the elements.
Plastering Process
Plastering usually entails the following procedures:
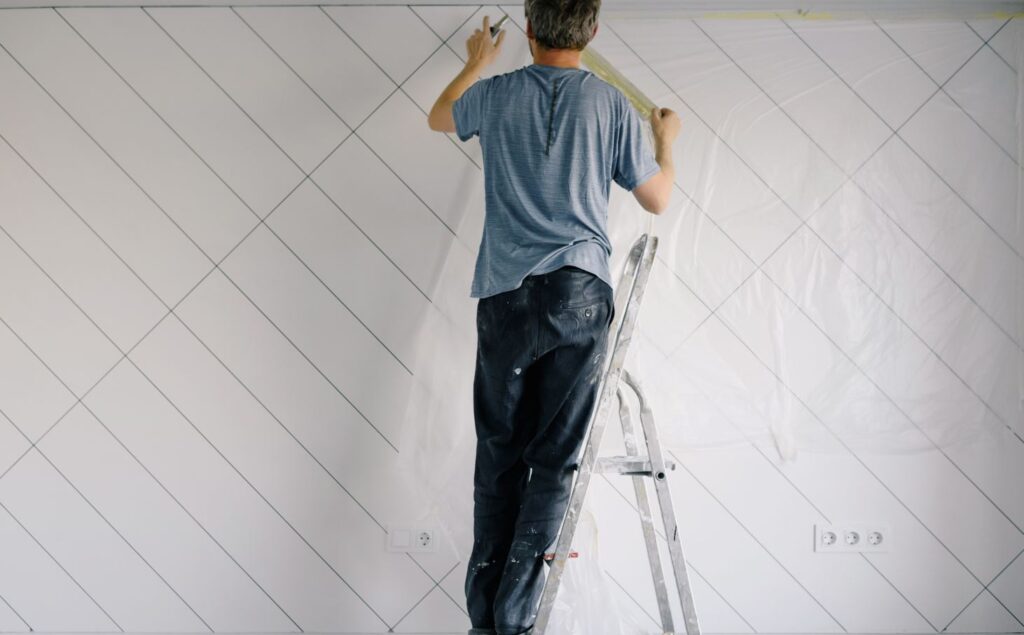
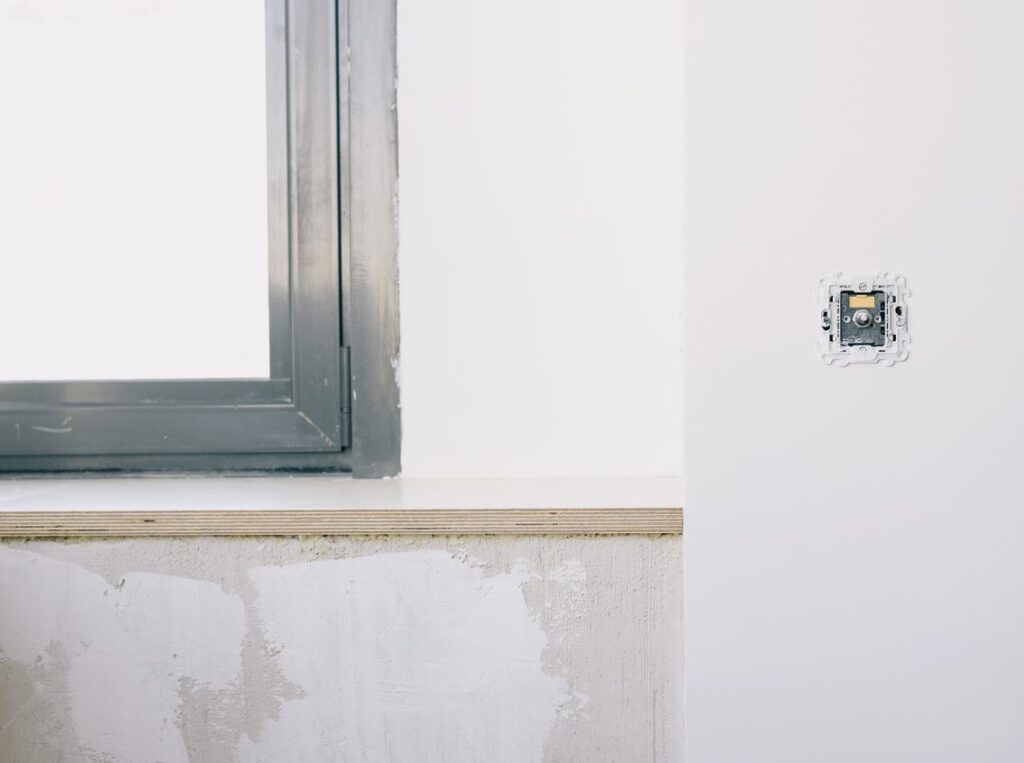
- Surface Preparation: Plaster can only adhere to a surface that is dry, dust-free, and in pristine condition. Plastering should follow any necessary repairs or levelling of the surface.
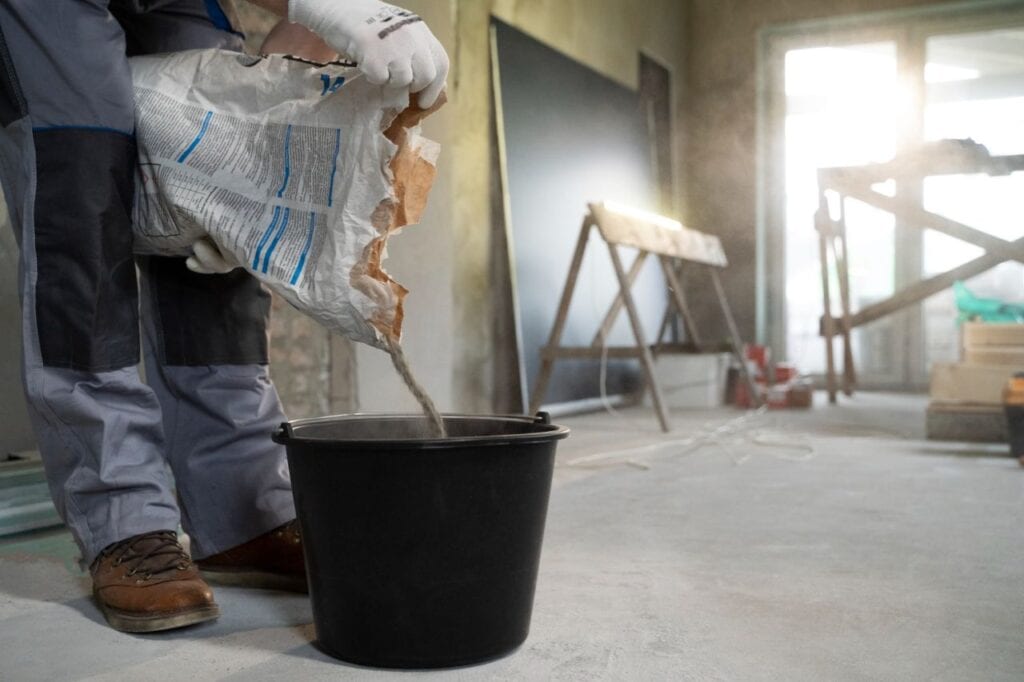
- Mixing the Plaster: Plastering material (such as gypsum, lime, or concrete) is mixed with water for the correct consistency to make the plaster mix.
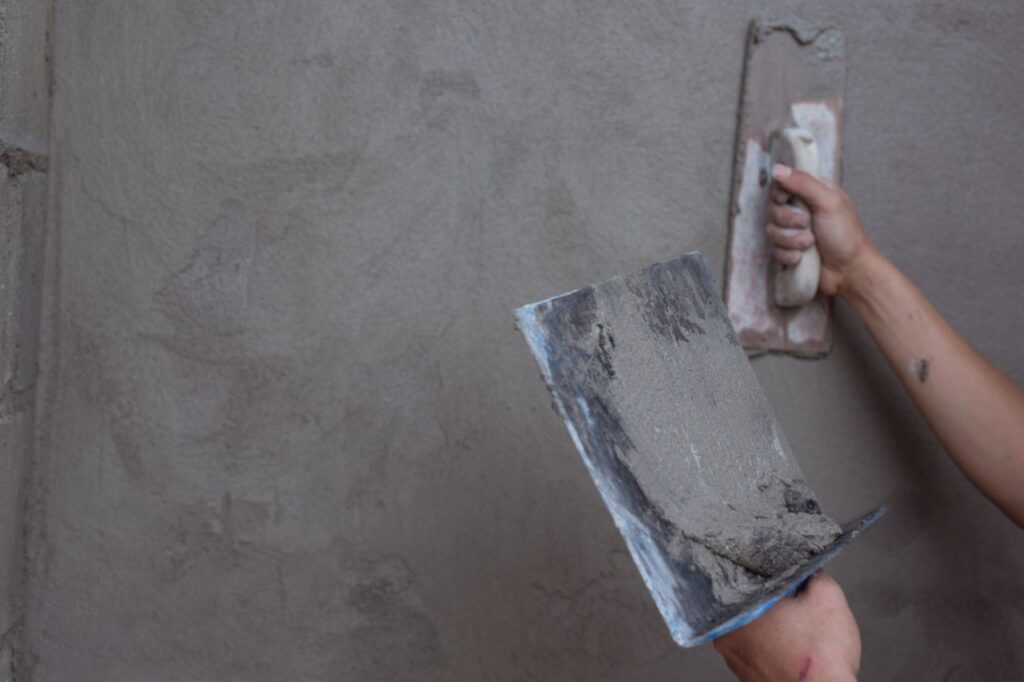
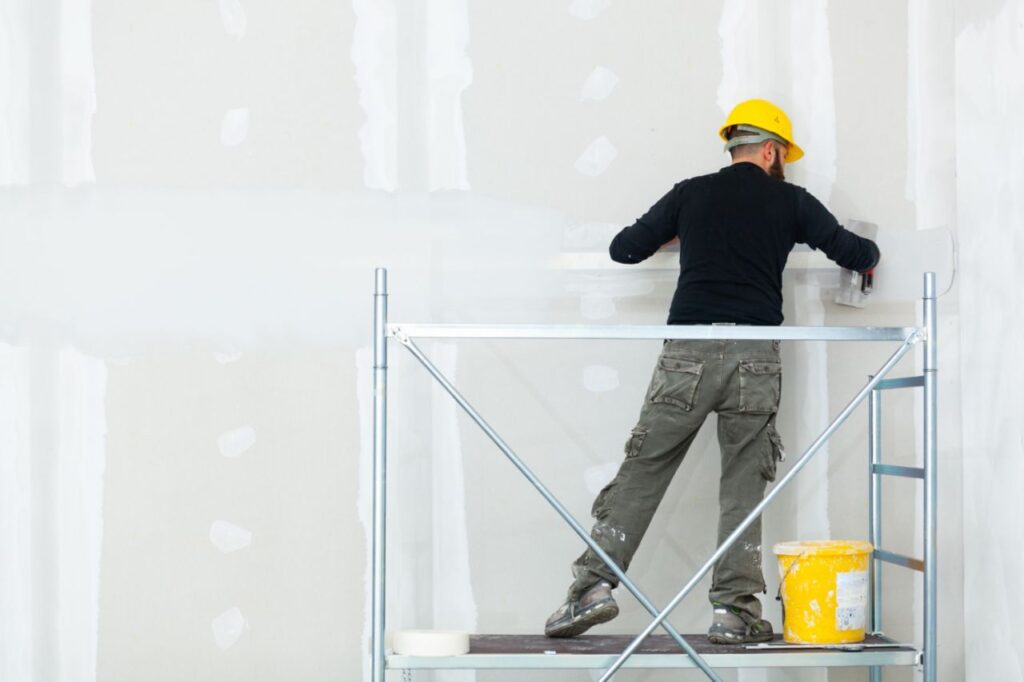
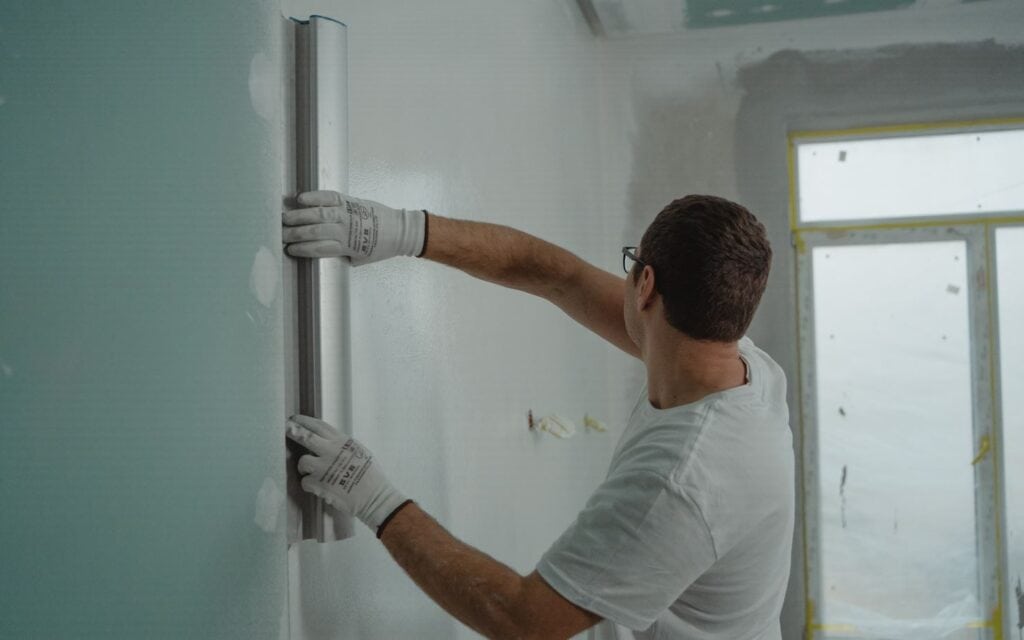
- Application of the Plaster: With a trowel or a hybrid of a hawk and trowel, the plaster is spread across the surface. The layer is uniformly dispersed and smoothed out.
- Smoothing and Finishing: The trowel is used to smooth and level the plaster after application. Feathering the edges and scraping off any excess plaster may be necessary.
- Drying and Curing: Plaster must dry and cure before use. Drying time is affected by many factors, including plaster kind, thickness, and climate. Before applying any additional treatments or finishes, proper drying & curing time must be allowed.
Plastering Tools
Plastering requires a wide variety of equipment, such as:
- Trowel: A tool with a flat, rectangular shape used to spread and smooth plaster.
- Hawk: A piece of flat wood with a convenient grip for carrying and using plaster.
- Float: A trowel for finishing work, typically with a sponge or leather pad.
- Mixing Paddle: Plaster components are mixed using a drill attachment.
- Scaffolding: Scaffolding is often used to give a safe and secure place to operate when it is necessary to reach higher regions.
Homeowners can make more educated judgments about whether to handle the project alone or contract with an expert if they have a basic understanding of plastering. The ideal method to get a beautiful plastered surface depends on the scale of the task, the intended goal, and the individual's skill level.
The Advantages Of Hiring A Professional Plasterer
- Expertise and Experience: Plastering is a job that requires specialised knowledge and training, both of which professional plasterers possess. Because of their education and experience, you can trust them to do any plastering job satisfactorily.
- Time and Cost Efficiency: If you want to save unnecessary hassle, choose a professional plasterer. They are productive, finishing the assignment in the allotted time. In addition, they have all the equipment and supplies they need, so you won't have to buy or rent anything.
- Superior Quality Finish: Plastering experts have access to high-quality supplies and the knowledge to use those resources effectively. They may make your walls and ceilings seem great by giving them a smooth, faultless gloss.
- Proper Surface Preparation: In plastering, preparation is key. Plastering experts know what they're doing regarding surface preparation so they won't miss a thing. This meticulous work yields a superior, long-lasting coating.
- Avoidance of Costly Mistakes: If you don't have experience or the proper training, DIY plastering could cost you a lot of money. If you want to avoid spending money fixing mistakes or redoing work, selecting an expert plasterer is the way.
- Customised Solutions: If you hire a professional plasterer, you can get solutions tailored to your specifications. They are well-versed in the many varieties of plastering and can advise you on the finest methods, materials, & finishes to use for your job.
- Safety and Insurance: Plasterers who are serious about their craft always prioritise worker safety. They understand safety procedures and will follow them to ensure their and your property's safety. Professionals who are worth their salt also have insurance, so you won't have to worry if something goes wrong.
- Professional Guarantees: The work of many qualified plasterers is backed by some sort of guarantee or warranty. If any problems develop with the plastering inside a given time frame, they will return at no extra cost to you and make the necessary repairs.
Choosing an expert plasterer allows you to take advantage of their knowledge, save time and energy, get better results, and reduce the risk of making expensive mistakes. Plastering your home or building is a purchase that will pay off in beautiful, long-lasting surfaces.
Frequently Asked Questions About Plastering
Yes, it is possible to plaster over existing paint. However, it is important to ensure the surface is clean and free from loose paint or debris before applying the plaster. Lightly sanding the painted surface can help improve adhesion.
The drying time for plaster can vary depending on factors such as temperature, humidity, and thickness. Generally, it takes around 24 to 48 hours for the plaster to dry. Thicker layers or humid conditions may prolong the drying time.
It is generally recommended to wait for the plaster to fully dry and cure before painting. This can take several days to a week, depending on the type of plaster and the thickness applied. Follow the manufacturer's instructions and ensure the plaster is completely dry before applying paint.
If you make a mistake during DIY plastering, it is best to address it as soon as possible. Depending on the severity of the mistake, you may need to consult a professional plasterer for advice on rectifying the issue. They can guide potential solutions or recommend the necessary corrective steps.
Many professional plasterers offer warranties or guarantees for their work. If any issues arise with the plastering within a specified period, they will come back and fix it without any additional cost to you. It is advisable to inquire about warranty details before hiring a professional plasterer to ensure you have a clear understanding of their coverage.
DIY Plastering Challenges
- Lack of Skills and Experience: Lack of training and experience is a major hindrance to DIY plastering. Smooth and competent plastering demands familiarity with specific methods and practices. It can be challenging to manage the numerous processes that make up the procedure without the appropriate knowledge and experience.
- Time and Effort: Plastering is a tedious job requiring persistence and focus. Plastering alone can be a lot of work if you aren't used to the physical exertion required. A professional plasterer will likely finish the task in less time than an amateur.
- Tools and Equipment: Some instruments and gear are essential for successful plastering. The cost of buying or renting these items can increase the overall budget for the project. In addition, a lack of experience or knowledge of the tools could hinder a novice's ability to do a good job of plastering.
- Risk of Mistakes and Imperfections: Making a mistake during plastering can be tough to fix and will show in the finished product. DIY plastering without the right training and experience can lead to walls and ceilings with uneven surfaces, noticeable seams, and other flaws that detract from the project's aesthetic value.
- Lack of Professional Finish: To get a polished result, you need to put in some time and effort. It's possible that a DIY plaster job won't turn out as smoothly or flawlessly as one done by a professional. This can affect the room's attractiveness and may necessitate more work.
- Limited Knowledge of Materials: DIY plasterers may not be aware of the variety of plasters available or which ones are best suited to which surfaces. Problems like cracking, peeling, and poor adhesion might result from using the wrong sort of plaster and applying them incorrectly.
- Lack of Access to Specialised Techniques: Decorative plastering and detailed moulding are only two of the many specialised plastering techniques that professional plasterers use. Do-it-yourselfers may have trouble recreating these methods without extensive training and assistance.
- Safety Concerns: When plastering, you may be exposed to harmful tools and materials. DIY plastering can be dangerous if done without training in safety procedures and the use of appropriate protection gear.
Before deciding to plaster your walls, it's vital to think about the difficulties you might face and evaluate your talents. Plastering yourself can be a satisfying experience for smaller tasks or simple repairs, but larger or more difficult jobs are usually better left to a professional.

When DIY Plastering Is Appropriate
- Small Repair Jobs: Little repair work, such as minor fractures or holes in walls or ceilings, may be appropriate for do-it-yourself plastering. Homeowners can easily patch up minor areas without the help of a professional with just a little bit of know-how and the correct tools.
- Basic Plastering Techniques: Little plastering projects can be done independently if you have experience and confidence with basic plastering techniques. DIY enthusiasts may be able to handle basic chores like putting a thin layer of plaster or sanding out minor defects on their own.
- Adequate Preparation and Research: Research the plastering process, methods, and materials before trying a do-it-yourself job. Your potential for achievement will increase if you put in the time and effort to prepare and research the topic properly.
- Budget Constraints: Plastering by a professional can be costly, especially for bigger or more complicated jobs. DIY plastering might be a cost-effective option if you are on a tight budget and are ready to put in the time and work.
- Learning Experience and Personal Satisfaction: Some people get a kick out of figuring out how to do things around the house on their own. DIY plastering can be rewarding if you see it as a chance to learn new skills and are okay with the prospect of a less-than-perfect end product.
When deciding to plaster on your own, it's best to evaluate the scope and intricacy of the job in addition to your abilities and level of comfort. While it's true that there are times when going the DIY route pays off, keep in mind that professional plasterers also bring experience, quickness, and a polished result.
DIY Plastering Procedures
- Preparing the Surface: Plastering a wall requires first priming the wall. Ensure it's spotless, dry, and devoid of dust, dirt, or peeling paint. To get rid of the old paint or wallpaper, you can use a scrape or sandpaper. Fill in gaps or holes with the appropriate filler and let them dry before continuing.
- Gathering Materials and Tools: Gather the required plastering equipment and supplies. A plaster of Paris, a mixing bucket, a trowel, a board hawk or board to hold the plaster, a brush and damp cloth, and a water mist bottle are all necessary tools. The correct water-to-plaster ratio can be found by reading the directions printed on the package of plaster mix.
- Mixing the Plaster: Add the plaster powder to the specified water in the mixing bucket. To avoid lumps, mix the plaster and water completely using a mixing paddle or a drill fitted with a mixing attachment. Mixing durations and proportions should be used as specified by the manufacturer.
- Applying the Plaster: The first step in improving adhesion is to dampen the surface with a spray bottle. Take a small amount of the plaster mixture and spread it evenly across the surface with the trowel. Plaster can fly everywhere, so keep the hawk and board handy to catch it. Work your way up from the bottom with even strokes as you apply the plaster.
- Smoothing and Leveling: When the first coat of plaster has been placed, it should be smoothed and levelled with a trowel. The plaster should be flattened using a trowel held at a slight incline and a light touch to ensure uniform thickness. Smooth and level the surface as you go by working in small increments.
- Feathering and Blending: You may get a smooth, uniform look by feathering the margins of each portion by skimming its trowel over the plaster. In doing so, we can conceal any seams or lines that could otherwise be evident.
- Cleaning and Finishing: Dry plaster can impede the smoothing process and should be removed from the trowel, hawk, and other tools regularly by wiping them down with a moist cloth or sponge. If you want to cover the surface completely, keep adding plaster and smoothing it out. Make sure the edges and corners are clean and distinct.
- Drying and Curing: Please follow the manufacturer's directions for drying and curing the plaster. Usually, this takes the better part of the day or perhaps the night. To avoid damage or defects in the plaster, avoid touching and disturbing it during this time.
Plastering is not always easy, so take all the necessary precautions and learn the right procedures. If you are unsure of yourself or lack experience, you may want to seek the advice of a professional plasterer.
Conclusion
DIYers debating whether to handle the job themselves or hire a pro should consider plastering, as it is an essential technique for giving walls and ceilings a finished look. Plastering is crucial for achieving a uniform appearance, concealing imperfections, and protecting the structure's underpinnings. Plaster comes in several forms, including gypsum, lime, and cement. Plastering is a multi-step procedure that begins with surface prep and continues through mixing, application, smoothing, finishing, drying, and curing.
Plastering jobs are more effectively completed by professionals due to their specialised expertise and experience. They're efficient, well-equipped, and armed with everything they need to get the job done. They can get a faultless result because they have access to superior tools and techniques. A skilled plasterer will be able to provide you with advice on how to best prepare your surface. They are concerned about the welfare of their employees and have taken precautions to safeguard their business and assets.
Homeowners who hire a professional plasterer can take advantage of the plasterer's expertise, saving them time, effort, poor results, and money. Investing in plastering will produce surfaces that look great and last for a long time. DIY plastering can be difficult because of a lack of knowledge, experience, time, effort, tools, and the potential for blunders and defects.
In conclusion, any homeowner interested in enhancing their home's visual appeal and practicality would do well to hire a skilled plasterer. Because they know what they're doing, have the tools at their disposal, and have been in the business for some time, you can rest assured that the final product will be of the highest quality and will last for years. DIY plastering can be a satisfying and affordable method to update the look of a room. DIY plastering has certain advantages, but you should be aware of the risks and limitations involved. Inadequate professional polish, insufficient familiarity with materials, a lack of access to specialised procedures, worries about safety, and the risk of exposure to dangerous instruments and materials are just some of the key problems.
DIY plastering projects can range in size and difficulty, but it's important to think about how much of a challenge you're up for. DIY plastering might be an option for minor repairs like cracks and holes. When one has the necessary experience and confidence, they can plaster on their own. Success requires extensive preparation, including a study of plastering history, techniques, and materials.
Plastering your own home might be expensive if you don't have a large budget. Do-it-yourself plastering can save money if you're strapped for cash and are up for the challenge. Acquiring new knowledge and gaining a sense of accomplishment are also positive outcomes.
Priming the surface, obtaining the necessary materials and tools, mixing the plaster, applying the plaster, smoothing and levelling, feathering and blending, cleaning and finishing, drying and curing—these are all steps in the plastering process that you may do on your own. If you want a professional finish, be sure to follow the manufacturer's instructions and use caution. A professional plasterer's opinion may be preferable if you're not sure what you're doing or don't have much experience.
Content Summary
- Homeowners often debate whether to do their own plastering or hire a professional.
- Plastering is essential for achieving a professional, finished look on walls and ceilings.
- DIY plastering can save money, but it requires expertise with materials and methods.
- Poor DIY plastering can lead to costly fixes in the future.
- Hiring a professional plasterer ensures a correct and efficient job.
- Professionals have the necessary knowledge, equipment, and experience.
- This post discusses factors to consider when deciding between DIY and hiring a pro.
- Plastering provides a smooth, even appearance and hides flaws in walls and ceilings.
- Gypsum, lime, and cement are common types of plaster.
- The plastering process involves surface preparation, mixing plaster, application, smoothing, and drying.
- Plastering tools include a trowel, hawk, float, mixing paddle, and scaffolding.
- Understanding plastering basics helps homeowners make informed decisions.
- Hiring a professional plasterer ensures expertise, efficiency, and superior quality.
- Professionals provide proper surface preparation and avoid costly mistakes.
- Customized solutions and professional guarantees are benefits of hiring experts.
- Professionals prioritize safety and have insurance coverage.
- DIY plastering poses challenges due to lack of skills, time, and equipment.
- Mistakes and imperfections can be difficult to fix in DIY plastering.
- Lack of a professional finish and limited knowledge of materials are concerns in DIY projects.
- DIYers may lack access to specialized techniques and face safety risks.
- Small repair jobs and basic plastering techniques are suitable for DIY projects.
- Adequate preparation, research, and budget constraints can make DIY plastering appropriate.
- DIY plastering can be a learning experience and offer personal satisfaction.
- Evaluation of the job complexity and personal abilities is crucial when deciding to DIY.
- DIY procedures include surface preparation, gathering materials, mixing plaster, application, smoothing, and drying.
- Professional advice is recommended for those unsure of themselves or lacking experience.
- DIY plastering requires clean, dry surfaces free of dust or peeling paint.
- Necessary tools for DIY plastering include plaster mix, trowel, hawk, brush, and mist bottle.
- Mixing plaster should be done according to manufacturer instructions.
- Proper application of plaster involves dampening the surface and working from the bottom up.
- Smoothing and leveling the plaster is important for a uniform thickness.
- Feathering and blending techniques help achieve a smooth look and hide seams.
- Cleaning tools regularly and ensuring clean edges and corners contribute to a finished look.
- Following drying and curing instructions is essential for the plaster's integrity.
- Precautions and proper procedures are necessary for successful plastering.
- Seeking professional advice is recommended for those unsure or inexperienced.
- DIY plastering can save money but requires expertise.
- Hiring a professional ensures efficiency and a polished result.
- DIY plastering can be suitable for small repair jobs and basic techniques.
- Proper preparation, research, and budget constraints make DIY plastering viable.
- DIY plastering can provide a learning experience and personal satisfaction.
- Evaluation of job complexity and personal abilities is crucial for DIY projects.
- DIY plastering involves surface preparation, material gathering, mixing, application, smoothing, and drying.
- Professional advice is recommended for uncertain or inexperienced individuals.
- Proper surface preparation is essential for successful DIY plastering.
- Tools required for DIY plastering include plaster mix, trowel, hawk, brush, and mist bottle.
- Mixing plaster should be done according to manufacturer instructions for the right consistency.
- Step-by-step application and smoothing techniques are necessary for a professional finish.
- Feathering and blending help achieve a uniform appearance.
- Following proper drying and curing procedures is vital for the plaster's integrity.

