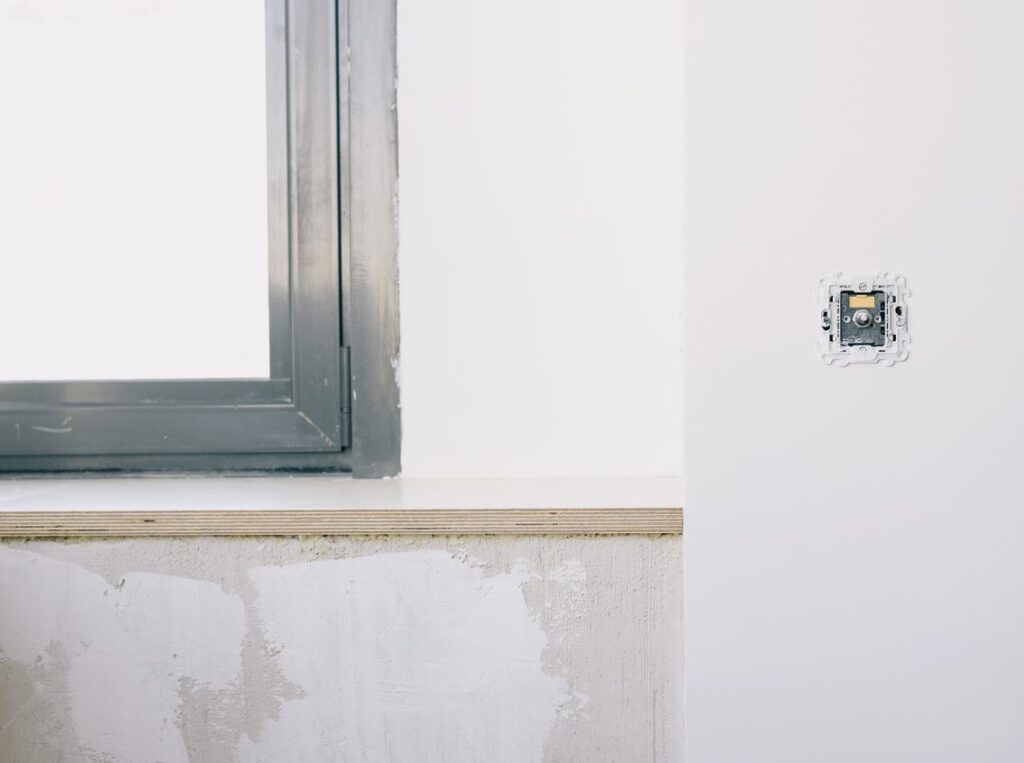
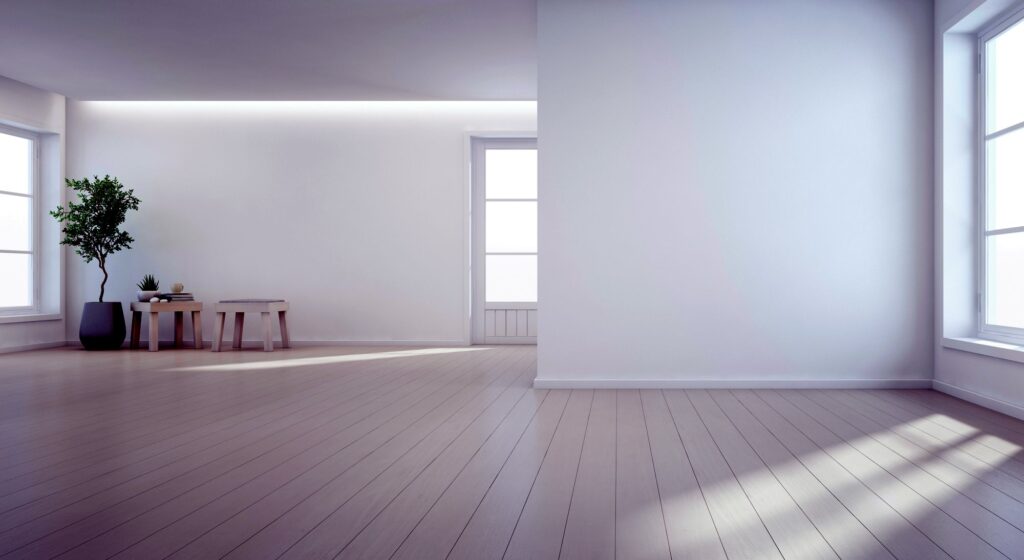
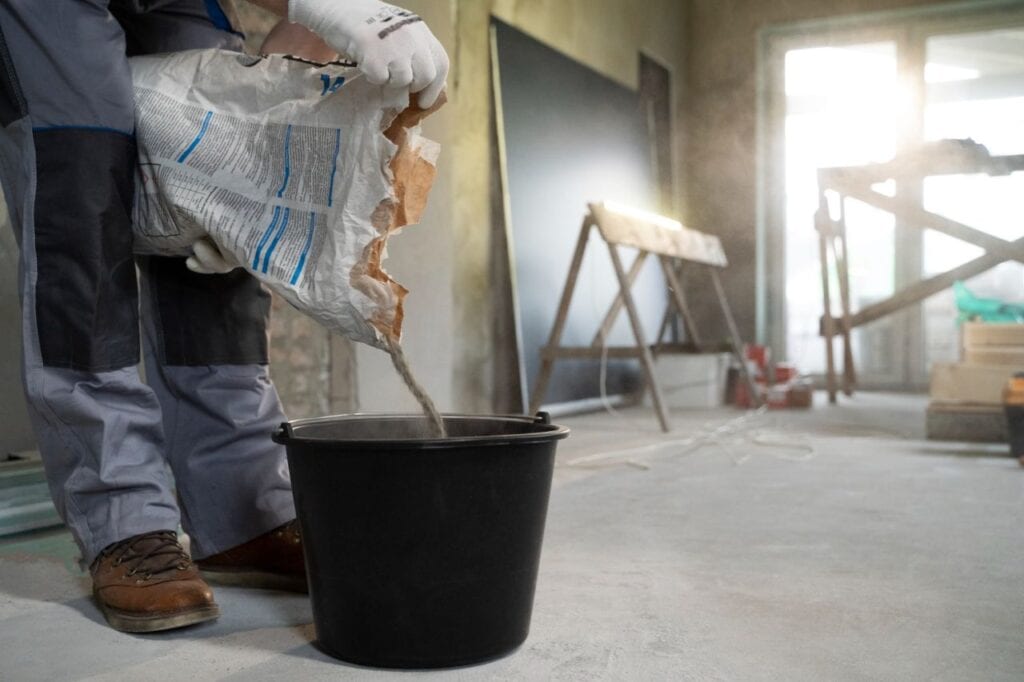
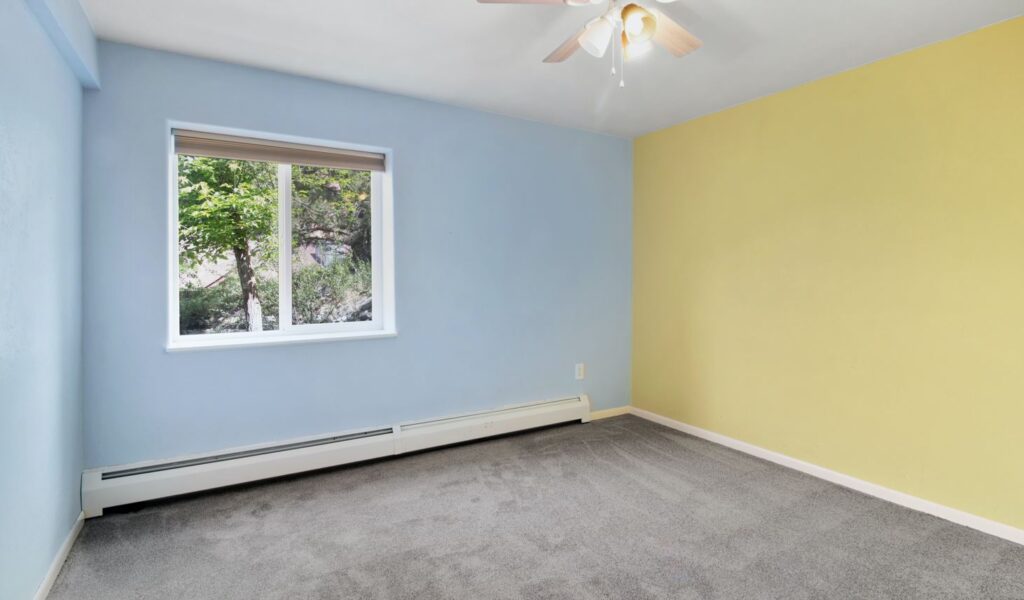
It's natural to have curiosity about the feasibility of painting plaster walls. Plaster painting is a great method to give walls or ceilings a new look, whether you want to add a bold splash of colour or a more understated accent.
Plaster is a flexible building material often used to create smooth, long-lasting surfaces. But, there are a handful of things to remember when painting over plaster.
In this post, we'll go into plaster painting and give you the lowdown on how to do professional work that will stay. Whether you're a do-it-yourself expert or a homeowner hoping to give your home a facelift, learning the proper techniques for painting plaster will yield impressive results.
The world of painting plaster is a fascinating one; let's explore it together and learn the tricks of the trade for producing beautiful results.
Plaster Surface Preparation For Painting
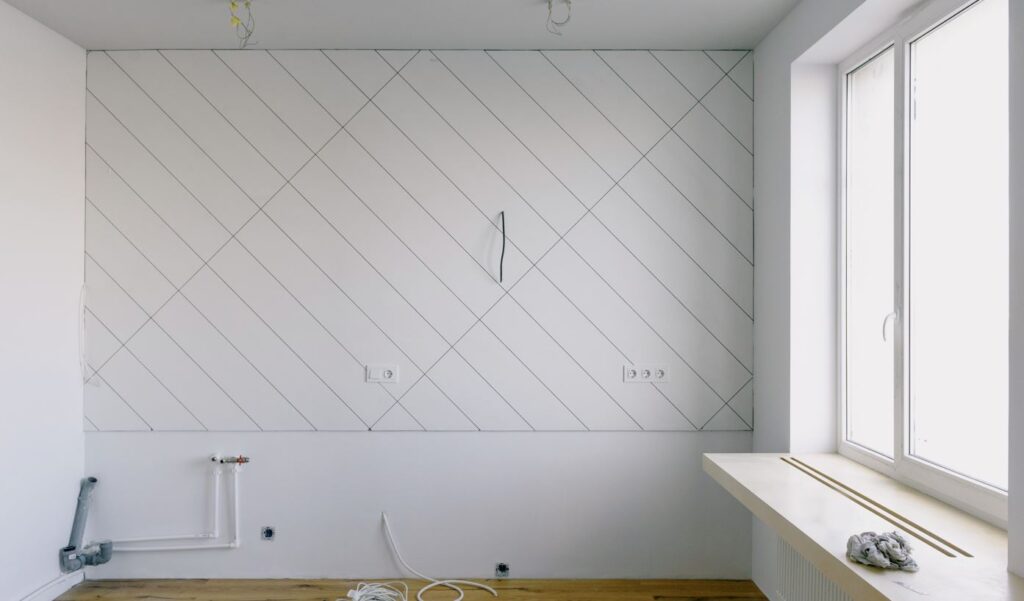
Painting plaster requires thorough surface preparation to guarantee good paint application and a flawless final product. To get the plaster ready for painting, do as follows:
- Clean the Surface: First, ensure the plaster surface is completely clean. A soft cloth, sponges, or vacuum with a brushing attachment can remove dust, grime, or debris. Make sure there are no dust or dirt particles on the surface that could prevent the paint from sticking.
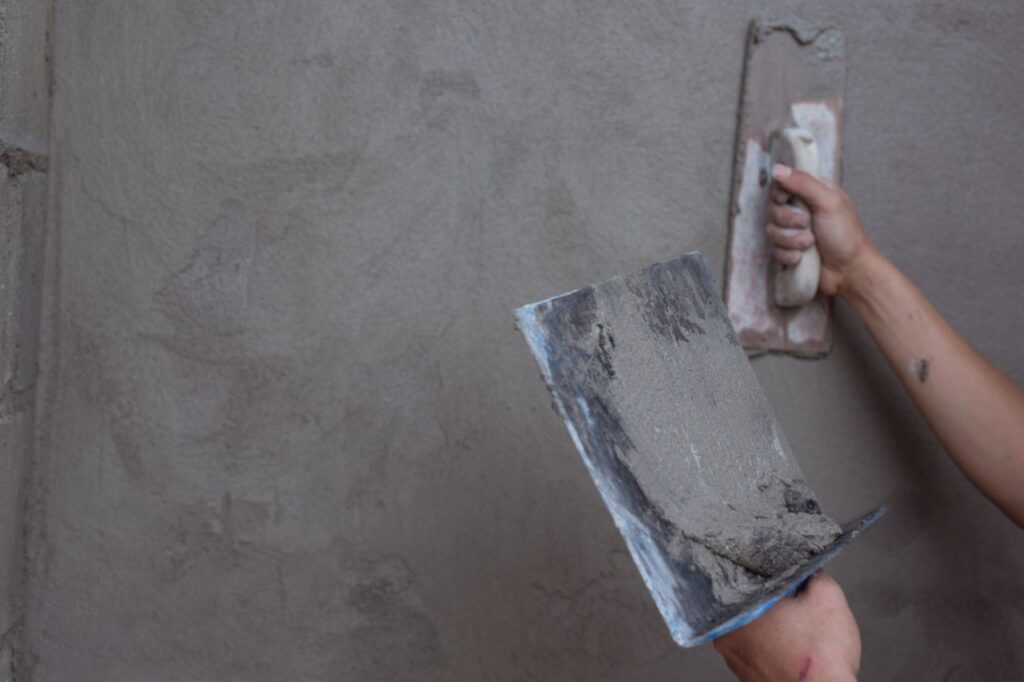
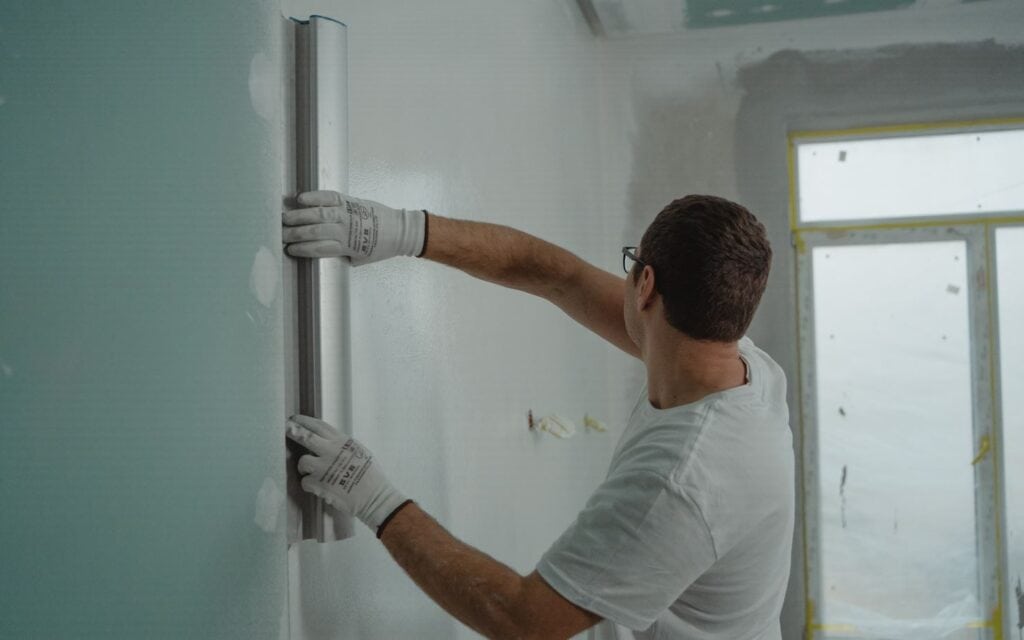
- Repair Damaged Areas: Look for flaws in the plaster, such as cracks or holes. Carefully scrape away any flaking or loose plaster using a putty knife. Use a patching solution or wood putty paste to fill in any holes or cracks you see. Use a putty knife or drywall knife to smooth out the compound. Don't go on until the areas that were fixed have dried fully.
- Sand the Surface: Lightly sand any rough or uneven spots on the plaster surface to be smooth and even before painting. Sand inside circularly with fine-grit sandpaper, focusing on the rough areas. Dust should be cleaned up with a damp sponge or towel after sanding.
- Clean Again: Sanding creates a lot of dust, so it's important to clean its surface again afterwards. To clean the plaster, wipe it down with a damp cloth or sponge. Please wait till it is entirely dry before proceeding.
- Apply a Primer: Priming the plaster before painting is strongly advised. An even surface, better paint adhesion, and complete colour coverage are all benefits of using a primer. Use a primer designed for plaster and apply it according to the manufacturer's recommendations. Apply the primer in thin, uniform coats using a paintbrush or roller. Wait for the primer to dry for the amount of time specified by the manufacturer.
After you've done all these things, the plaster will be painted on. For the best results, it's important to use the right paint on plaster and to employ the right painting techniques. Spending the effort to prepare the surface properly will result in a paint job that looks like it was done by a pro and will extend the life of your painted plaster.
Selecting The Best Paint
The key to a beautiful and long-lasting paint job on plaster surfaces is picking the right paint. While selecting a paint, keep the following in mind:
Paint Type
If you're painting an internal plaster wall, choose a paint made for that purpose. Latex & acrylic paints are two popular options for painting plaster walls. You won't have to worry about these paints chipping, peeling, or breaking.
Finish
The paint's finish influences how glossy it will be. Determine your desired appearance and the room's purpose before settling on a finish. Some frequent choices are as follows:
- Matte Finish: Because of its matte, non-reflective quality, this finish is great for covering up blemishes in the plaster.
- Eggshell Finish: This coating adds a modest shine and soft illumination. It's easy to clean and less likely to show fingerprints than matte surfaces.
- Satin Finish: Its coating gives off a subtle glow and a velvety texture. It's hard and simple to keep up, making it a wonderful choice.
- Semi-Gloss Finish: This coating is glossier and creates a highly reflecting surface. It can withstand heavy use and cleaning and works well in busy public spaces.
Colour Scheme Choosing
Think about the room's design and your tastes before deciding on a plaster hue. Lighter colours can provide the illusion of more open space, while darker colours can offer drama and sophistication. Before committing to a hue, it's a good idea to get swatches and samples and try them out on the plaster surface.
Paint Quality
Better coverage, durability, & longevity may all be yours with a great paint investment. Paints made for interior plaster surfaces can be found from respected brands. A higher-quality paint may require fewer coats to provide the same level of coverage.
Environmental Considerations
Look for paints that fulfil your needs in terms of the environment by searching for low VOC (Volatile Organic Compound) or eco-friendly choices. The minimal chemical content of these paints makes them safer for use inside.
If you want detailed instructions on how to apply the paint and how long it needs to cure, see the can's label. You can improve the look of your plaster surfaces and preserve them from damage by using the appropriate paint.
Achieving a beautiful, lengthy finish that enhances the aesthetics of your area is as simple as selecting the proper paint for the plaster surfaces after carefully considering the aspects above.
Frequently Asked Questions About Plastering
Yes, you can paint fresh plaster. However, it is important to let the plaster fully cure and dry before applying paint. This process usually takes several weeks, depending on the plaster used.
Using a primer is highly recommended when painting plaster. Priming helps create a smooth surface, improves paint adhesion, and enhances colour coverage.
While you can use various types of paint on plaster, it is best to choose a latex or acrylic paint specifically formulated for interior use. These types of paint offer better adhesion and durability on plaster surfaces.
The drying time for painted plaster depends on several factors, including the type of paint, humidity levels, and ventilation. In general, it can take anywhere from a few hours to several days for the paint to dry completely.
Yes, you can wash painted plaster walls. Use a soft cloth or sponge dampened with mild soap and water to clean the surface. Avoid abrasive cleaners that may damage the paint.
Applying Primer
Applying a primer to your plaster surfaces is a must before painting. Primer is a base coat that facilitates better paint adhesion, creates a homogeneous surface, & enhances the final appearance. To prep your plaster, do as follows:
Choosing The Best Primer
Use a primer made especially for plaster walls. Choose a primer that works with the paint you intend to use. For interior plaster surfaces, water-based primers are frequently employed because of their high adherence.
Clean The Surface
The plaster must be dry and clean before the primer may be applied. The plaster should be cleaned, and any cracks or defects should be repaired using the methods described in the preceding section.
Blend The Primer.
If any of the pigments in the primer have settled to the bottom of the can, open it up and give it a good stir. The uniformity and completeness of the application will be greatly aided by this.
Use The Primer.
Apply some primer to the plaster with a brush or roller. Start with a brush to fill in the corners and edges, and after that, move on now to rolling the larger sections. To avoid brush or roller marks, apply the primer even in strokes, moving from the top down.
Work In Groups
Work on a little plaster area at a time to achieve complete coverage. Priming should be done in small increments, with each stroke slightly overlapping the previous one. Take a systematic approach so that no stone is left unturned.
Allow Time For Drying
To determine how long the primer should dry, read the label. Primers usually dry in a few hours. However, this time frame might be shorter or longer, depending on the product. Before moving on to the following step, ensure the primer is dry.
After the primer has dried, the plaster can be painted. The primer prepares the surface so the paint can adhere properly and cover thoroughly. It also aids in keeping the paint job from being ruined by hidden flaws.
Priming plaster surfaces before painting is an important process that ought to be skipped. It makes the painting process go more smoothly, makes the paint last longer, and aids in getting the desired effect.
Plaster Painting Techniques
Proper methods while painting plaster surfaces can greatly improve the end effect. If you want to paint your plaster and have it turn out well, here are some suggestions to follow:
- Cutting In: Now, using a paintbrush or an angled paint weed wacker, paint in the cracks around the freshly plastered area. This method necessitates painting a straight, even line along the wall's edges where it meets a ceiling, floor, and adjoining walls. Cutting in allows for greater accuracy and cleaner transitions between surfaces.
- Rolling the Paint: After the perimeter has been painted, the bigger sections of the plaster can be painted with a roller brush. Here's the procedure:
- Roll the roller back and forth across the paint tray to load it, then pour the paints into the tray.
- Plastering a wall or ceiling requires working from the top down in manageable chunks.
- Use a "W" or "M" motion to paint a 2- to 3-foot broad strip.
- The paint should be rolled up and down to cover the surface evenly. To avoid paint buildup and drips, avoid pressing down too firmly on the roller.
- Use a small amount of overlap between wet sections to transition from one to the next seamlessly. This method guarantees a consistent and sleek surface.
- Do this until you have painted the entire surface of the plaster. Once the initial coat has dried, you can apply a second coat using the same process.
- Maintaining Wet Edges: It's vital to keep the edges wet so that brush or roller markings don't show through. To achieve a seamless transition between portions, it is necessary to work on them simultaneously, whereas the paint remains wet. It's best not to wait until all the paint has dried before going on.
- Using Multiple Thin Coats: Applying several thin gallons of paint is preferable to applying one thick coat. Thinner layers take longer to dry but provide more precision and protection. They are useful for avoiding messy dripping and patchy coverage. If the first layer is not opaque enough, let it dry completely, and then apply as many more thin coats as necessary.
- Allowing Proper Drying Time: For the recommended drying time of the paint, consult the manufacturer's instructions. Before applying another layer or making any adjustments, ensure the previous one is completely dried. Trying to speed up the drying process might cause the paint to dry unevenly, smudge, or even crack.
The plaster surfaces in your home can look polished and expert with the help of these painting methods. If you want the paint job to turn out well, you must take your time, be patient, and pay close attention to detail.
Painted Plaster Maintenance
It is essential to take good care of your plaster surfaces after painting them if you want them to look good and endure a long time. Important maintenance instructions for painted plaster:
- Regular Cleaning: Keep your painted plaster surfaces free of dust, filth, and other contaminants by giving them a good cleaning occasionally. To clean the surface gently, use a moist cloth or sponge with some mild soap and water. Scrubbing too vigorously or using harsh chemicals can ruin the paint job.
- Avoid Harsh Chemicals: Avoid using abrasive cleaners or chemicals on painted plaster. They can damage surfaces by removing paint or other finishes. Use only a mild water and soap solution or paint-safe cleaning solutions.
- Prevent Scratches and Scuffs: It is important to protect the painted plaster surfaces from scuffs and scratches. Protect your walls from scratching when you move furniture by placing felt pads and coasters under the legs. Heavy things should not be dragged over the floor, which can cause damage. Avoid scratching or puncturing the walls with anything sharp or abrasive.
- Address Stains Promptly: Spots on freshly painted plaster should be fixed immediately. Use a clean sponge or cloth dampened with water and a little soap to blot the discolouration gently. Scrubbing too harshly might wear away the paint, so be careful. A professional or paint expert should be consulted for advice on removing persistent stains.
- Perform Touch-ups: Minor chips, scratches, and wear may appear in heavily used areas of your painted plaster over time. Keep up the surface's look with occasional touch-ups. Have any extra paint on hand for touching these spots, or use a paint pen and tiny brush.
- Avoid Excessive Moisture: Plaster walls that have been painted can be ruined by too much dampness. Use exhaust fans in the bathroom and kitchen, get any plumbing leaks immediately repaired, and keep the relative humidity in the space below 60% to reduce the risk of mould growth.
- Protect the Painted Surface: Plaster walls and ceilings that have been painted should be sealed with a clear coat for added protection. This can be an additional barrier against spills, moisture, and wear and tear. If you need help deciding on a paint product, it's best to speak with a professional.
Keeping your painted plaster surfaces pristine is as simple as following these steps. Your painted plaster's colourful and attractive appearance can be preserved for many years via routine cleaning, gentle maintenance, & fast treatment of any difficulties.
Plaster Painting Tips And Techniques
There are some tried-and-true methods for producing professional-quality results when painting plaster surfaces. Take into account the following recommendations:
- Test Colors: It is recommended to perform a small, inconspicuous test area before painting the complete plaster surface. This will give you a good idea of how the hue will look under your home's lighting and how well it will blend with the existing decor.
- Use Thin Coats: Use thin coats of paint instead of one thick coat for more precision and even appearance. Thinner coatings dry more quickly and are less likely to drip or leave streaks. For best results, apply many thin layers.
- Mix Paint Batches: Mix the contents of many paint cans into one larger container when you require over one can cover a single wall and surface. This helps eliminate the possibility of colour shifts between cans of paint.
- Work in Natural Light: Do your best to paint outdoors or under good artificial lights. You can now see the colours and check for even coverage. Uneven coverage or skipped patches may go undetected in poorly lit areas.
- Cut in Carefully: Trim the plaster to fit into the corners and edges. Make sure you have a steady hand as well as a good brush or paint edger. The quality of your paint job will be greatly enhanced by a neat and exact cut-in line.
- Avoid Overloading the Roller: Don't cram too much paint onto the roller. Dripping and splotchy coverage are the results of having too much paint on the roller. Instead, use a moderate quantity of paint on the roller & roll it out evenly.
- Blend Wet and Dry Edges: Blend the paint's wet edges with the dry areas to smooth the transition. Lines or overlapping marks won't be seen. Keep a wet edge by lightly overlapping every stroke with the one before as you work.
- Maintain Consistent Pressure: To get an even coat of paint on a wall or ceiling, use a brush and roller and apply steady pressure. If you use too much or too little pressure, you may end up with lines or streaks, or uneven coverage. Strive for a middle ground that suits you.
- Keep Paint Off Trim and Ceiling: Mask off the ceiling, walls, and trim before painting them. This will aid in the creation of neat lines and the prevention of paint splatters and smears.
- Take Breaks: Painting is a laborious activity. Relax for a while and take stock of how far you've come. This will help you catch any sloppiness or unevenness in the paint job before it dries.
Following these guidelines, you can paint your plaster surfaces like a pro. If you want your paintwork to turn out well, you need to be patient, be patient, and pay close attention to detail.
Conclusion
Plaster painting is a versatile and cost-effective way to give walls or ceilings a fresh look. By following the steps, you can achieve a beautiful and long-lasting paint job on your plaster surfaces. Primer is crucial for proper plaster painting, as it prepares the surface for proper adhesion and prevents hidden flaws. It is essential to skip primer before painting to ensure smoother, longer-lasting results. Proper painting techniques include cutting in cracks, rolling paint, maintaining wet edges, using multiple thin coats, and allowing proper drying time.
Cutting in allows for better accuracy and cleaner transitions between surfaces. Rolling paint evenly and using a small amount of overlap between wet sections ensures a consistent and sleek surface. Working on multiple layers ensures a seamless transition between portions, and allowing proper drying time ensures the paint remains wet. Taking time, patience, and attention to detail are essential for a polished and expert plaster surface.
Content Summary
- Painting plaster walls can give them a fresh look and allow for creative expression.
- Proper surface preparation is crucial for a successful paint job on plaster.
- Cleaning the surface is the first step, removing dust, grime, and debris.
- Repair any damaged areas of the plaster before painting.
- Sand the surface to achieve a smooth and even texture.
- After sanding, clean the surface again to remove any dust.
- Applying a primer is strongly recommended for better paint adhesion and coverage.
- Choose a primer specifically designed for plaster walls.
- Selecting the right paint is essential for a beautiful and long-lasting finish.
- Latex and acrylic paints are popular choices for painting plaster walls.
- Consider the desired finish, such as matte, eggshell, satin, or semi-gloss.
- Lighter or darker colours can create different effects in the room.
- Invest in high-quality paint for better coverage and durability.
- Consider environmental factors and opt for low VOC or eco-friendly paint options.
- Follow the instructions on the paint can for application and curing times.
- Applying primer before painting helps improve paint adhesion and appearance.
- Use a primer specifically formulated for plaster walls.
- Ensure the plaster is clean and dry before applying the primer.
- Stir the primer thoroughly before application.
- Apply the primer with a brush or roller, starting with the corners and edges.
- Work in small sections, overlapping strokes for complete coverage.
- Allow the primer to dry completely before proceeding to paint.
- Choosing the right paint technique can enhance the final result.
- "Cutting in" involves painting a straight line along edges for cleaner transitions.
- Use a roller brush for larger sections of the plaster surface.
- Load the roller brush with paint by rolling it back and forth in the tray.
- Paint the plaster surface in manageable sections, working from top to bottom.
- Use a "W" or "M" motion to apply paint evenly.
- Maintain wet edges to avoid visible brush or roller marks.
- Applying multiple thin coats of paint is preferable to one thick coat.
- Thinner coats provide better coverage and avoid drips and patchy areas.
- Allow each coat of paint to dry completely before applying the next one.
- Follow the manufacturer's instructions for drying time.
- Patience and attention to detail are key for achieving a polished paint job on plaster.
- Proper surface preparation ensures better paint adhesion and longevity.
- Cleaning the surface removes dust and debris that could affect paint application.
- Repairing damaged areas prevents flaws from showing through the paint.
- Sanding the surface creates a smooth canvas for the paint.
- Applying a primer improves paint adhesion and coverage.
- Selecting the right paint type and finish is important for the desired effect.
- Lighter or darker colours can impact the perception of space and ambience.
- Investing in high-quality paint ensures better coverage and durability.
- Considering environmental factors and choosing eco-friendly paint options is recommended.
- Applying primer before painting helps create a uniform surface and enhances the final result.
- Following the proper painting techniques, such as cutting in and using multiple thin coats, yields professional-looking results.
- Allowing sufficient drying time between coats ensures a smooth and flawless finish.
- Attention to detail, patience, and taking the time to properly paint plaster surfaces are key to achieving a polished outcome.
- The paint type should be suitable for plaster surfaces to prevent chipping or peeling.
- Different paint finishes offer various levels of glossiness and aesthetic appeal.
- Using high-quality paint and following the recommended techniques will result in a beautiful and long-lasting paint job on plaster.

